
How to Hang Holiday Lights on Your Home’s Exterior
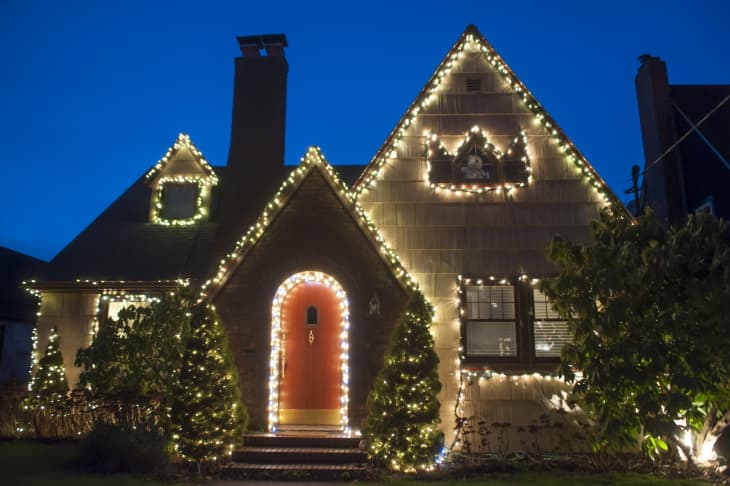
You don’t have to be a Clark Griswold type to know that putting up string lights during the holiday season is one of the best ways to bring holiday cheer. Whether it’s a simple strand of lights across your front door or an elaborate display that frames every window of your home, the display makes the coldest winter nights just a little bit cozier. Hanging lights is pretty straightforward, but if you’re a novice, I have a few helpful tips that will get you on your way to a merry and bright holiday. Here’s what you’ll need to get started:
Supplies you’ll need to hang holiday lights:
- Ladder (or an extender pole if you aren’t comfortable with climbing)
- Outdoor extension cords
- Extension cord adapters (optional)
- Outdoor lights
- Daylight sensor timer (optional)
- Measuring tape
- Hooks (Clips, Command hooks, zip ties, or floral wire depending on where you’re hanging lights)
- Standard hot glue gun and glue sticks (optional)
How to hang holiday lights:
1. Plan your light display
Head outside, sketch a diagram or snap a quick photo, and come up with a plan. If this is your first time hanging lights on your house, start small. Add lights around doors and the garage, and maybe in a few bushes or tree trunks. Next year you can plan to go big!
2. Measure the space
Measure the area you plan to hang lights (columns, along gutters, etc.) and take notes so you know how many feet of lights to purchase.
3. Purchase outdoor-friendly lights
When purchasing your lights, be sure they are compatible for outdoors. John DeCosmo, president of Ulta Tree Company and maker of The LightKeeper Pro, suggests considering commercial grade lights because they can be “more reliable for outdoor use because of their durability and thicker insulation.”
The other decision you need to make is whether you want LED or incandescent lights. LED lights will cost you more up front, but they’ll last longer and use less energy, saving you money over time.
4. Choose the appropriate hooks
Depending on where you plan to hang your lights, you’ll need hooks that are appropriate for each surface. You can really use anything that you’ve found to work, but I have found these to be helpful:
For gutters: Light clips easily slide onto both gutters and siding, making the transition of lights up to the peak of your roof easy. S clip hooks are also great for gutters; the top portion clips over the edge while the bottom portion allows for the cord from the light to easily snap into place. If you aren’t comfortable climbing up to the gutters on a ladder, check out helpful products like this light extender pole.
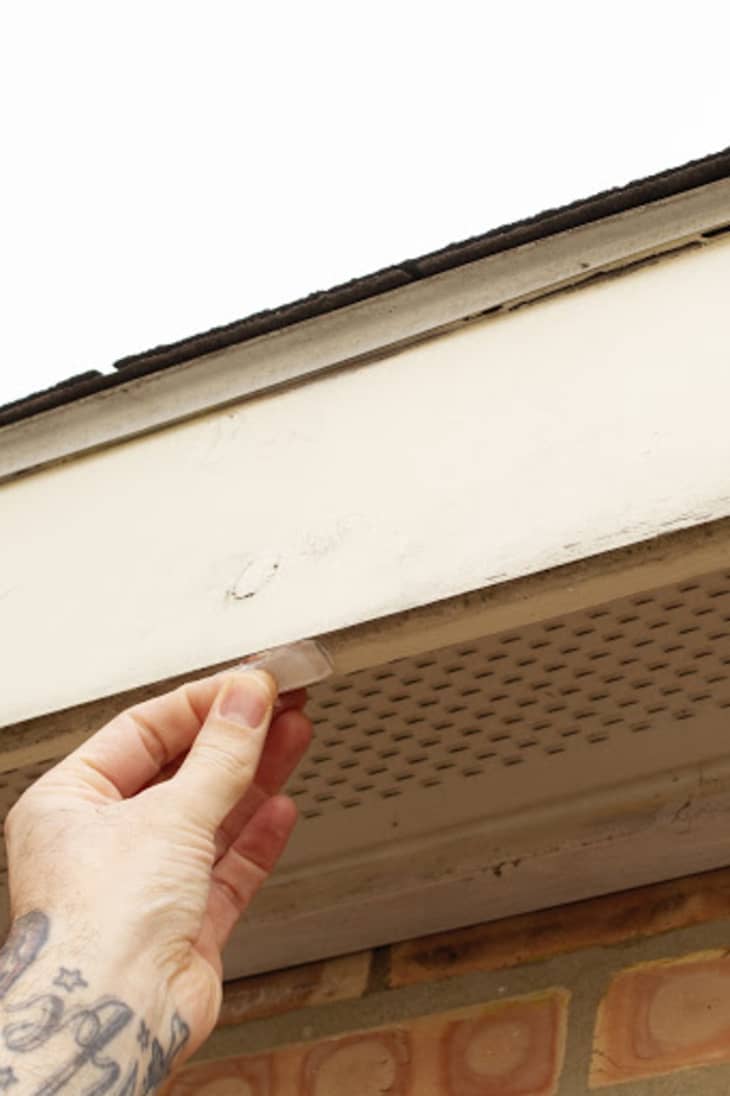
For soffits: Adhesive light clips or fascia board clips are great options for soffits. Adhesive light clips have a sticky back that is removable and won’t damage the surface—just be sure the surface is clean according to product specifications before sticking the clips to the surface. Fascia board clips—which are made for the long, straight board that runs along the lower edge of the roof—are a bit larger and great for clipping bigger lights on to everything from fascia boards (the roofline) to bannisters and deck rails.
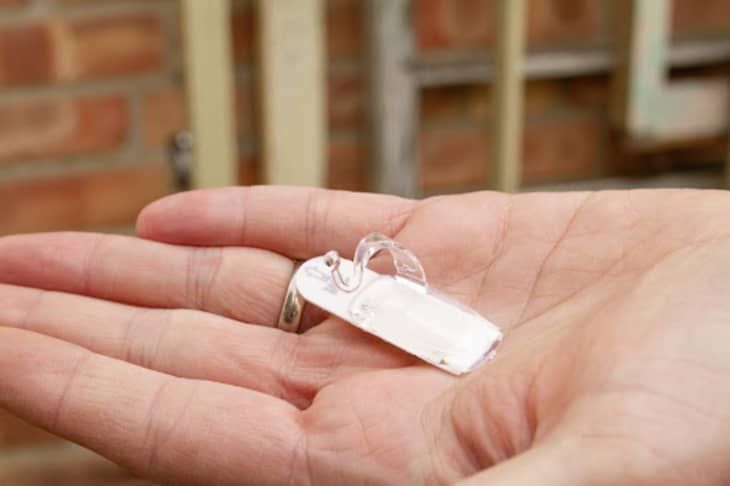
For windows: Adhesive light clips are a favorite for placing lights around doors and windows because they’re small, lightweight, and clear, so they won’t distract from your lighting design. If hanging rope lights, you can use these Command clips, made specifically to hold rope lights.
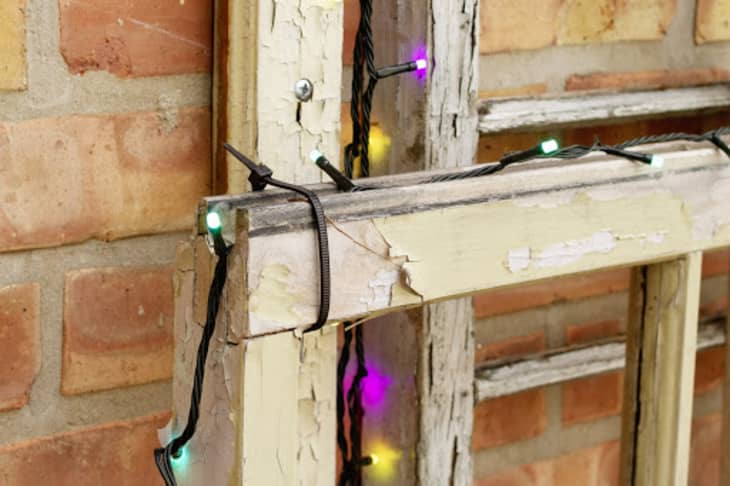
For fences and other odd surfaces: Floral wire, zip ties, and deck light clips are great options when hanging lights from fences or in other places where adhesives or nails won’t work. Zip ties are great to have on hand because they can help keep any loose strands from becoming tangled. Just add a tie every few feet and you’ll have one, clean line instead of multiple strands that can easily get tangled in the wind. If you’re looking for a more permanent option so you don’t have to worry about hanging light clips each year, consider a product like this, which can be nailed into wood.
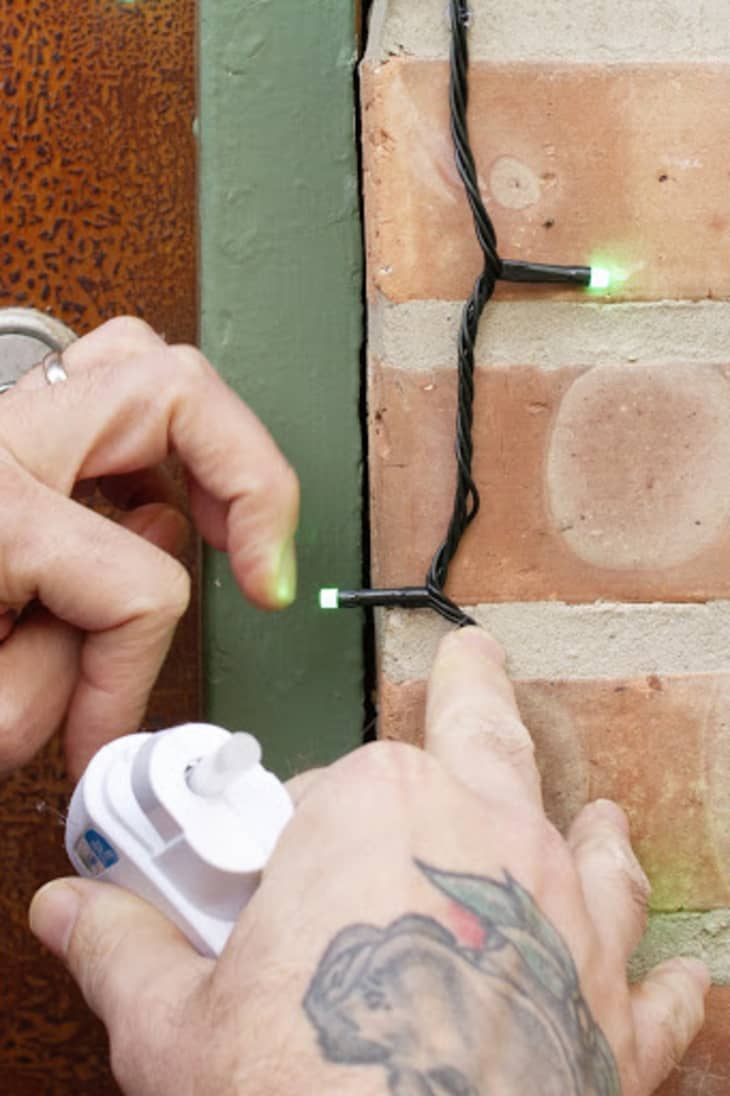
For brick: Brick clips or hot glue are the two best options for hanging lights on a brick surface. It’s never ideal to hang lights directly on brick, but if it’s your only option you can definitely do it. Brick clips have a smaller clip, which might work for some lights—but you’ll likely need a piece of wire to securely hold the lights to the clip. Wrap a small length of wire around the strand, then twist the wire around the brick clip a few times until it’s tight.
Hot gluing lights to your home might sound like an April Fool’s joke, but it’s actually a tip the pros use when hanging lights on commercial and residential spaces. Apply the hot glue directly to the side of the plastic socket, then press and hold it to the brick until the glue is dry. To remove, pop off with a putty knife, or use a bit of isopropyl alcohol if it leaves behind a residue.
For flat siding: If you find yourself needing to bridge a gap between a railing and a gutter, and need to attach lights to a small portion of your siding, Command hooks or siding clips are both good, temporary options that can be removed and used in the following years.
5. Test and hang the lights
Before hanging your lights, plug them into an outlet to be sure they’re in working order. Begin hanging the lights according to the design you sketched out and measured for, using the appropriate clips for the surface you’re hanging lights on. If for any reason you run short, seamlessly connect another strand of lights to complete your design. Run an extension cord to the end of the lights, then plug the extension into a timer so you don’t have to worry about turning your lights on and off each day.
6. Figure out storage for later
Lastly, don’t forget to come up with a plan for storing your lights—they can be such a hassle to untangle if you just toss them into a box. Wrap lights around a coat hanger or a winding tool to keep them tidy and ready for use the following year.