
How To Make a Terrarium
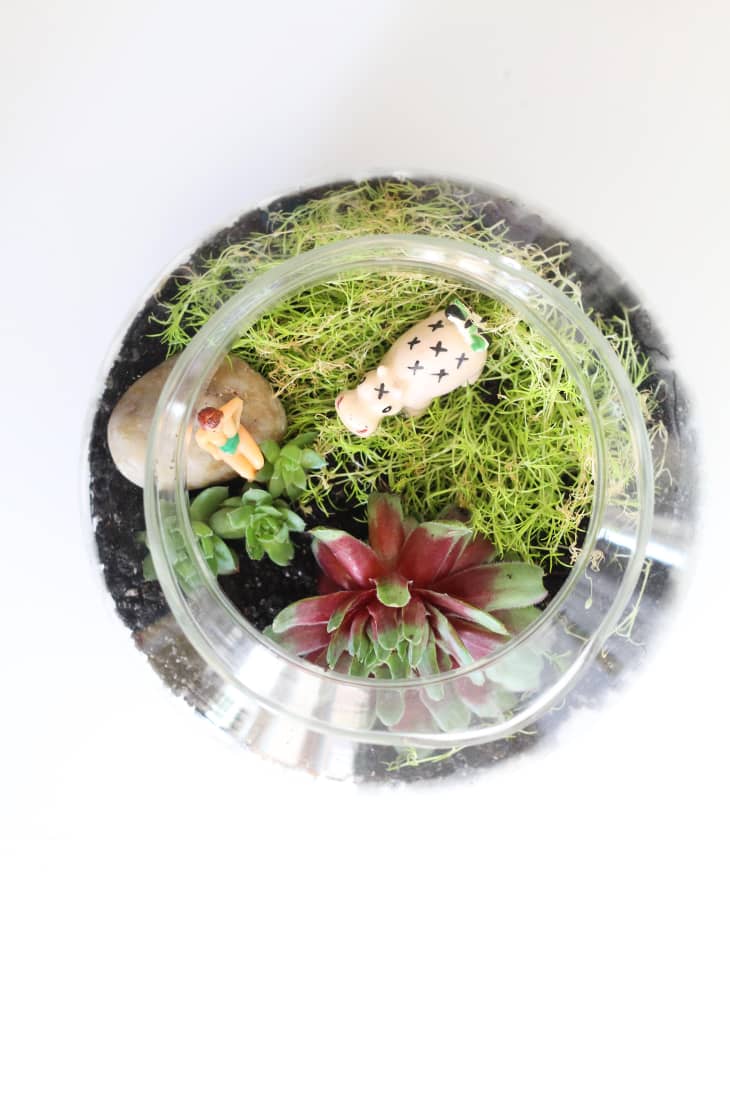
Making your own terrarium is fun and surprisingly easy – and equally easy to maintain. Whatever the climate may be in your large, expansive home or your teeny tiny apartment, a terrarium—given a healthy dose of indirect light and an occasional spritz of water—will be happy as a clam.
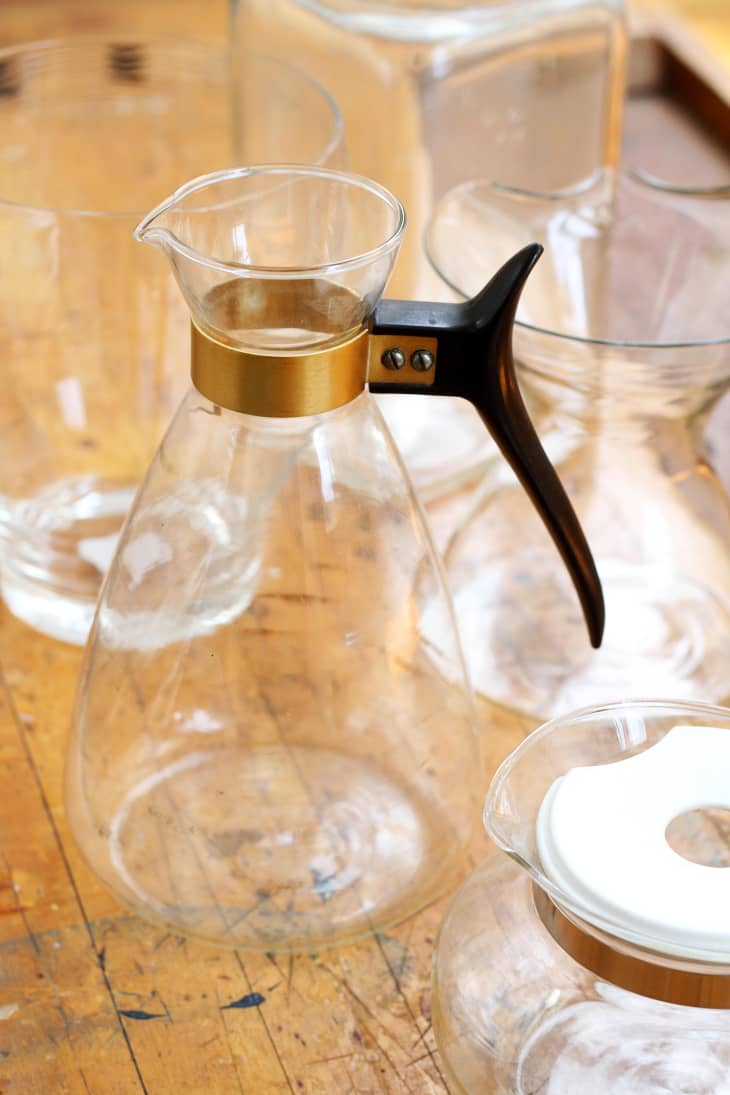
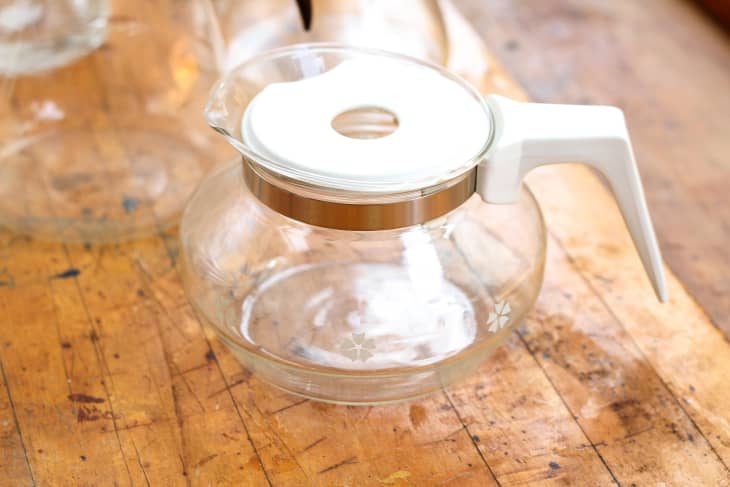
You can usually find gorgeous, hand blown glass terrariums at any design store, but be prepared to pay a pretty penny for them! If you are looking for a frugal fix, be creative when choosing glass containers. Old coffee pots can be found in droves at secondhand shops; remove the handle by simply unscrewing the tiny screw that holds the plastic and metal ring in place.
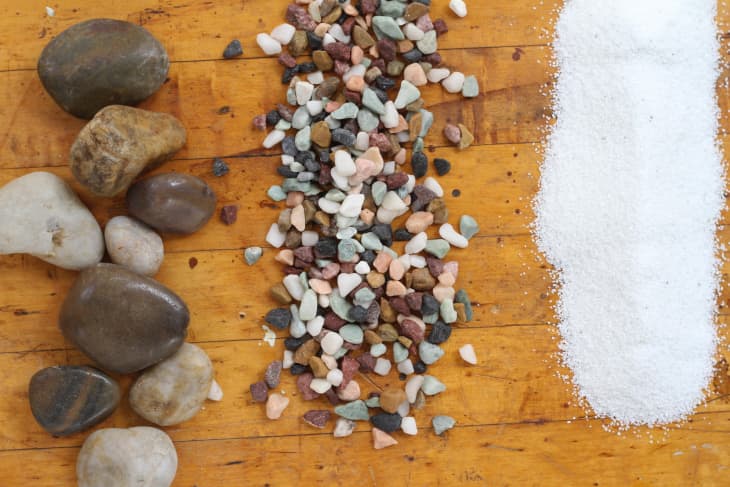
Craft stores offer a wide variety of natural stones and sands, but if you’re looking for a punch of color, consider colored aquarium gravel!
What You Need
Materials
- Clean, glass containers with large enough openings to place plants inside
- Small stones (gravel, pebbles, broken pottery or something similar)
- Potting charcoal
- Sand
- Soil
- Plants
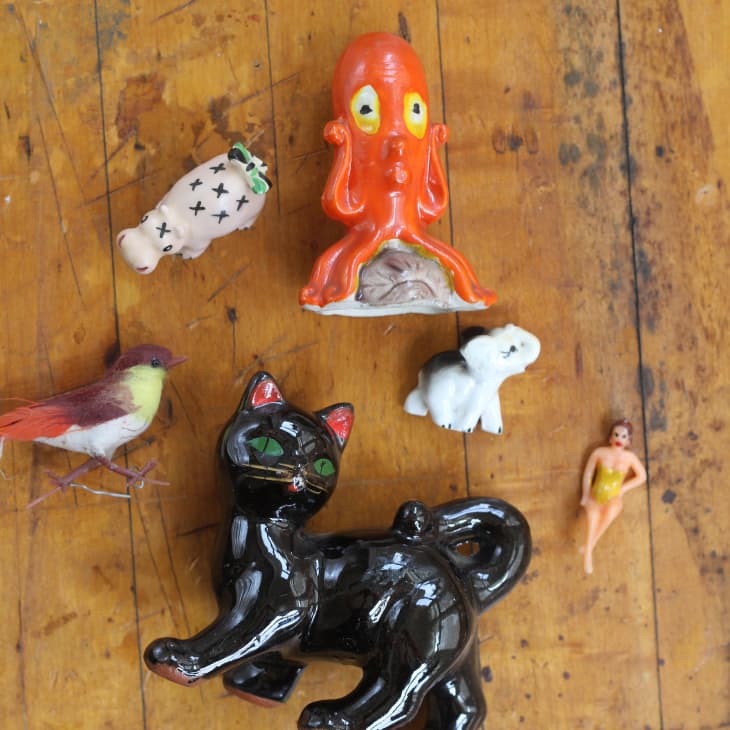
- Landscaping accessories
- Funnel (optional)
- Chopsticks or kitchen tongs (optional)
Instructions
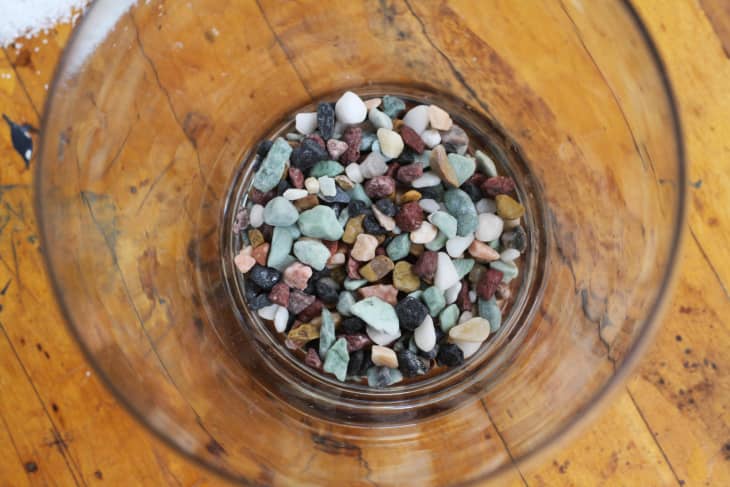
1. Begin by placing drainage at the bottom of the container. If your terrarium will be closed with a lid, you’ll want to be sure to add a thin layer of crushed charcoal to help keep the soil fresh.
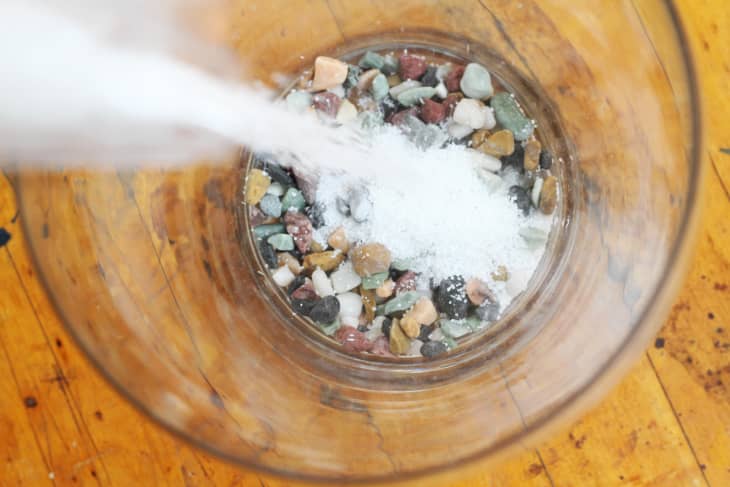
2. Pour a layer of sand across the top of the rocks (and charcoal).
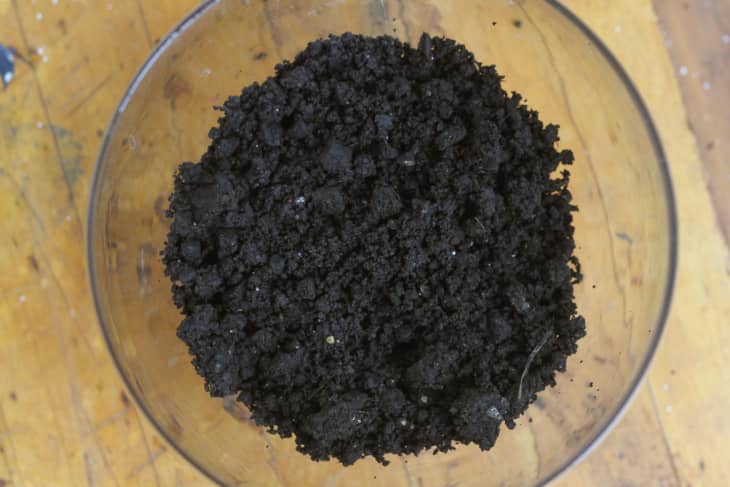
3. Add soil, making sure to create a hole large enough for the roots of each plant. Remember that creating uneven layers of sand and soil can look great, but pay close attention to the levels around the edges as this is what you will see from outside the terrarium. Steps 1-3 should equal about one-third the height of your selected container with the soil layer being the thickest.
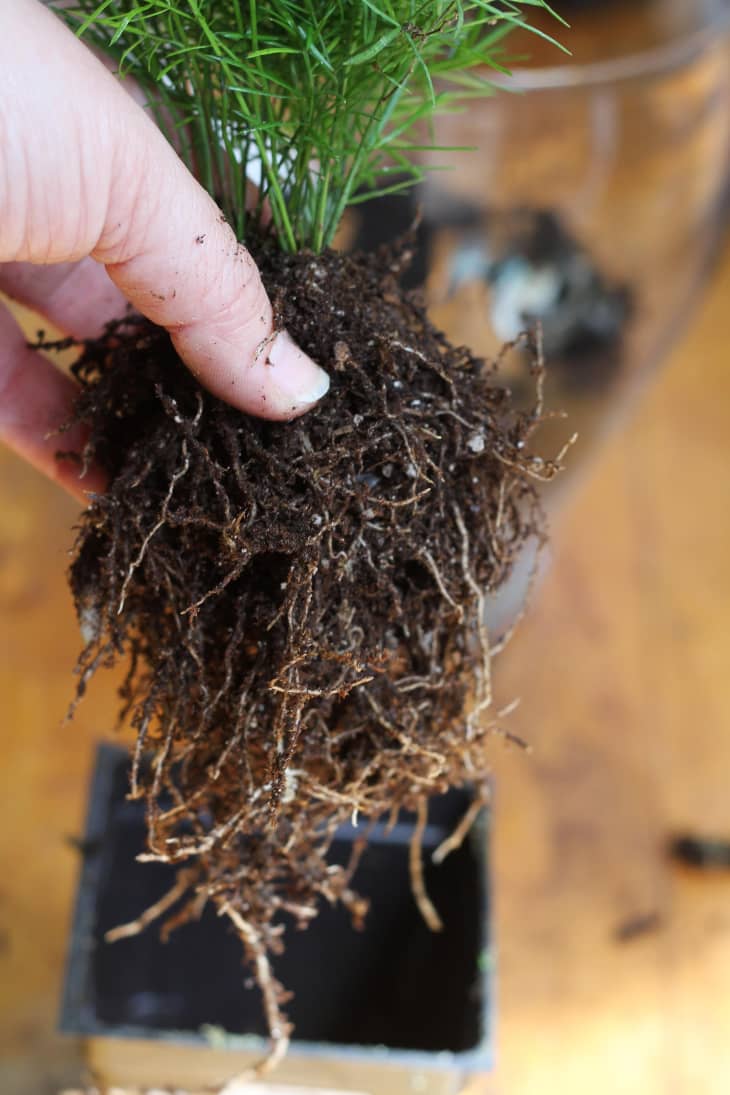
4. Remove your plant from the container and brush off the loose soil around the roots.
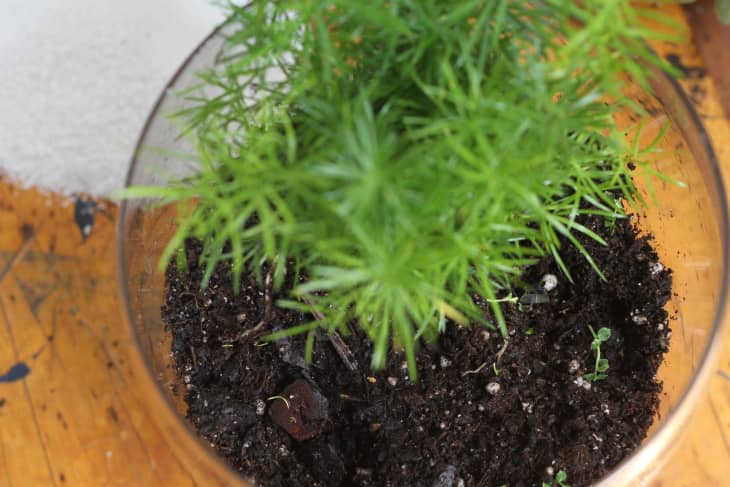
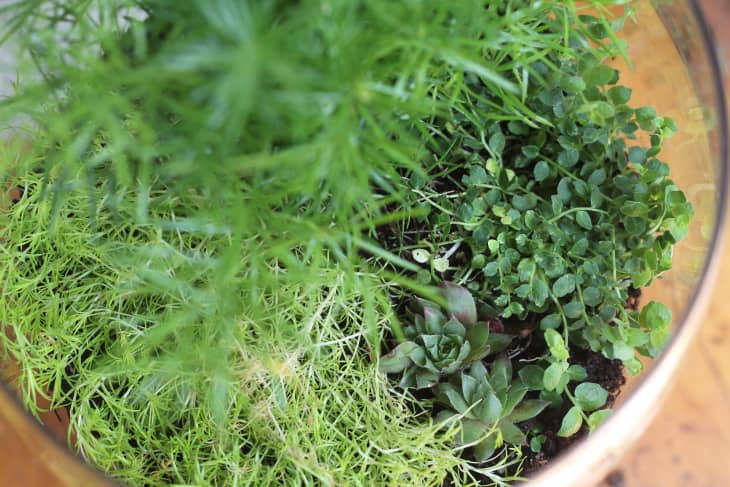
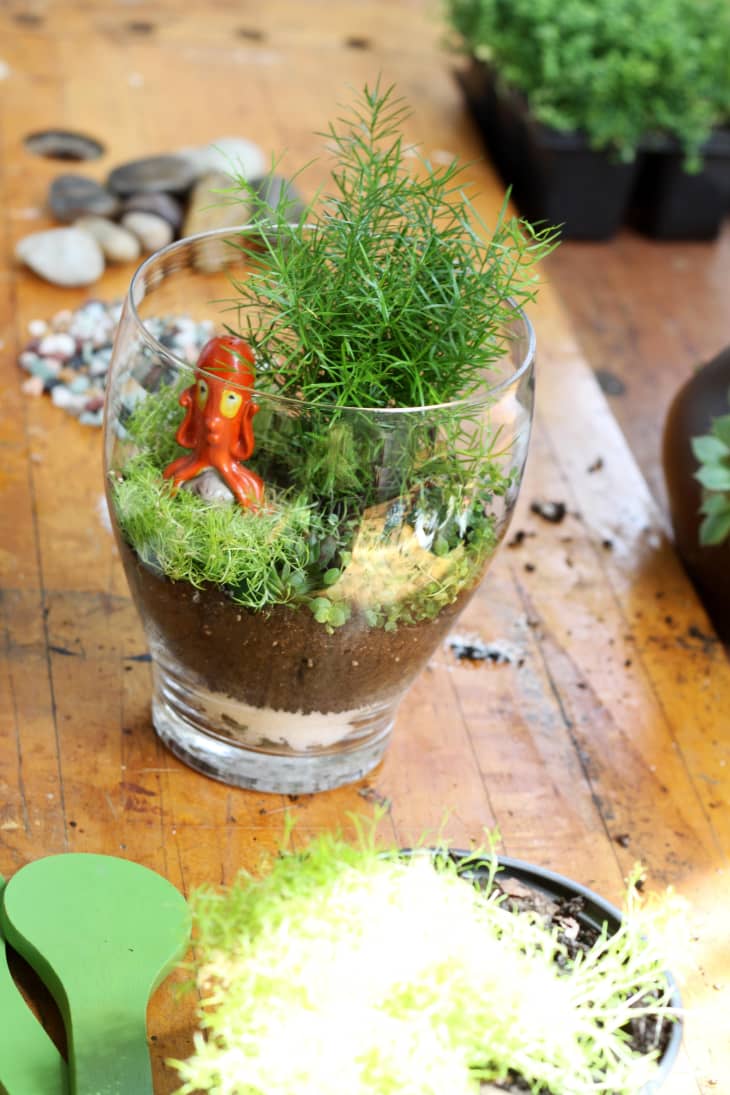
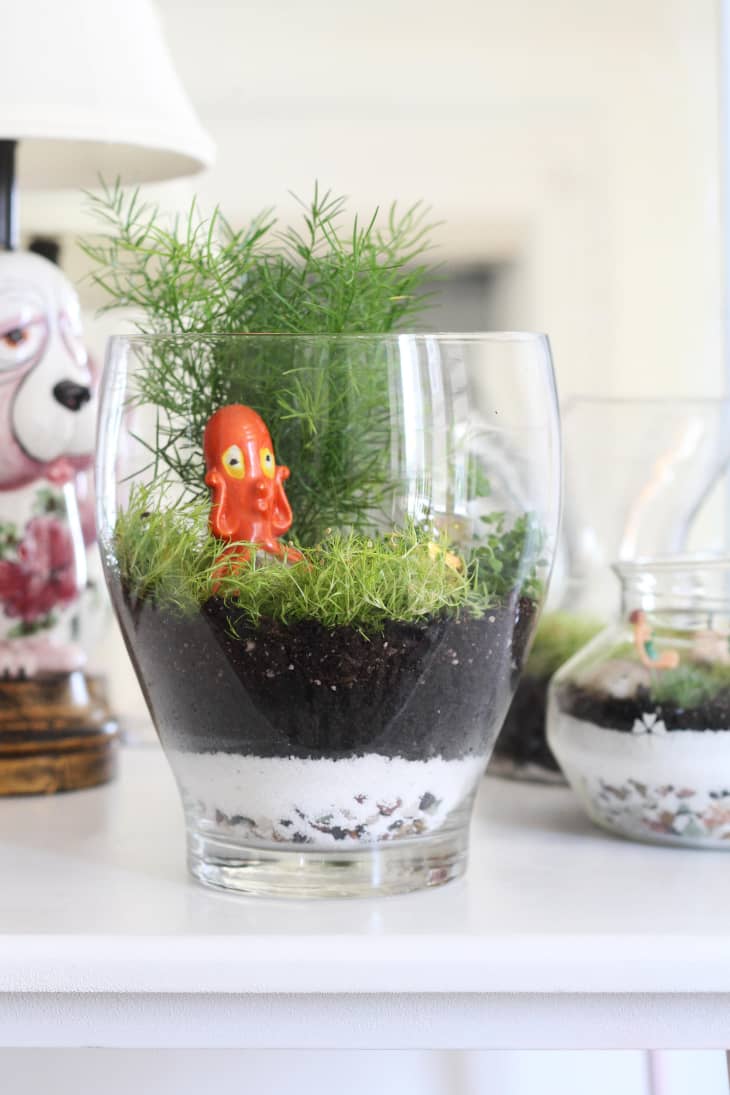
5. Place your plants in the soil, largest to smallest, and lightly pack the soil. Be careful not to over plant! Consider the negative space for other landscaping opportunities like moss, ground cover, geodes and.or small figurines.
- Water 1-2 times per week, watering only the live plants and avoiding mosses. For an open terrarium, the soil should always remain barely moist, never bone dry.
- Closed terrariums should almost never need watering.
- Prune back dead foliage or overgrown plants as needed to prevent rotting.
- Terrariums thrive in natural, indirect light. Avoid placing in direct sunlight or other hot areas as you can actually cook the plants or burn foliage that is touching the edges of the vessel.
- Mist your terrarium daily to provide ample humidity.
Fishbowls, globes from lighting fixtures, and interestingly shaped vases also provide great housing for your plants. If you have a particularly narrow vase, place your plants by dropping them down inside the vase using kitchen tongs. Use a funnel to pour sand and soil into small gaps around your plants.
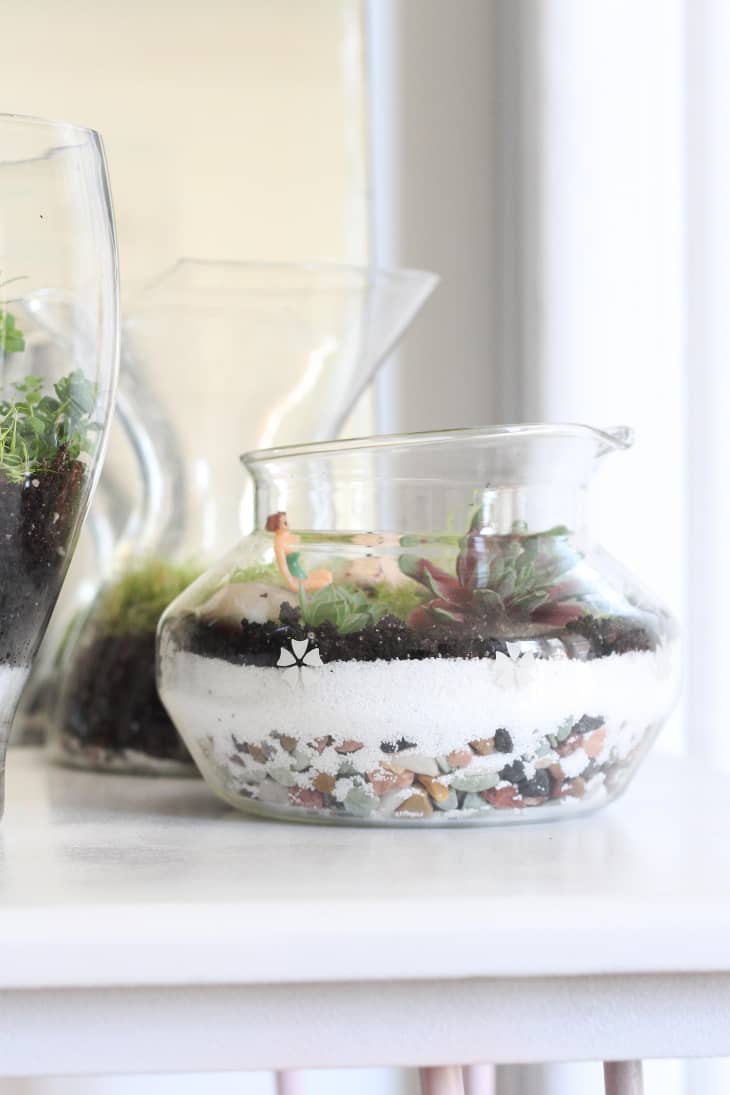
Have fun with your landscaping— consider using everything from small brass or porcelain figurines to vintage plastic cake toppers!
Most importantly, have fun!
Edited from an original post by Mat Sanders published on February 22, 2011
Have a really great DIY project or tutorial that you want to share with others? Let us know! We love checking out what you’re making these days, and learning from our readers. When you’re ready, click here to submit your project and photos.
Re-edited from a post originally published on May 19th, 2015