5 Ways to Make Your Home Photo-Ready, According to an Interior Designer

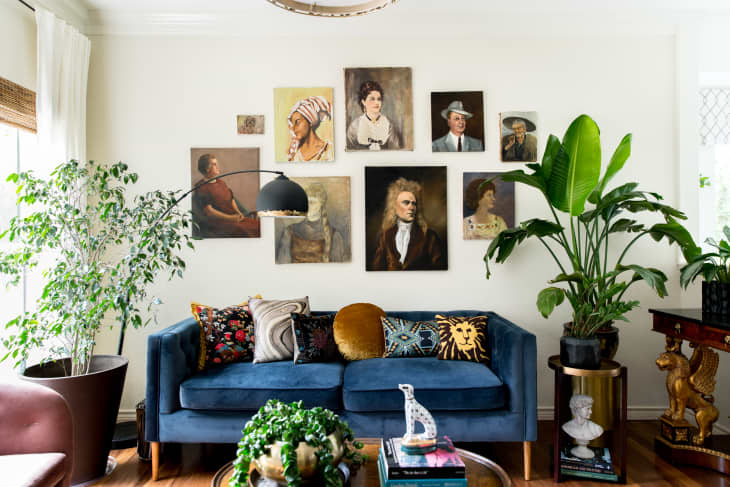
Whether you’re staging your home for sale or simply craving a ‘grammable shot for your feed, there is an art to making your rooms look camera-ready. Here’s some good news: According to New York City–based designer Susan Petrie, the lived-in, perfectly imperfect look is much more engaging than a totally flawless space. “People get caught up in making spaces look pristine and perfect, but they don’t have to be,” she says. “Sometimes it’s nice to rough it up a tiny bit, which makes things more approachable and livable.”
As the founder of Petrie Point Designs, Petrie has been on her fair share of project photoshoots to back this intel up. So we asked her to she share some tricks of the trade for creating that effortlessly curated, layered look that the camera loves.
Natural Lighting is Key
“Natural lighting makes a huge difference,” Petrie explains. “When I work with photographers, they often follow the schedule of apps to know where the sun hits and when.” Download an app like The Photographer’s Ephemeris, which helps you see how the light will fall in a location, to figure out the best time to photograph your place on any given day. In addition, try to turn all artificial sources of light off, as they can cast shadows that could interfere with your shot.
Nail the Lived-In Look
This shouldn’t be that tough, since you live in your place. But the key to that lived-in aesthetic is the suggestion of life—without actually seeing people. You can do that with a few props. “If you’re getting a shot of a kitchen island, for example, don’t worry about making the wine glass match perfectly with the flatware,” Petrie says. “Instead, show a croissant on a plate with some crumbs and a dab of wine on the counter.” Don’t remove plants or your fruit bowl either, especially if these are things you always live with. Objects like these create intimacy, which draws viewers in and helps them see themselves in the space.
Less is More
“Edit, edit, edit,” Petrie stresses. Instead of staging with a million tchotchkes, add some negative space back into the equation. “Negative space feels cleaner and gets the brain thinking,” she adds. “Scale back and don’t overthinking it.”
Get After That Crop
According to Petrie, an intimate vignette is often more powerful than showing a full room. For example, instead of a pulled-back full bedroom photo, crop in on just the end table and lamp. “Angle it so you just see a portion of the nightstand and some of the bed,” says Petrie. “This makes you want to see more, and it’s enticing.” To find the right crop, think about the message you want to communicate to the viewer. It might be helpful to narrow your focus to hone in on a few special details. “Don’t focus on the clutter but on the beautiful details like the wallpaper, a chandelier, or upholstery,” says Petrie. Another example Petrie offers is a dining room table. Instead of showing the whole tablescape, cut it at an angle and illustrate one place setting.
Create Warm and Fuzzy Feels
Make living room seating feel cozy and inviting with fluffy throw pillows and blankets. How do you nail the look of an artfully strewn throw? Petrie says to just toss a blanket on the sofa, piling pillows around it so it looks like someone is actually sitting in that exact spot. If possible, finish the scene off by “staging” your dog or cat curled up in a corner of the sofa. “People like pets,” Petrie adds. “They communicate a sense of warmth that lures you in.”
