
Homemade Holiday Gift Idea: Make Custom Temporary Tattoos
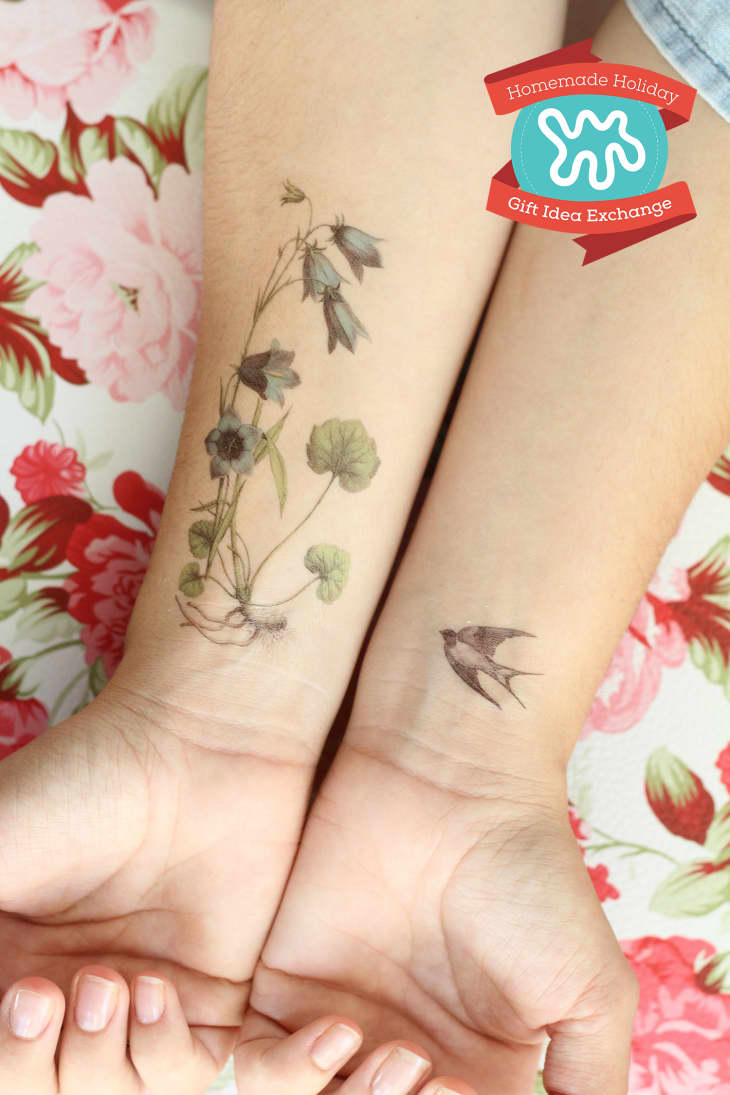
Personalized temporary tattoos make the best little stocking stuffers or secret snowflake gifts. Create your own artwork, or find clip art online, and simply print them out on specialized temporary tattoo paper. It’s a fun way to spice up the holidays and pull a fast one on grandma.
<< All of 2015 Handmade Holiday Gift Ideas >>
What You Need
Materials
Tools
- Color printer
- Water
- Washcloth
- Scissors
- Burnishing tool ( a spoon works great!)
Instructions
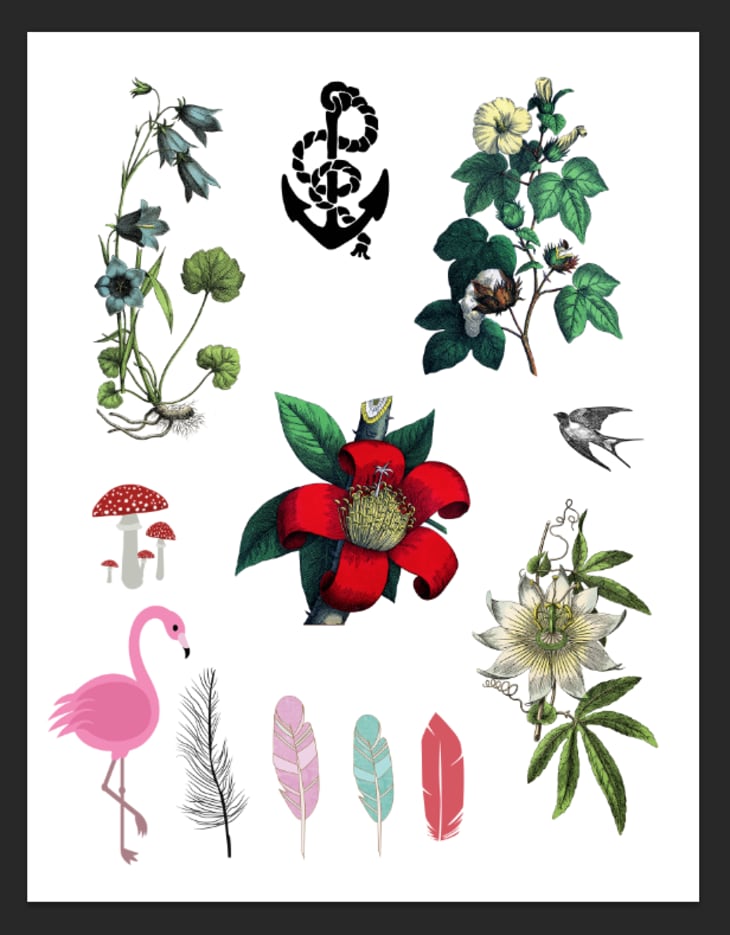
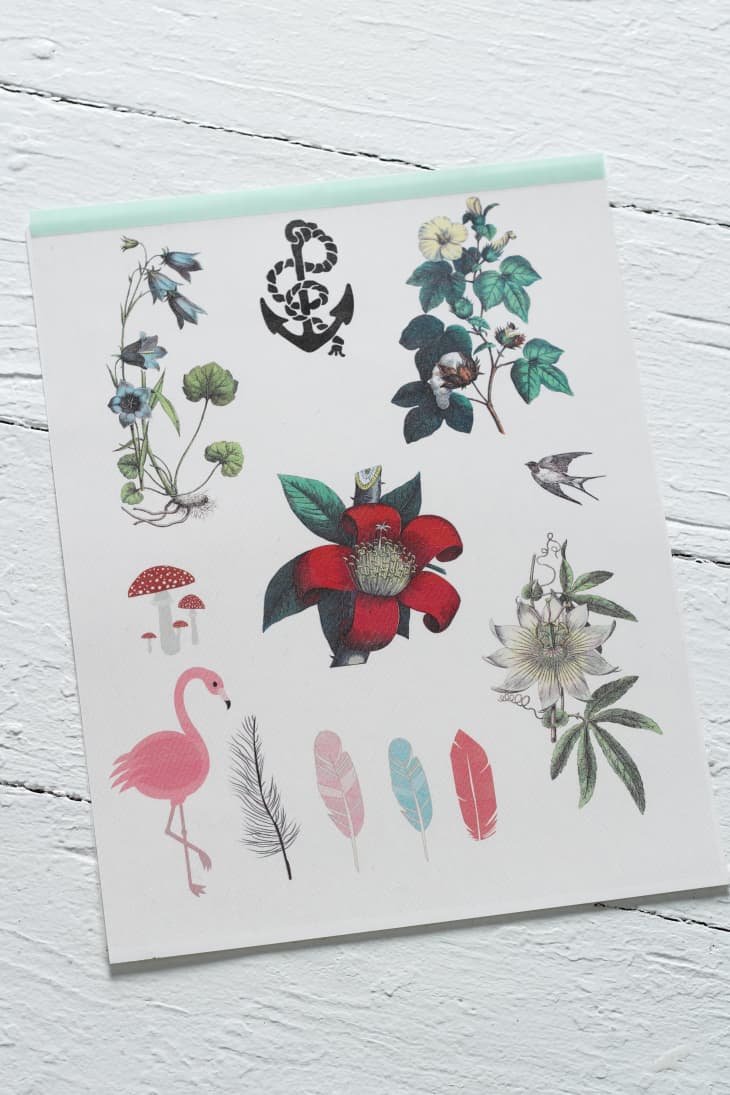
1. This first step is the most time consuming, as it requires quite a bit of surfing around the web for art and/or creating your very own one-of-a-kind masterpiece. Once you’ve collected the art you’d like to use, you can create your template in a few different ways. I made a new document in photoshop by choosing “US Letter” which comes out to be 8.5″x 11″ at 300 pixels/inch. I then created multiple layers by dragging all the images I wanted to print onto the sheet, arranging them until they all fit perfectly.
If you don’t want to mess around with Photoshop, most temporary tattoo paper companies will provide free downloadable templates to use, just check the back of the package for download instructions and you’re on your way.
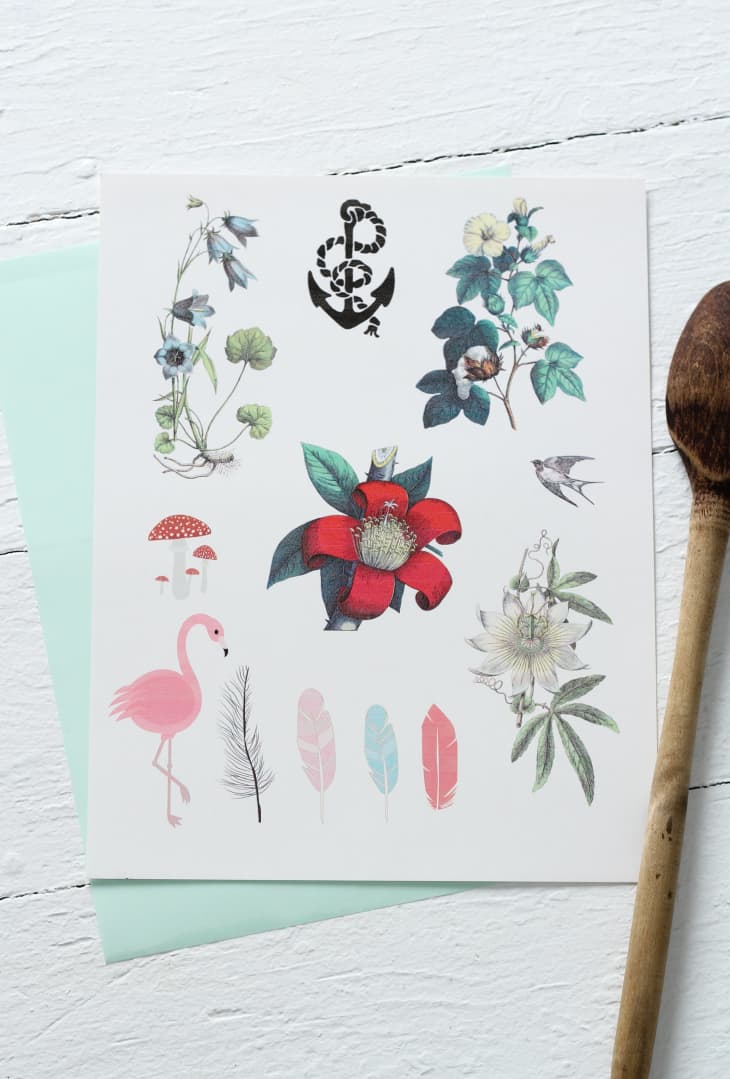
2. My packet came with two sheets of thick, white temporary tattoo paper, and two adhesive sheets stuck to green film. The white glossy paper is what you’ll send through the printer, face up. Wait until the ink has dried completely before moving on to the next step.
3. Remove the adhesive sheet from the green film and press it firmly over the printed designs, starting from the top and working your way to the bottom. Work carefully as the adhesive will cling to anything it touches.
4. Transfer the adhesive from from the top sheet to the white paper using a burnishing tool such as a wooden spoon, popsicle stick, or scraper tool. It’s only necessary to burnish over the designs, don’t worry about the negative space.

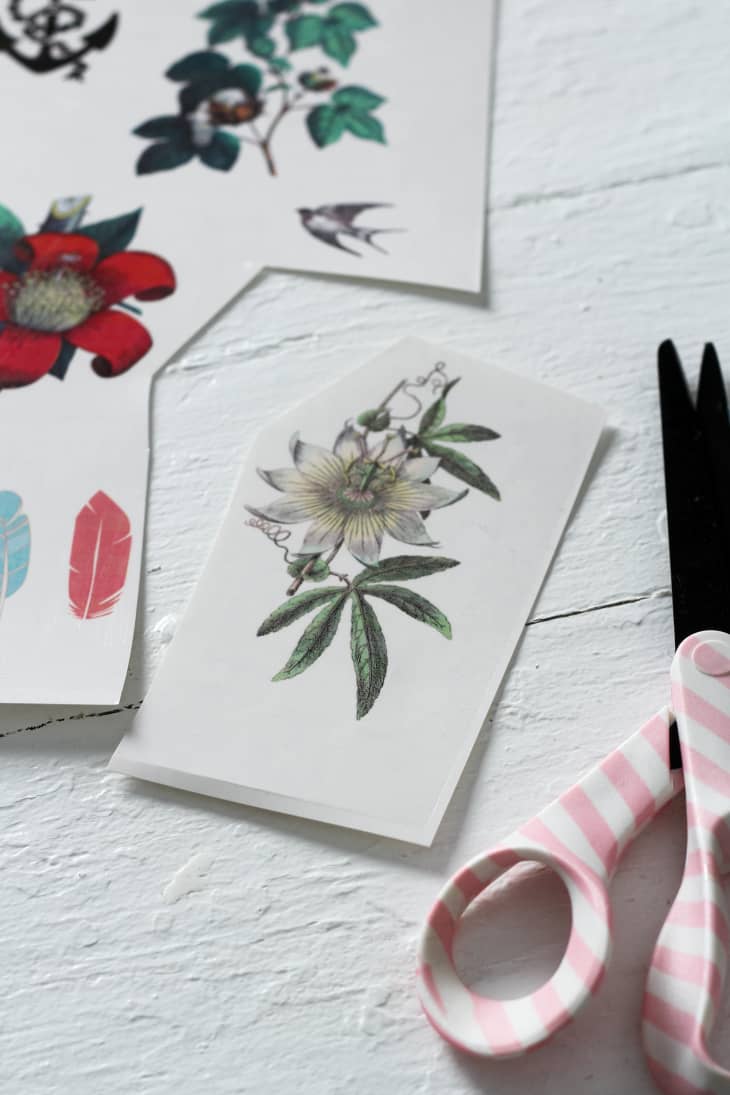
5. Cut each design from the sheet, then go back and cut around each design in detail, leaving as little negative space as possible. The area with a design does a great job of masking the film that transfers to your skin, but any space that doesn’t have a printed design (significant space around your tattoo) will show up and look kind of filmy. Definitely not rock ‘n roll.
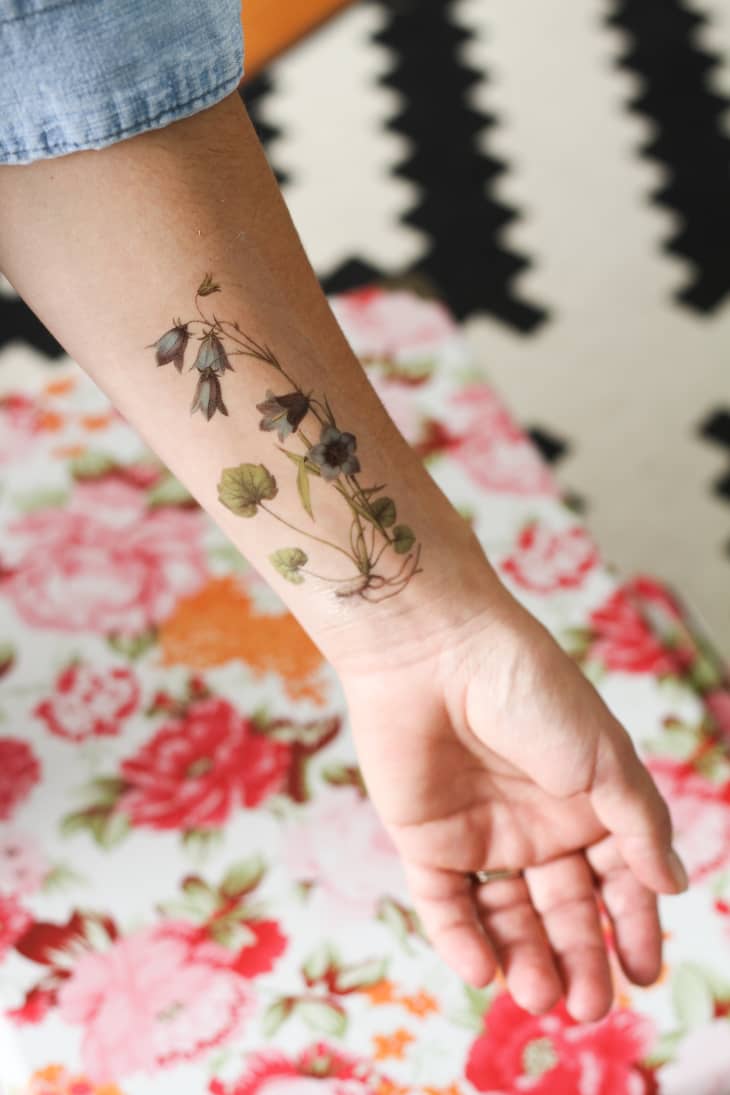
6. Apply the tattoo to your skin by pressing it face down (paper side up) and holding it in place with a wet cloth for 20-25 seconds. Once set, the paper backing will slide off easily.

<< All of 2015 Handmade Holiday Gift Ideas >>
Have a really great DIY project or tutorial that you want to share with others? Let us know! We love checking out what you’re making these days, and learning from our readers. When you’re ready, click here to submit your project and photos.