
Before and After: A Makeover for a Disastrous, Doorless Closet
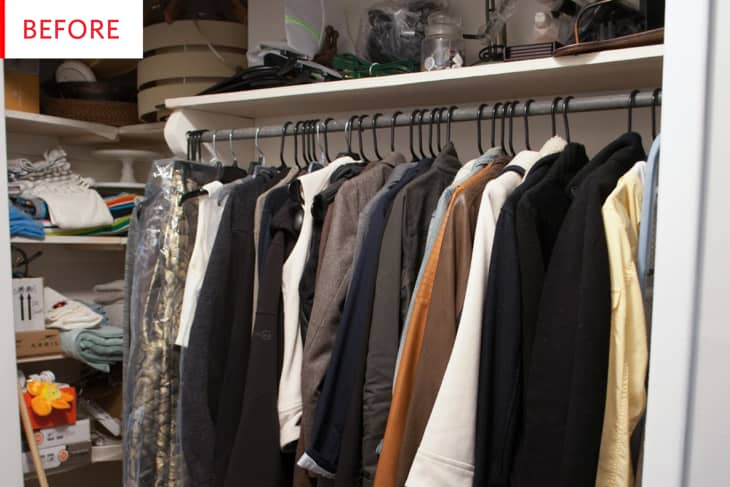
If your home doesn’t contain at least one disastrous closet, I salute you. (And if you only have one closet, it’s even more likely to be overstuffed and overwhelmed!) This doorless closet, which was a catchall for everything from cakestands to lampshades, got a full makeover for less than $100 and is now totally display-worthy.
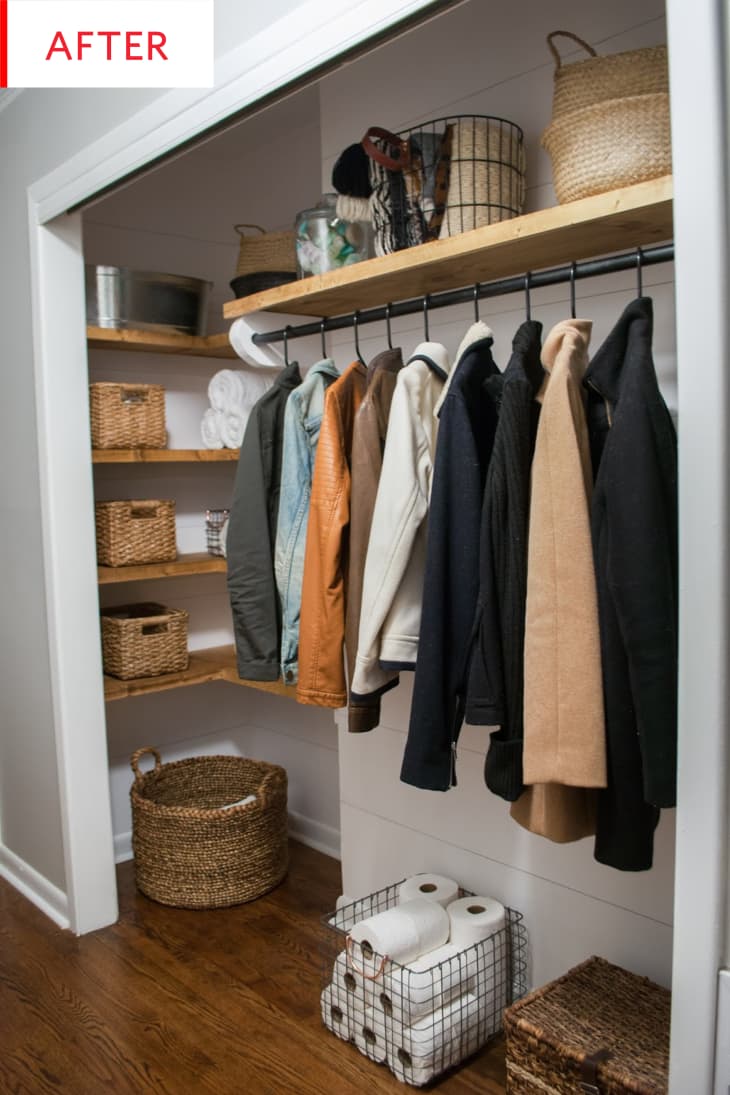
This major spruce-up was completed by Elizabeth of Jonesville, who had to find a way to adapt this closet to hold a wide variety — but not too wide a variety — of goods including towels, paper towels, toilet paper, and toiletries as well as outerwear and umbrellas, and look good doing it. The unified hangers make a huge difference, while the eclectic assortment of baskets works because though they’re different colors and materials, they share a similar natural and timeless aesthetic.
Elizabeth wrote about how this closet always both attracted and harbored a ton of stuff, including totally unnecessary outerwear. I can totally relate: I might happily get rid of clothes when they no longer fit or suit me, but I cling to my coats and jackets as if my life depends on them — because I secretly believe that someday it might. Sure, this raincoat is dated and too small and kinda ripped, but it’s a raincoat, damnit! Elizabeth is super happy about clearing out the jacket stash, and something that helps me do the same is remembering all the people who need my coats way more than I do. If you’re having trouble purging, finding a cause you believe in to donate your stuff to can really help.
On Jonesville, there’s a complete breakdown of the costs involved in this project:
Budget Spent:
Paint Sample, Seagull Gray – $3Things I Already Had:
Rollers / Brush – $20 Frog tape – $11 Long level – $5 (Harbor Freight doesn’t have good quality tools but their levels are awesome and budget friendly) Caulk – $3 Pine boards – $40 Wood stain – $4 Circle Wicker Basket – $35 Glass Jars – $20 (?) Total with things I already had: $234I am so completely impressed with, and grateful to, Elizabeth for acknowledging the value of all the things that were already on-hand; many “affordable” Before & After projects only have a low price point because the residents already owned several hundred dollars worth of supplies to work with.
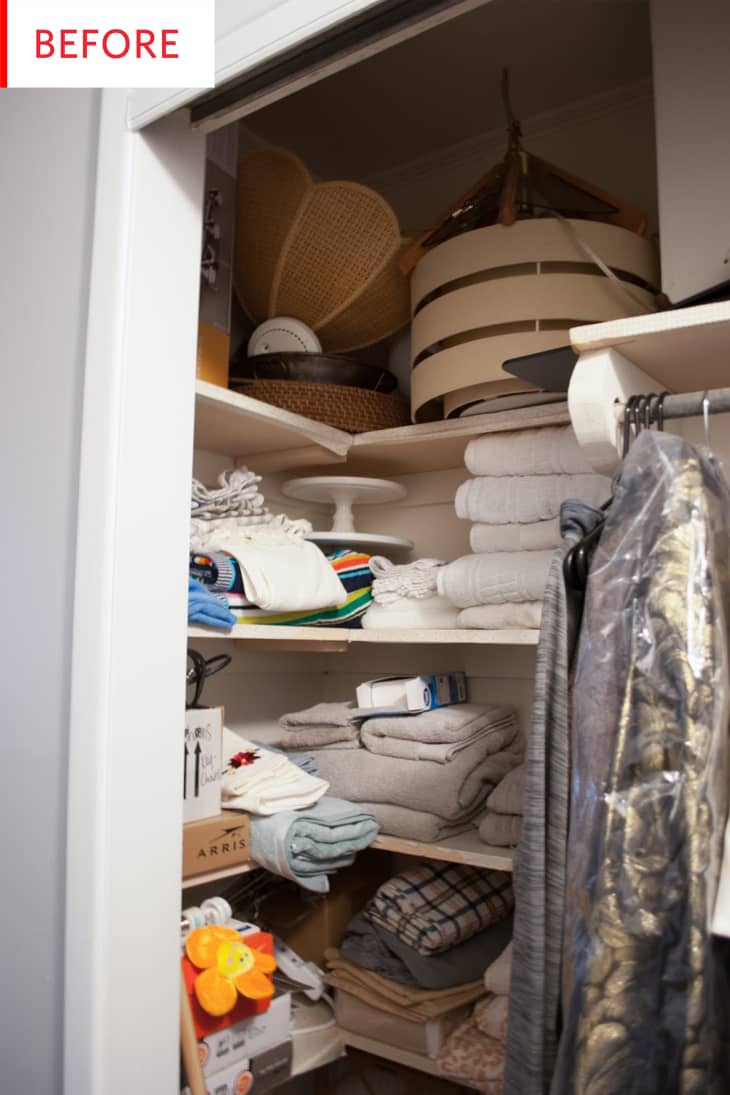
These corner shelves can be tricky; sure, they add extra storage to an awkward nook, but it’s all-too-easy to cram stuff in there and forget about it. It’s not cute, and it means that when you want a towel, you have to move a pack of lightbulbs first.
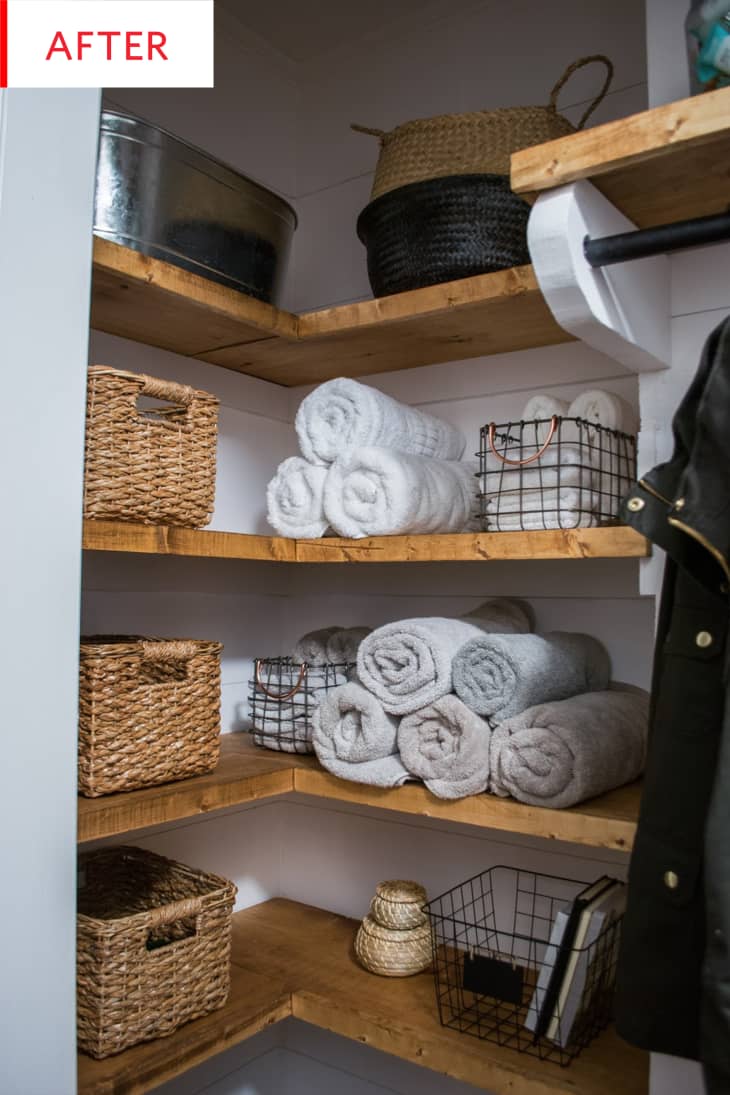
Now the most has been made of this corner, with handy baskets (just slide them out to access or organize the contents), attractively rolled towels, more jumble-y items hidden from view, and even some luxuriously empty space. It is so inspiring that Elizabeth was able to bring this closet from “50% of the stuff in this closet were just there because I was either just too lazy to put it in the attic or it just didn’t have a specified spot,” to “I actually ran out of stuff to put on the shelves so I stuck all my journals in there,” without investing a massive amount of money. Well done!
Thank you, Elizabeth!