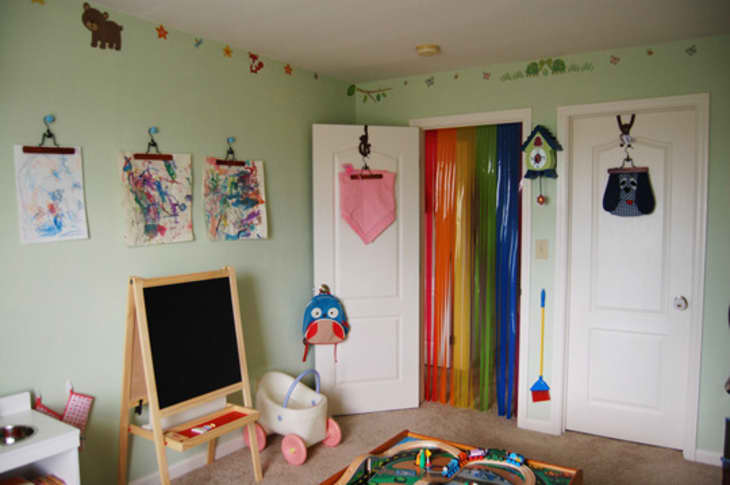
This Super Simple System Is the Easiest Way to Organize Your Kids’ Artwork

One thing, among so many, that no one ever tells you about having kids is that they come with a wellspring of paper. The trickle starts before they’re born, but it really lets loose once pre-school starts. While calendars and reminders and permission slips and lists of spelling words can all be tossed in the recycling bin once they’ve fulfilled their purpose, there are paper treasures like perfectly crooked rainbows and love notes and handprint turkeys that you’ll want to hang onto.
I have a system that has worked for me for several years, with three kids in elementary school, and two others who have started the stages of earnest, colorful scribbling and, one of my favorites, the “potato people” stage of drawing. The main reason I love this particular system is that I don’t have to agonize over each piece: Things I feel like I might want to keep get put in a holding place, so I don’t have to make a “forever” decision on the spot.
Here’s how to get started:
How to Organize Your Kids’ Artwork
Maybe you have an overflowing bin of years worth of multiple kids’ artwork you don’t know what to do with. Or maybe you’re just starting to realize that you need a plan for what’s pouring in. It’s never too early or too late to put a good set-it and forget-it system for kids’ papers into practice.
First, get a magazine box for each child and label it. Better yet, have them make their own label.
Find a spot on a desktop or on a shelf, somewhere easily accessible. You can store them vertically, but I’ve found in the last couple years that setting them horizontally on top of each other makes it easier to add things to the boxes.
Each time one of your kids makes something you think you might want to keep, add it to the magazine box. Bonus points if you add your child’s initials and the date to each paper. I have a date stamp for this, but jotting it down quickly is just as good.
At the end of the school year, sort through each box. This is when you decide what to say goodbye to, what to take pictures of, and what to keep. The beauty of deferring your decision is that you get to see everything at once. Letting time give you perspective makes the process so much easier and streamlines what you end up with.
Keep what pulls your heartstrings. This is a hard parameter, I know, but remember that anything you keep beyond the cream of the crop will just distract from future enjoyment. If you preserve each and every beautiful drawing, you and your children down the road, when looking at what you saved, will glaze over and not really “see” anything. You’ll be glad you kept a few items you can hold in your hands, but you need to be realistic about storage and consumption. Less is more, as it is so often.
Eventually, you’ll need to decide what to do with the physical items you keep. Some people choose to keep a memory box for each kid or something similar. I personally put them in albums I make for the kids, usually in page protectors. You can watch an overview of my process and see an example of my end product here.
Digitize what you want to remember but not keep. Having the option to easily take photos of your child’s artwork and schoolwork helps pare down your collection to a manageable size.
Again, at some point, you’ll have to decide what you’ll do with them. Keep them in digital albums, make slideshows, print out the pictures and add them to your child’s album, or make a photobook full of their masterpieces.
Your turn: What’s your system for organizing your kids’ artwork?