
How to Paint IKEA Furniture (from Someone Who’s Painted the Same BILLYs 5 Times!)

Many great IKEA hacks begin with paint. But while you may know how to paint a room and how to paint wood furniture, painting IKEA furniture can be a different beast entirely. That’s because while the retailer features furniture made from a range of materials, its most common is particleboard covered in laminate. The combo is super affordable, which makes it a great option for budget-friendly projects, but the slick surface can be tough to paint for a lasting finish that doesn’t bubble or peel.
Over the years, I’ve painted a number of IKEA pieces, including the same BILLY bookshelves five different times for five different looks. (And those bookshelves lasted through three homes over nine years!) In that time, I’ve developed a go-to method for painting that relies on the crucial step of priming. I’ve found that’s more important than any other step — even sanding!
Even knowing how important priming is, there was an instance recently where I was trying to quickly finish a room project and I cut corners, applying paint to the raw surface without a bonding primer. Needless to say, it looked like it had been ravaged by an animal’s claws just a few weeks later. Lesson learned: When it comes to painting laminate furniture, you really cannot afford to skip steps.
The more effort you put into painting laminate furniture, the better it will look in the end. Take your time and you’ll end up with a really nice looking piece; rush through, and you’ll just end up having to redo your work. Here’s what you need to know before you paint laminate IKEA furniture. Follow these steps, and you’ll get a perfectly painted finish every time.
How to Paint Laminate IKEA Furniture
- Disassemble and prep
- Lightly sand
- Wipe clean
- Apply primer
- Paint two coats
- Seal the surface

What You’ll Need to Paint IKEA Furniture
Materials:
Tools:
How to Paint IKEA Furniture, Step by Step

Disassemble the IKEA piece and prep your workspace.
If possible, always paint your furniture disassembled; it’s a much faster process and allows you to be more accurate.
It’s easy if you’re painting a new IKEA piece, since the items will be packaged disassembled. If you’re painting a piece you already own, take as much of it apart as possible before proceeding. (Here, I was only able to remove the drawer hardware without damaging the furniture.)
You should also lay down a drop cloth at this point to protect your workspace.
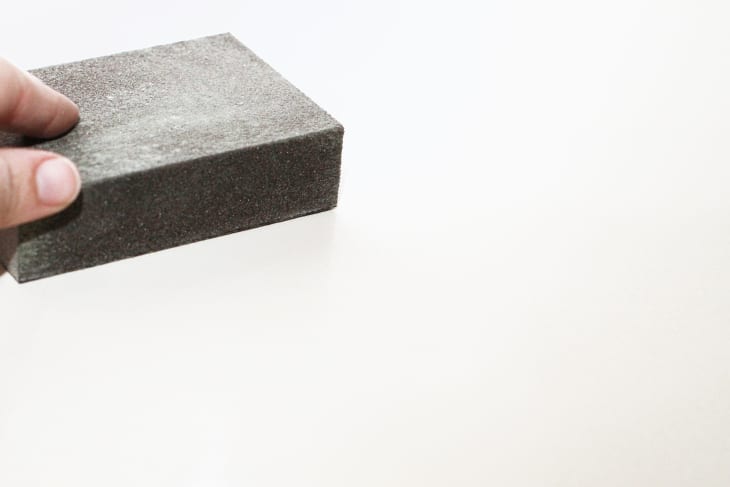
Lightly sand the surfaces.
When you’re painting a supersmooth surface like laminate, you will usually need to de-gloss or slightly rough up the surface to help your primer grip it. Use a fine grit sanding block to do this.
Do you really have to sand the surfaces? That depends on the type of primer you plan to use. See our expert advice below.
Wipe all surfaces clean.
After you sand, be sure to use a damp cloth to wipe away any remaining dust, then follow with a dry cloth. Running a tack cloth over the surface will help collect any debris left behind.
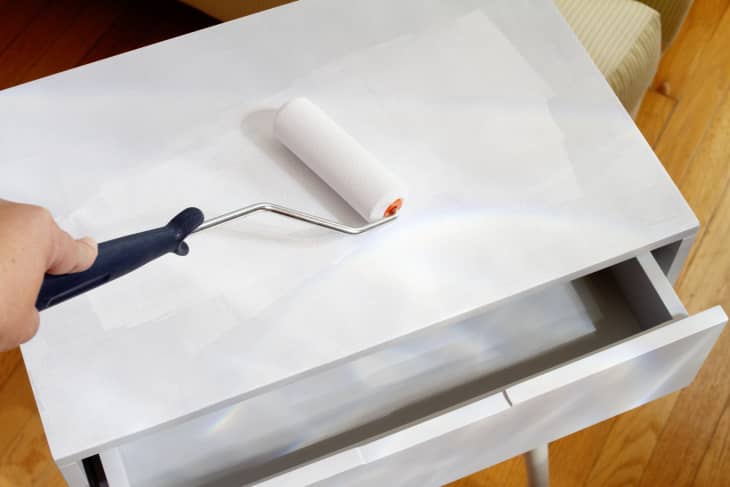
Prime all surfaces.
Using the correct primer is key when it comes to painting laminate.
You have a few options to choose from. I used water-based Zinsser Bulls-Eye 123 here. For pieces that will be high-traffic, choose a shellac primer.
Whichever primer you use, make sure that is made to adhere to laminate and glossy surfaces without extensive sanding.
You might use painter’s tape at this stage to protect any areas that you don’t want to prime and paint.

Paint at least two coats.
Apply the first layer of your selected paint to the surfaces of your furniture. You can use the same roller you used for your primer, or a paintbrush.
Be careful to keep your paint layer thin. It’s better to apply two thin coats than one thick coat for complete, even coverage.
Once your first layer has dried a bit, apply the second coat. Follow the instructions on your paint for the recommended wait times between coats.
And yes, you can use spray paint — it just takes a while longer to build up the layers for a nice, even finish.
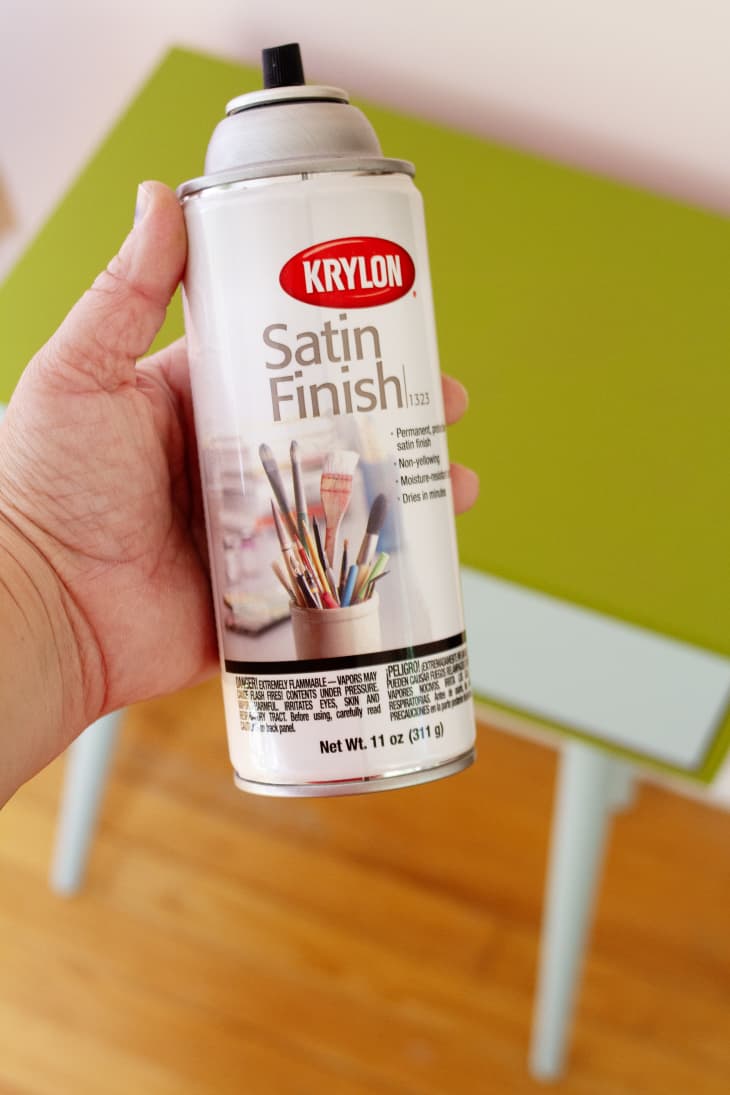
Finish with a protective sealer.
Wait until the last coat of paint is completely dry, then cover the surface with a sealer.
If you’re painting a piece of furniture that won’t be getting a lot of traffic, a simple spray-on clear acrylic sealer will do the job (just be sure to match the sealer finish to your paint finish).
However, if you’re painting shelving, a door, drawers, or something that will see a lot of action, you’ll want to use something heavy duty, such as Minwax Polycrylic sealer.
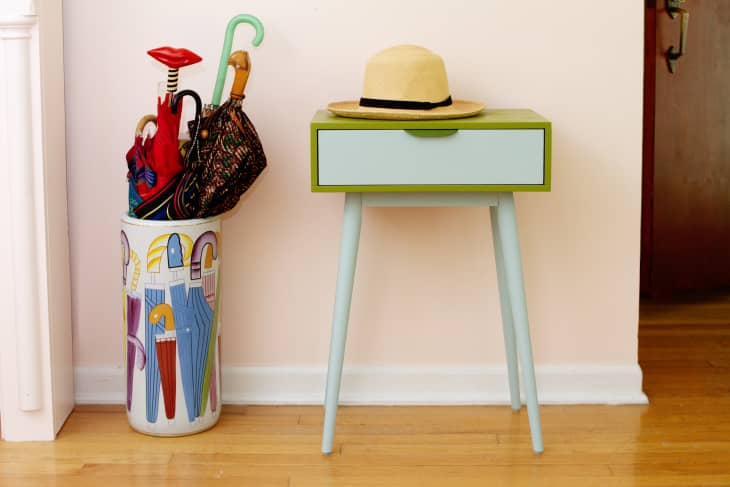
Give the furniture ample time to dry and cure before assembling per the instructions on the can. It’s best practice to add a day or so for good measure. Then you’re ready to display and use your newly remade IKEA furniture!
Do You Have to Sand Before Painting Laminate?
There’s a lot of conflicting information out there about whether or not you have to sand a piece of furniture before you paint it. The confusion relies on the fact that sanding once was absolutely necessary to enable paint to adhere to smooth surfaces such as laminate or melamine.
Fortunately, professional painter Jason Paris says, “There are some great modern primers out there that stick to nonporous surfaces like laminate without needing to sand first.”
If you want to save yourself time and effort by skipping the sanding step, buy a high-quality adhesion primer that can be used on nonporous surfaces such as laminate. Before applying the primer, Paris says to “clean the surface well with a degreaser or mild detergent.”
There is still a major benefit to investing the time and effort to sand a surface before painting. “A sanded surface is less likely to peel or chip, making your paint job last longer, especially on pieces that get a lot of use,” Paris notes. Additionally, “if the furniture has scratches or small dents, sanding can smooth them out,” he says, “giving it a nicer, more professional finish.”
Pro Tips for Painting IKEA Furniture
- If you’re making over something that will get a lot of heavy use, choose a primer with a shellac base (such as Zinsser’s B-I-N). It smells terrible, but dries rock hard and is the best defender against chipping paint for a piece of furniture that will see a lot of action.
- A supersmooth roller brush is the best tool for the job, but if you’re looking for an even more professional finish, use a paint sprayer.
- When possible, paint furniture disassembled.
- Allow as long as you possibly can for the sealant to dry before assembling and using your piece of furniture.