
How To Paint Furniture for a Professional-Looking Finish
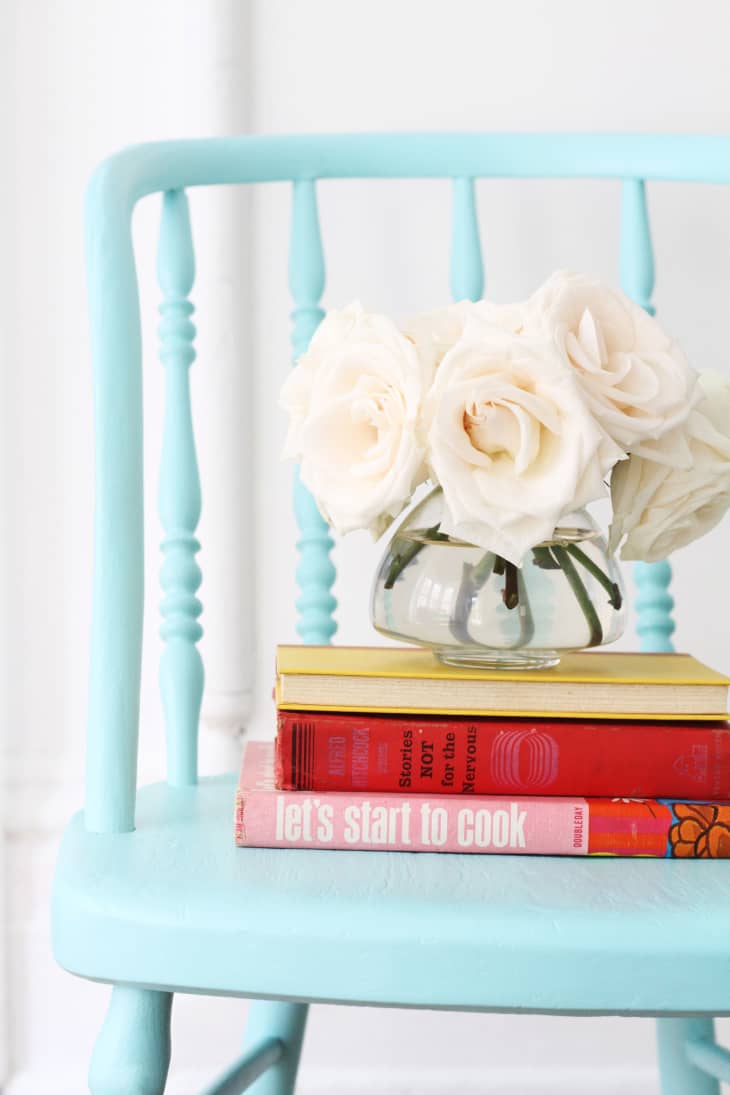
Painted accent pieces can add charming touches for your home but can be less than charming if painted incorrectly. The process might not seem difficult at all- apply paint, dry, repeat- but if you want a clean, professional finish, there are a few more considerations and steps involved.
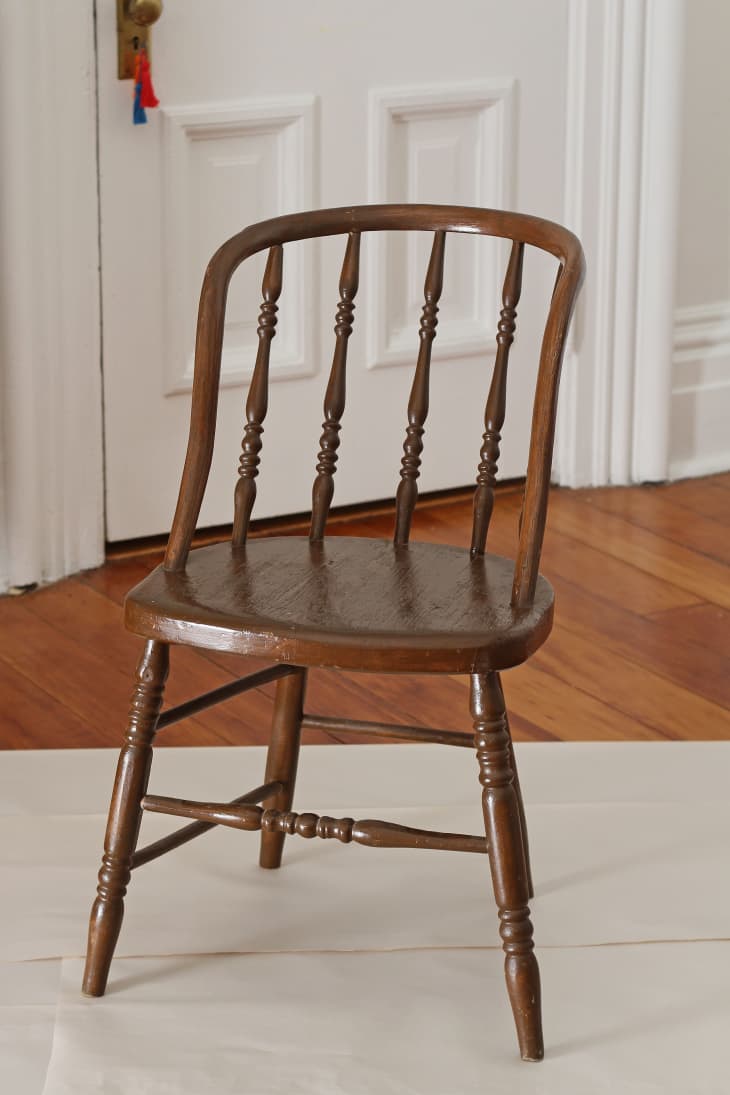
When painting a really nice piece, you need to put in just as much effort in the prep and sanding stages as you do in the painting stages. The more time you spend on prepping the piece, the less maintenance you’ll be doing on small chips of paint in the future.
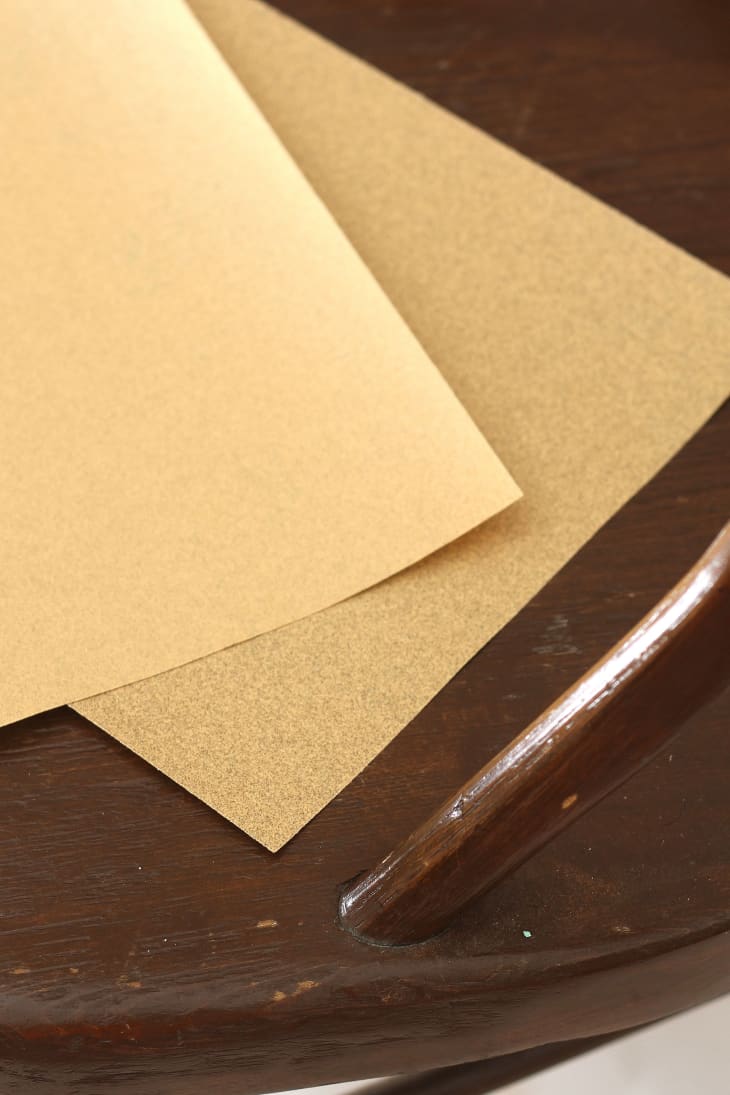
Pick up a combo pack of sandpaper that includes medium and fine grit. You’ll be using the medium grit to knock off the finish, so your primer will better stick, and the fine grit to sand between painted layers.
What You Need
Materials
- Medium grit sandpaper
- Fine grit sandpaper
- Primer
- Semi-gloss paint
- Finishing wax or polycrylic sealer
- Dropcloth
- Paint brush or smooth finish paint roller
- Lint-free rag
- Oil soap or all purpose cleaner
Instructions
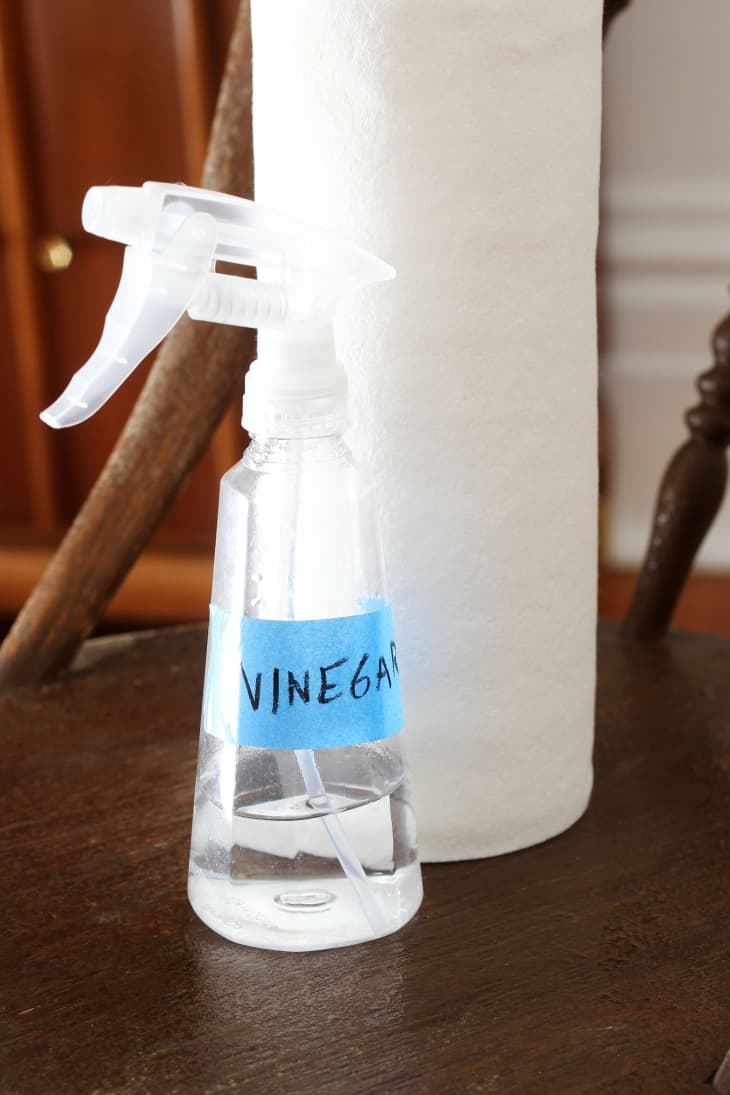
1. Wash well. Murphy’s Oil Soap or plain old vinegar and water are my go-tos. Let the furniture dry completely, then move on to step 2.
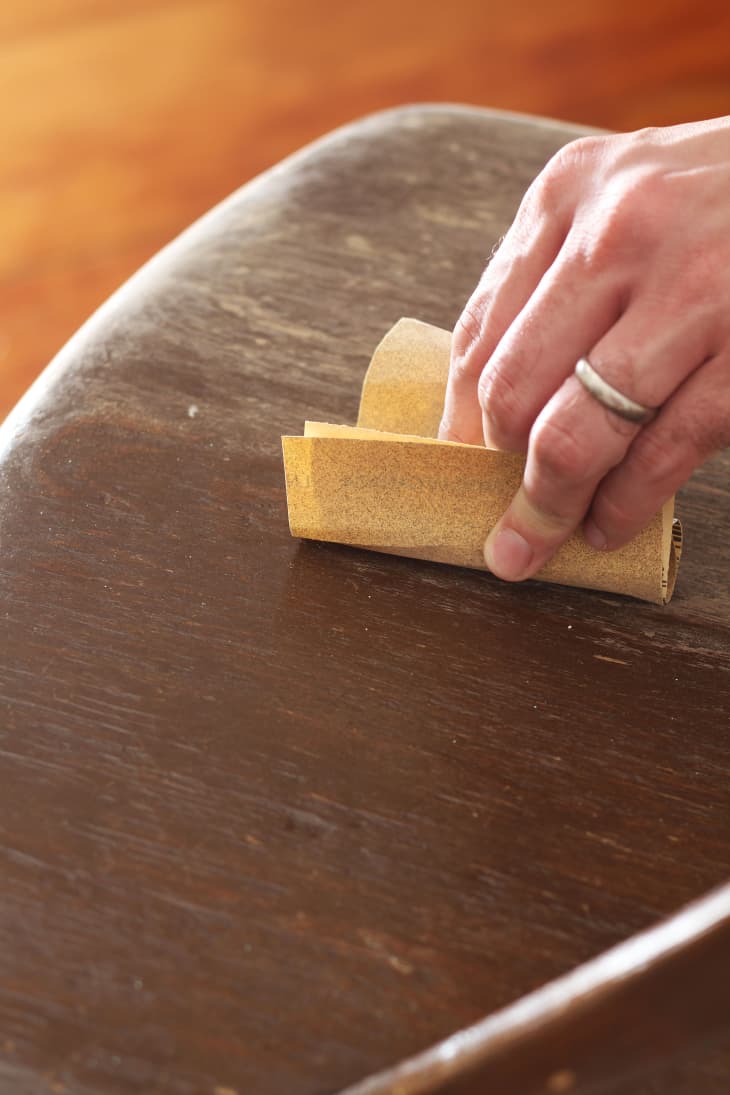
2. Using medium weight sandpaper, sand off any glossy finish so the piece is dull and flat.
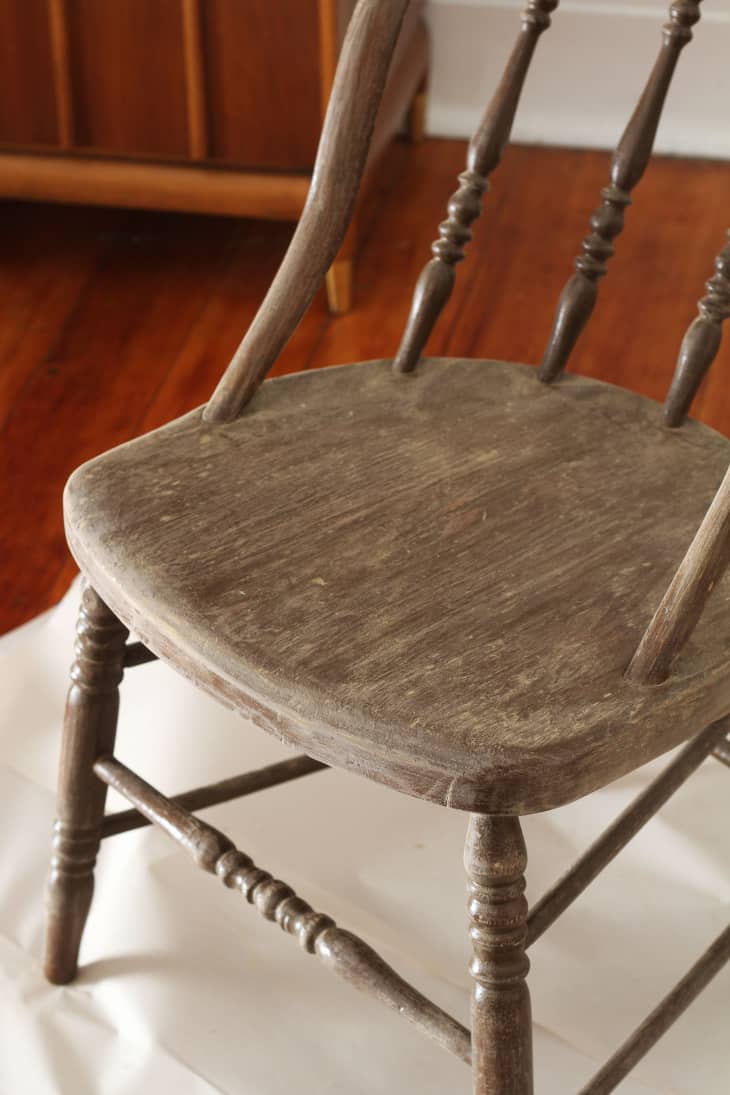
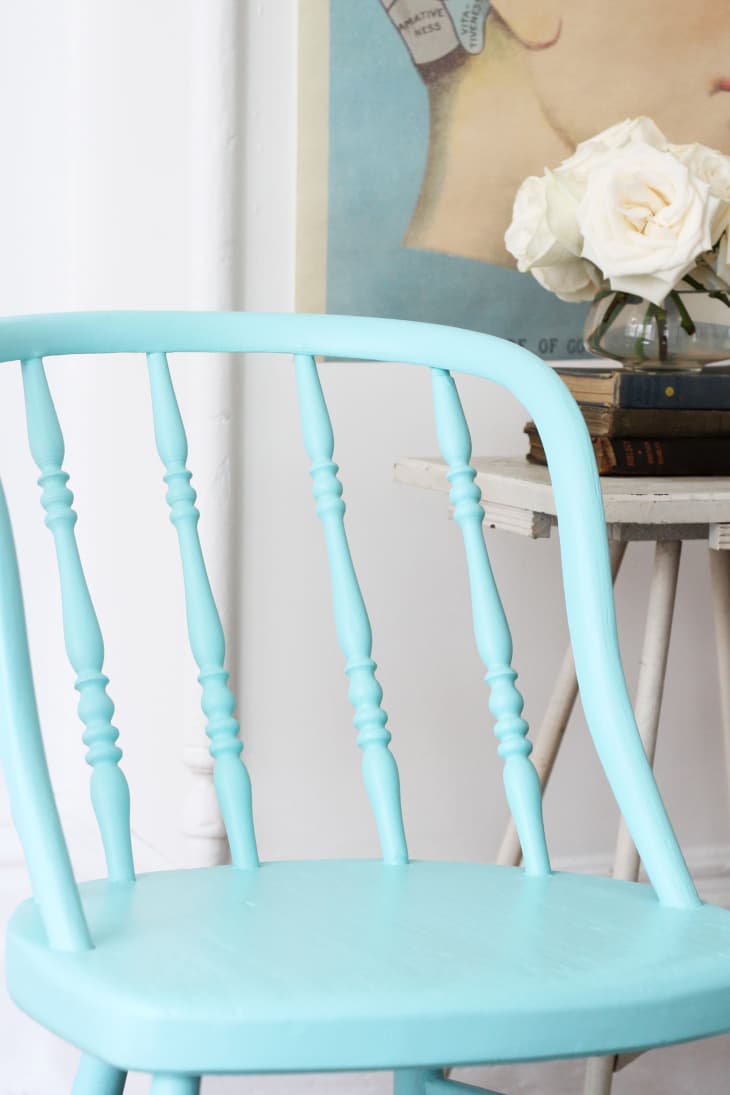
If you have a really old or textured piece like my chair and want a completely smooth finish, spread wood putty over the entire surface to fill in the cracks and gaps. After it dries, sand it down and begin the priming and painting process.
3. Brush off the sanding dust with a lint-free rag (or use the brush attachment on your vacuum) and wipe with a vinegar and water spray.
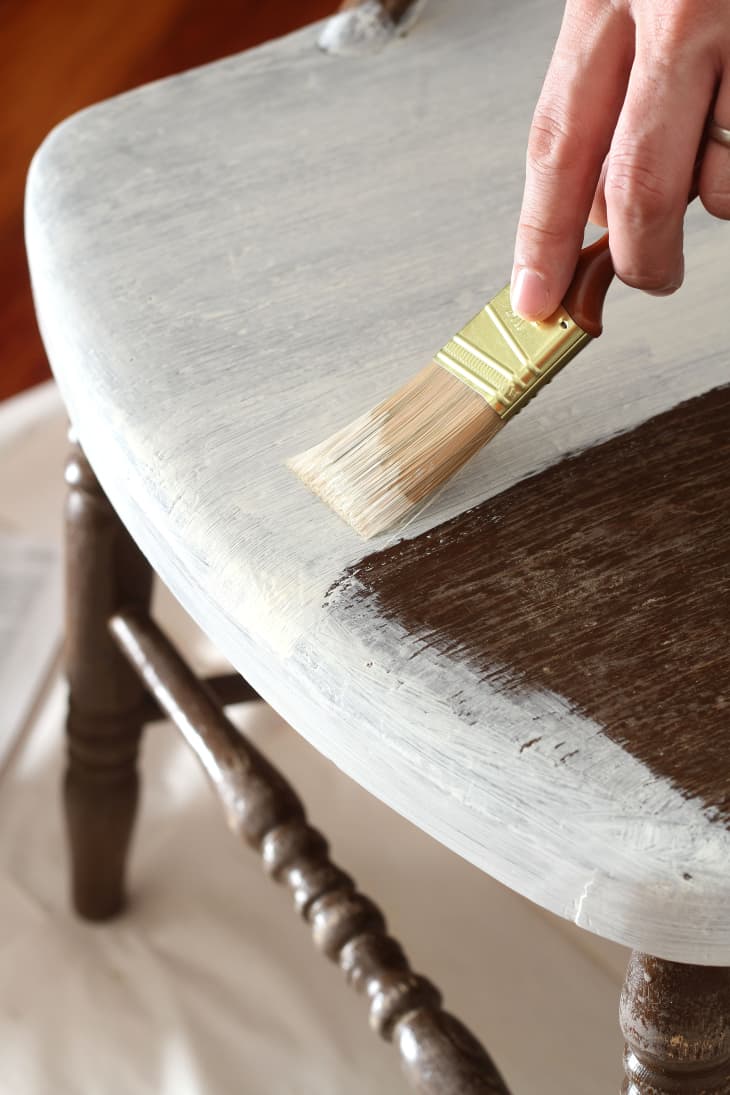
4. Apply one coat of primer, following the direction of the grain, being sure to get paint in all the nooks and crannies and trying not to leave any drips behind. (If you accidentally find a drip or paint blob after it dries, it can easily be sanded down in the next step.) Let the piece dry overnight so the paint has time to cure.
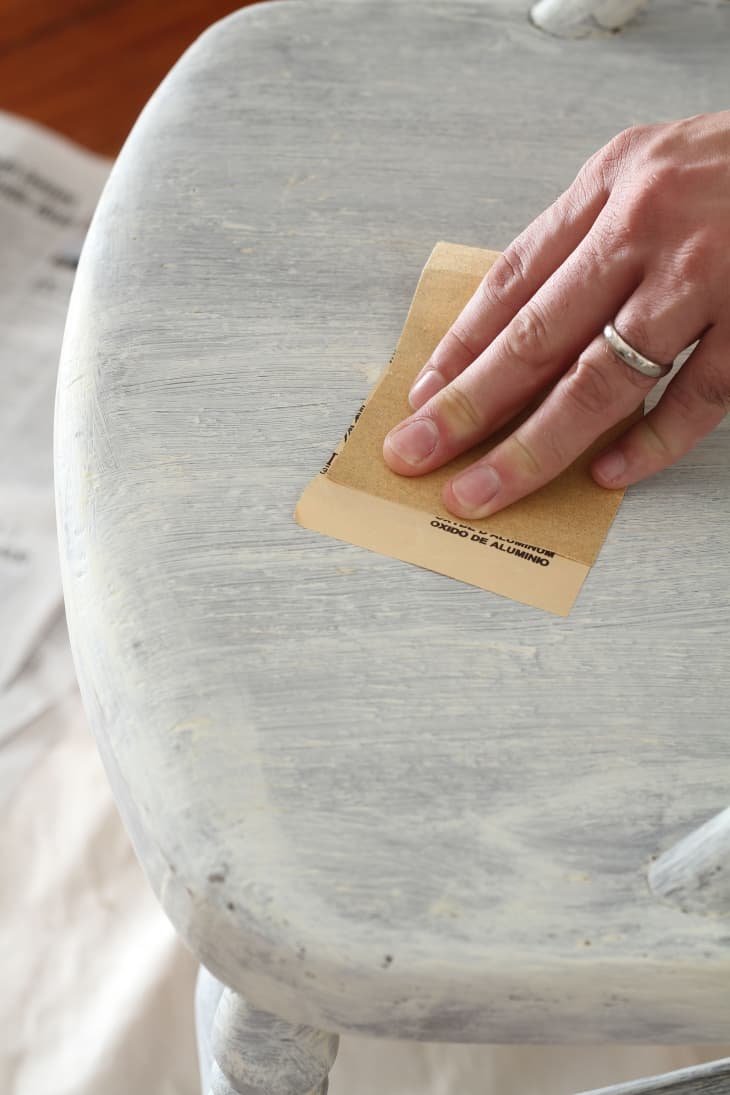
5. Sand down the primer using a fine grit sandpaper. You don’t want to expose any of the wood underneath- you’re simply skimming the surface, knocking down any ridges or thicker areas created with your paint brush or roller for a super-smooth finish.
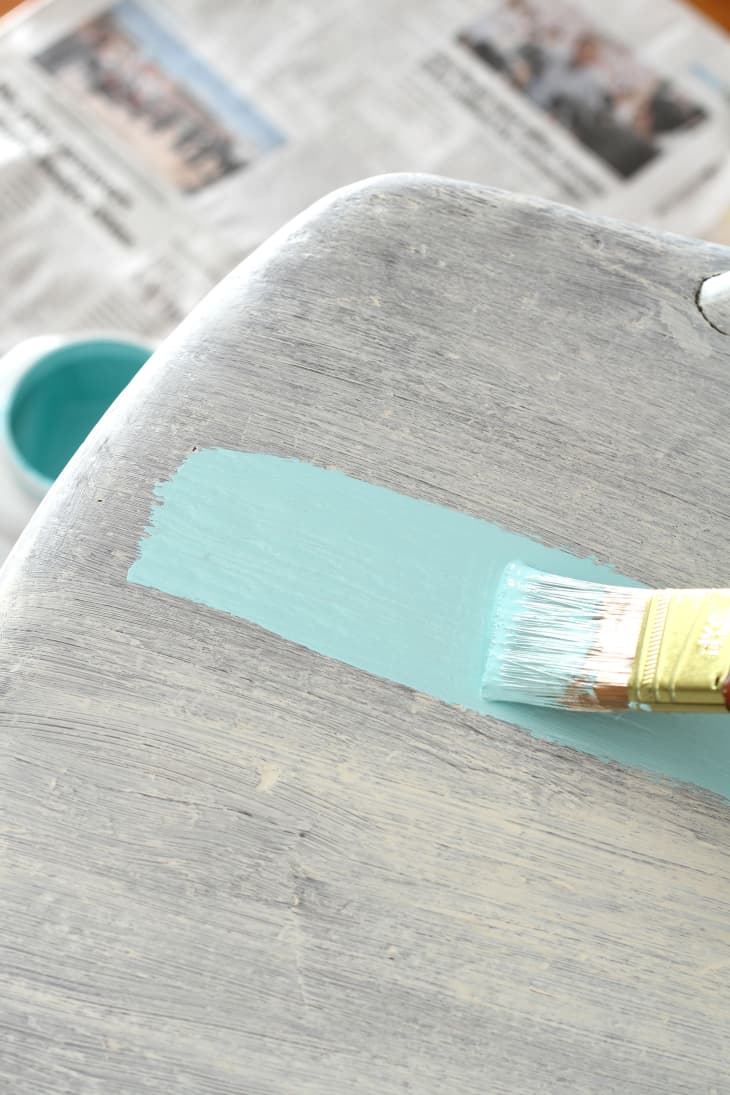
6. Apply the first coat of semi-gloss with a good quality brush or foam roller, following the direction of the grain as you apply the paint.
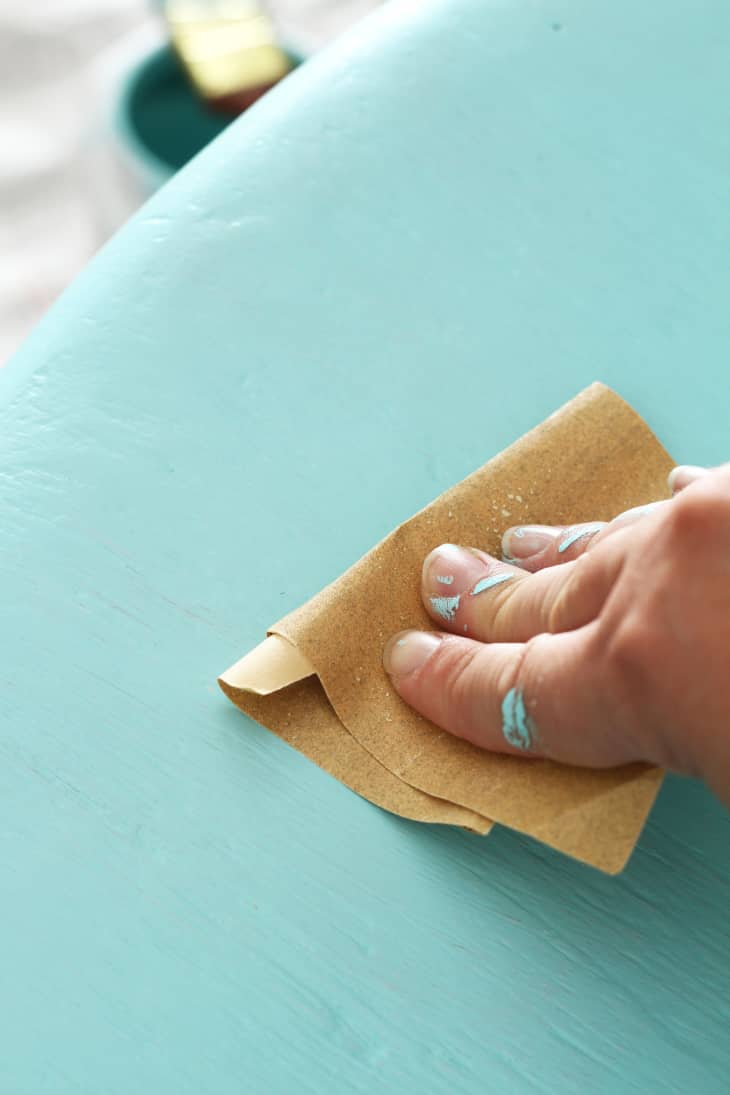
7. Lightly sand down the first coat for a super-smooth finish. Brush off the sanding dust and wipe with a wet rag.
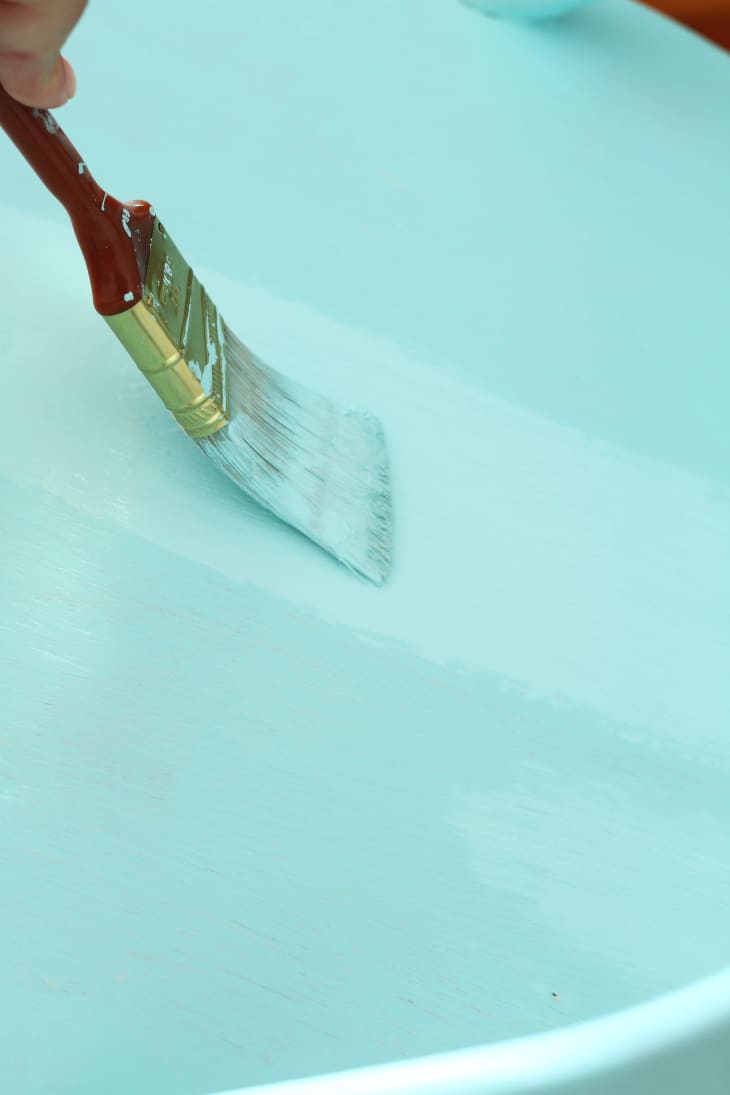
8. Apply many more coats of paint, sanding between each. The more layers of paint you apply, the stronger your finish will be, making the piece less susceptible to chips and cracks.

9. Seal with a clear finishing wax, or spray with a polycrylic sealer to protect the finish.
Have a really great DIY project or tutorial that you want to share with others? Let us know! We love checking out what you’re making these days, and learning from our readers. When you’re ready, click here to submit your project and photos.