
This Is Why Leaf-Pressing Belongs on Your Spring Bucket List
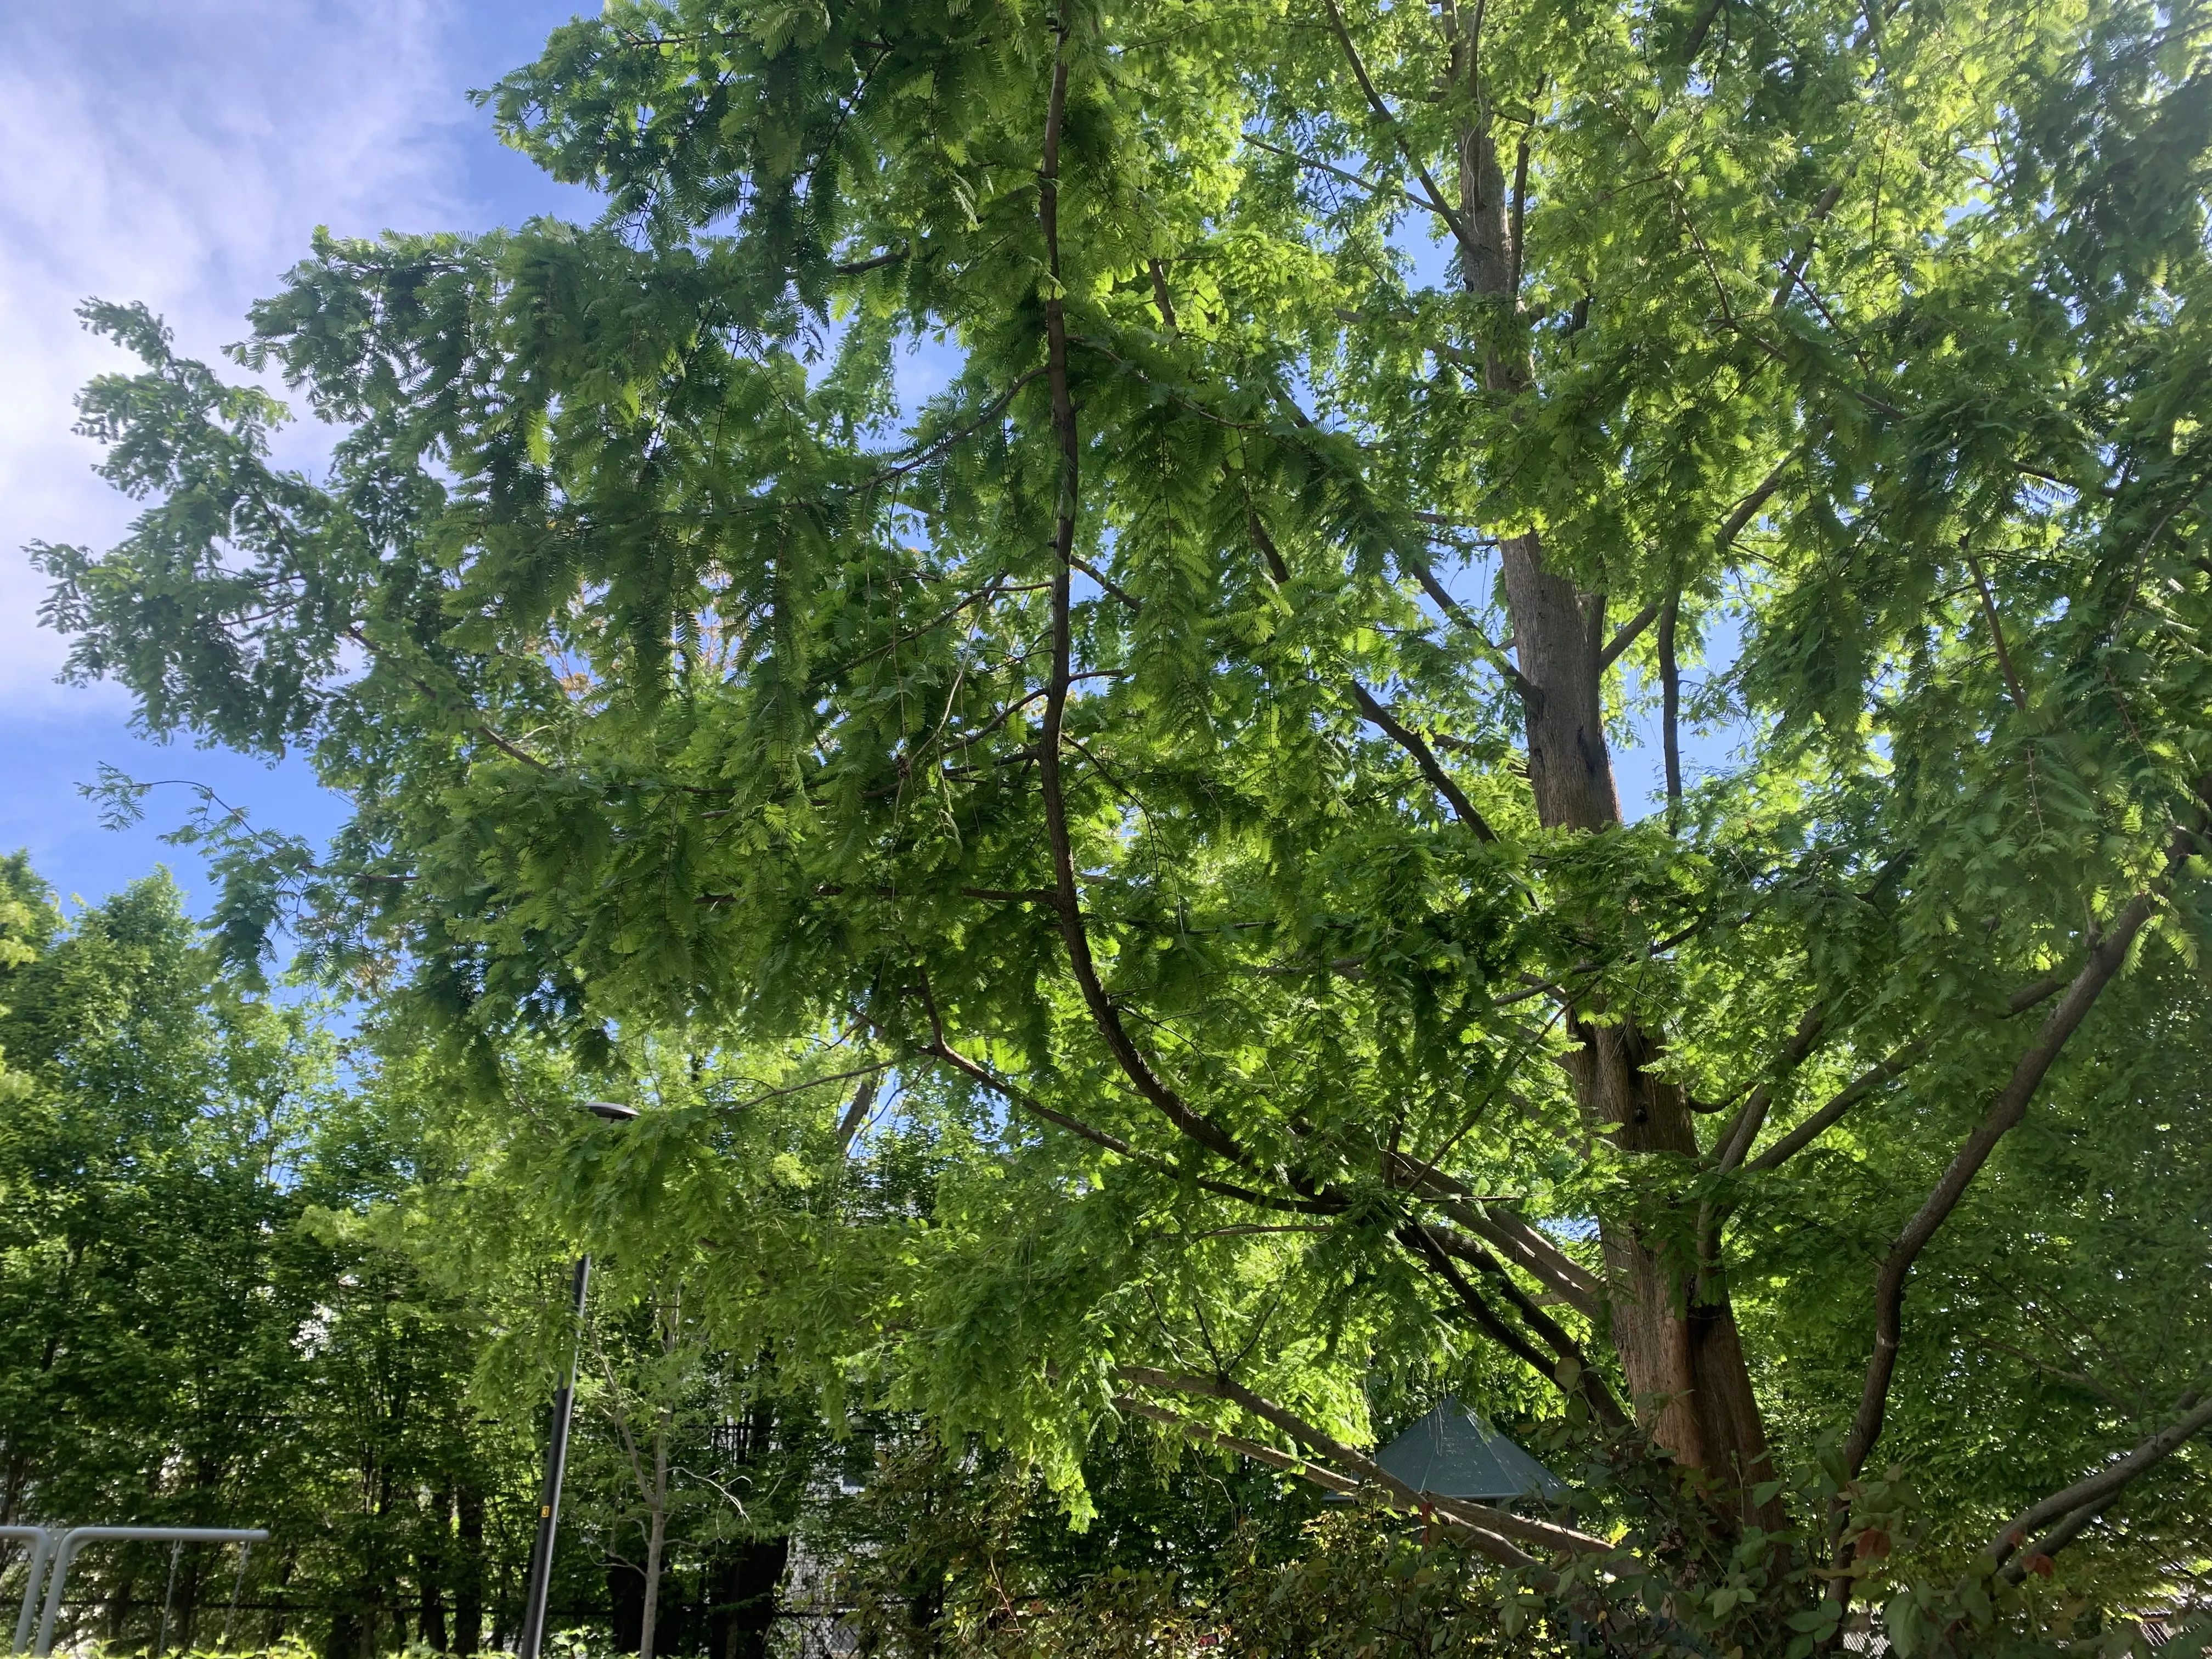
I can always tell winter has truly passed when I get a familiar text from my mom: “The first blush of spring!” Attached is usually a photo of a tree half-full with tiny green buds, weeks away from sprouting into leaves. After a long season of looking down at icy sidewalks, looking up to leaf-watch is one of my favorite parts of spring.
As glorious as the progression from bud to autumn foliage is, I always find myself wishing for a way to
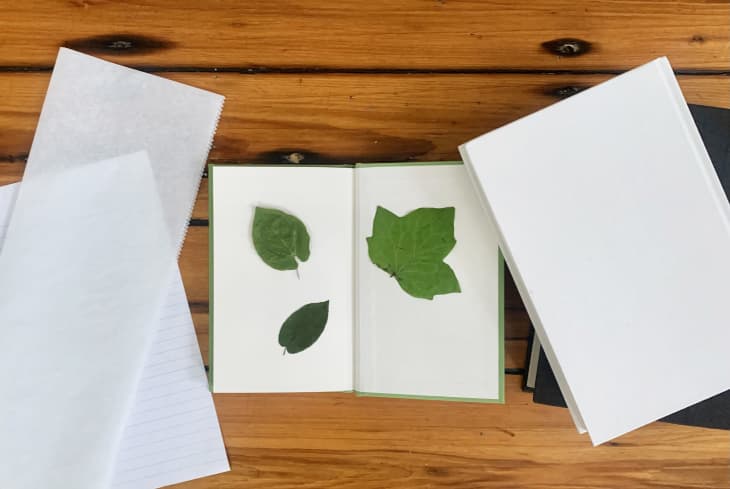
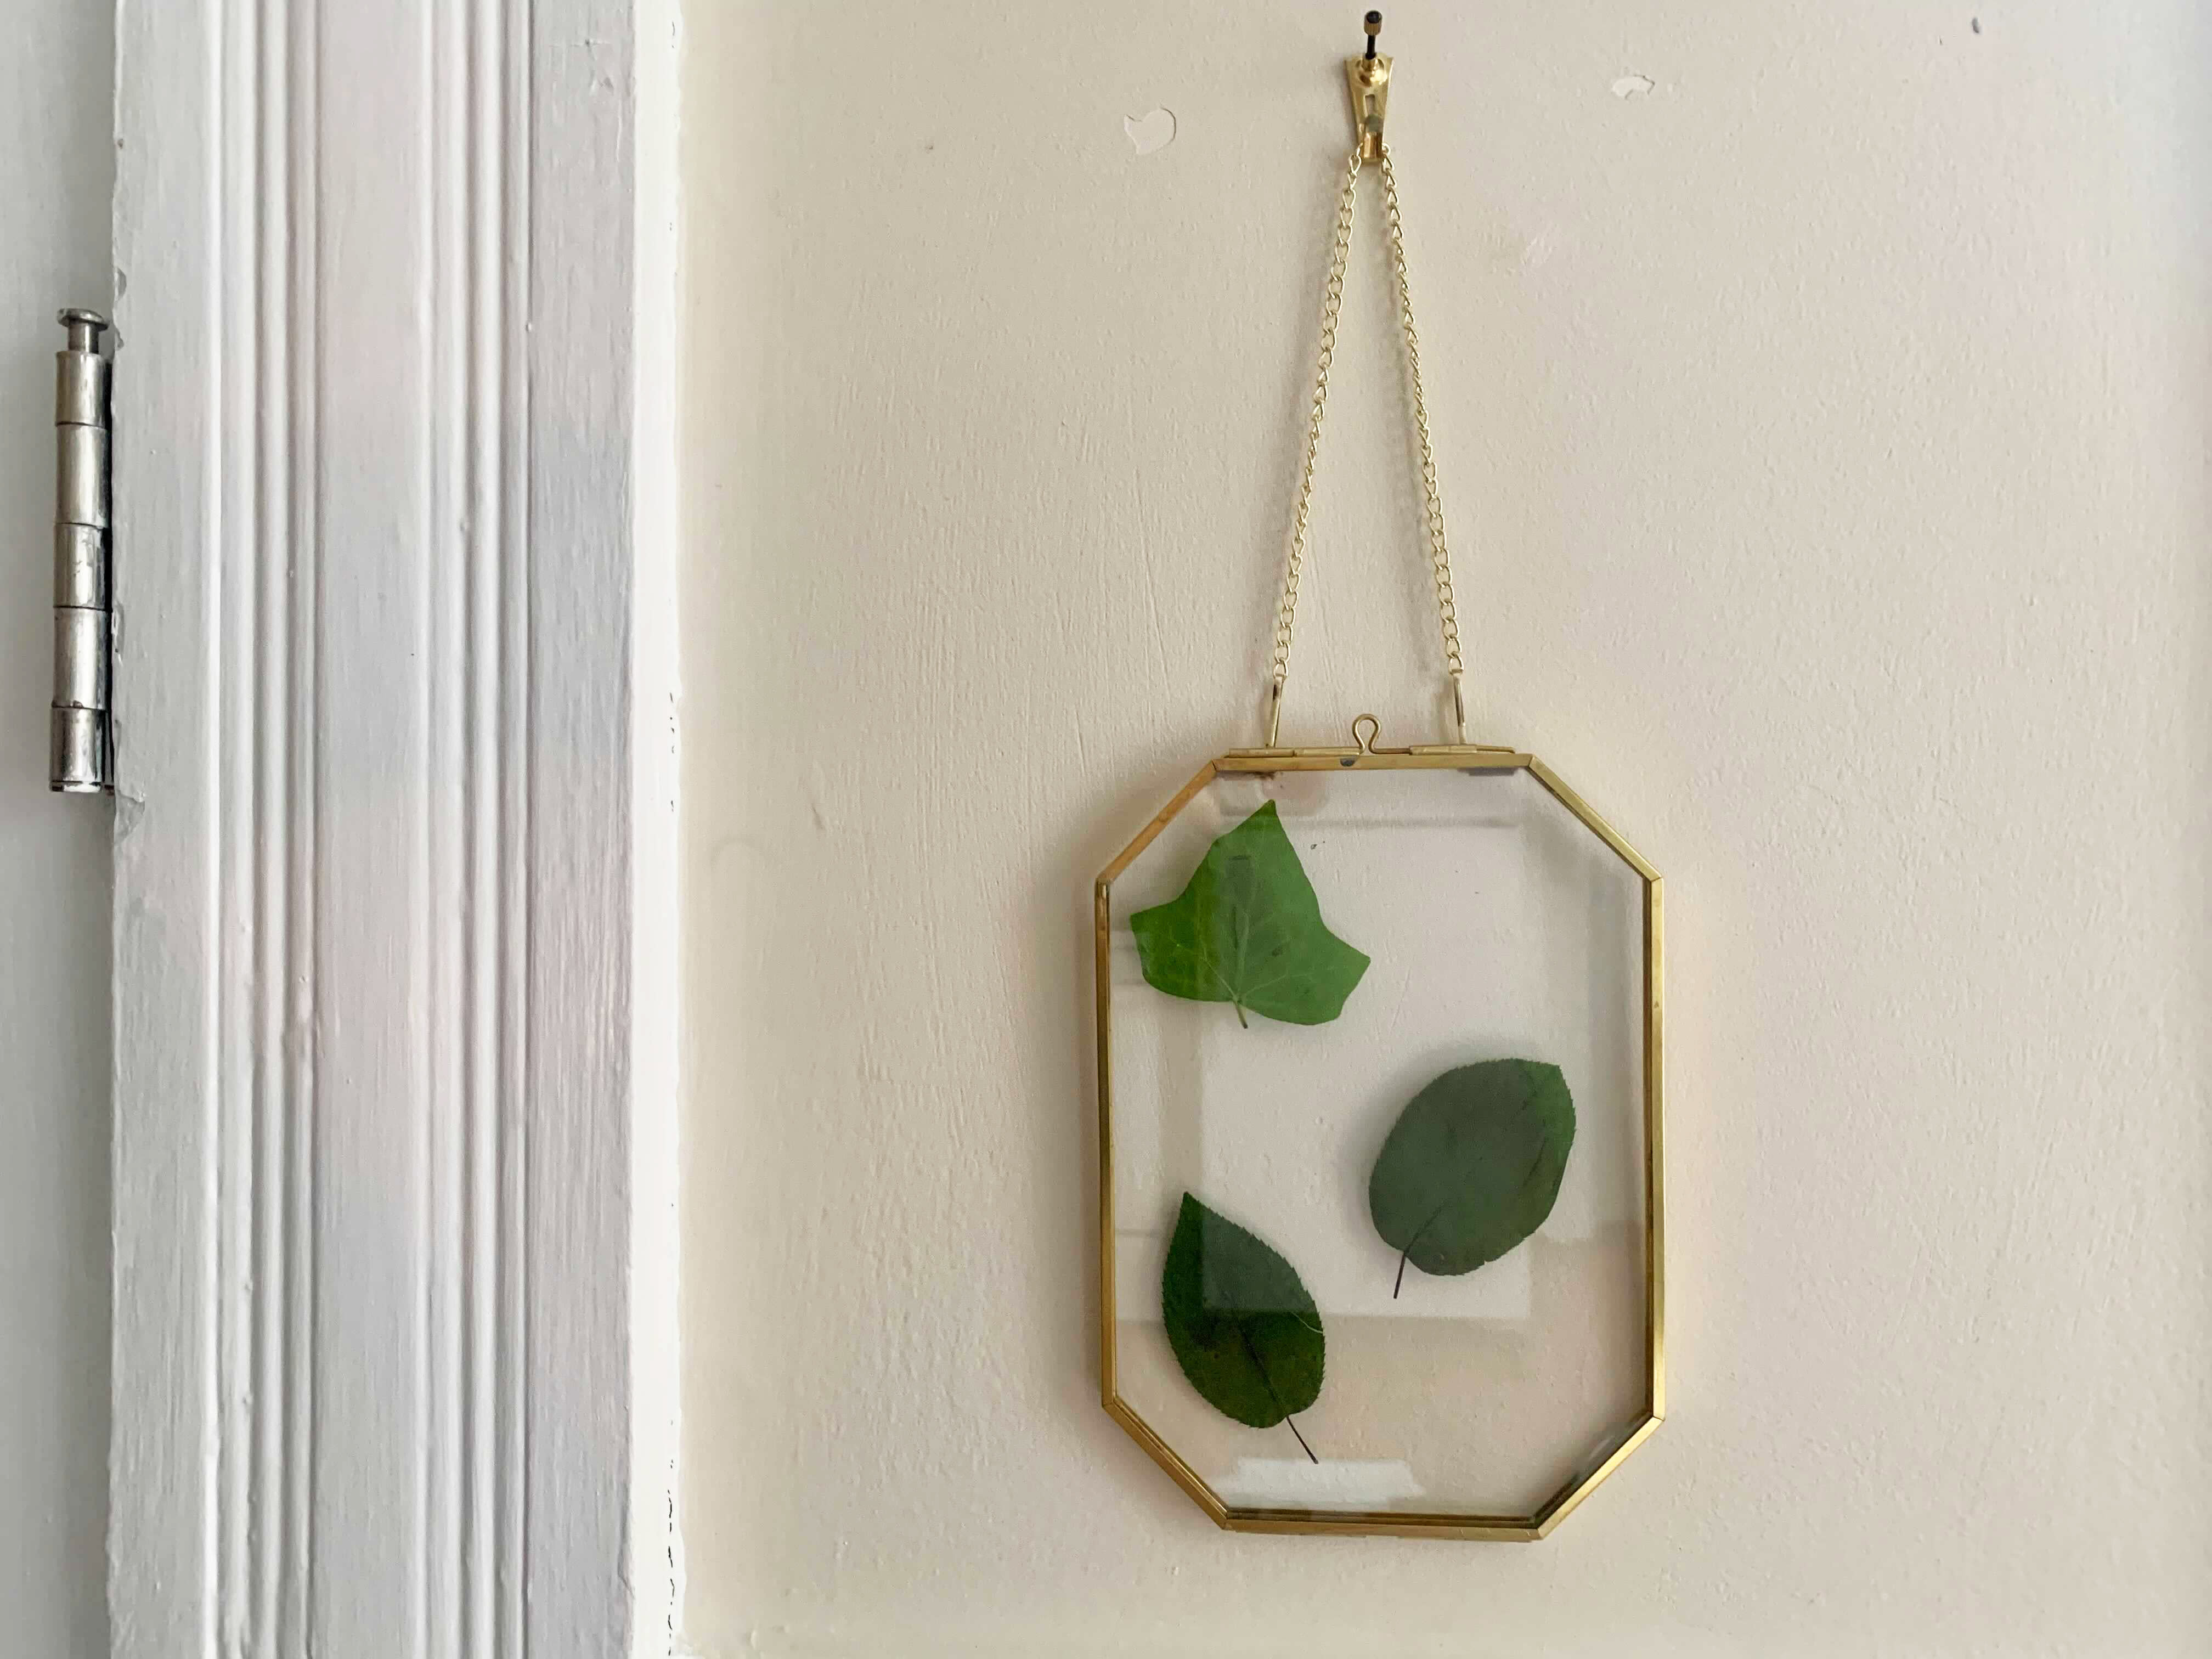
The last time I remember pressing leaves, I was in elementary school, sandwiching them between the thin pages of a giant red dictionary, which I also still used to look up words. To recall the youthful wonder that fostered this activity, I reached out to early childhood educator Romana Mohiuddin, who also teaches a university course about the importance of play in childhood development. “When my son was young, I observed how he marveled at all things big and small. He especially loved the trees and the autumnal hues of fall,” she says. “Nature-based art can cultivate this poetic sensibility [toward a child’s environment] and foster mindfulness that has emotional benefits throughout the lifespan.” Cultivating mindfulness and appreciating nature can be difficult to remember to do in adult life, especially living in the city. But Mohiuddin’s words are a reminder that I can tap back into that patience for small, nice activities that really have nothing to do with work or productivity — but are worth doing for that very reason. Preserving leaves can be a choose-your-own-adventure of sorts in that there are few ways to go about it: You can seal them in between sheets of wax paper with an iron, soak them in a glycerin solution, or gently microwave them to dry them out. But the easiest and most nostalgic method, in my opinion, is just to press them in between the pages of a heavy book. Before you get to pressing, the first step is to find the leaves in question. Take to your favorite walking trail, nearby park, or backyard to look at the local nature with a fresh eye. There’s no golden rule to picking the best leaf, but Gayla Trail, author of “Grow Curious: Creative Activities to Cultivate Joy, Wonder, and Discovery in Your Garden,” has some tips. “Collect plant materials on dry days after the morning dew has evaporated,” she writes in her blog You Grow Girl. Drier, flatter leaves will be easier to press than ones with high moisture content, so your succulent houseplant may not be the best candidate. “Leaves from plants such as Japanese maple, gingko, or sage are much easier to press than the thicker, wetter leaves of tropical houseplants,” Trail writes. Scouting out fronds that are free of fungus, bug bites, or other blemishes will also help them preserve more neatly. In the fall, there’s a whole prism of beautiful foliage, but in the springtime there are lots of interesting options, too: Play around with leaves of different sizes, textures, variegations, and varieties. Picking a leaf up from the base of your favorite tree or from the grass in your preferred park can be a sweet way to preserve that place. Now that you have your lovely leaves, you’ll want to gently wipe them of any dirt or surface moisture to ensure the color shines through. As a completely optional precaution, you can then soak the leaf in a bit of fabric softener to help keep them from getting brittle as they dry out, but I decided to skip this step. To pre-dry them before fully flattening them, I laid my leaves out on a sheet of printer paper and topped them with another piece of paper, then stacked a couple of cookbooks on top. Using an absorbent material like scrap paper, newspaper, or special blotting paper in this first stage can help the leaves dry out now to ward off rotting later. After a day or so, I carefully plucked my leaves from the paper and positioned each one in between a piece of folded parchment paper. Then, I tucked the parchment packets in between the pages of a sturdy book, and piled a few more on top. “I’ve found that while a proper flower press is helpful for travel, a really big book works just as well for most plants and is my preferred press to use,” Trail advises. I wouldn’t recommend choosing a valuable first edition or a book you open often, just in case some moisture seeps through to damage the pages — I, for example, thought about using my beloved copy of “Dessert Person” but realized I wasn’t willing to sacrifice access to those recipes for weeks at a time. All that’s left to do now is wait! After about two weeks, you can check on the leaves and likely take them out to enjoy. The possibilities are endless, really, but here are a handful of ideas to get started: I opted for an incredibly simple DIY. I picked my favorite pressed leaf of the bunch and slipped it in between the panes of a floating, gold picture frame. I hung it on a sunny yellow wall in my kitchen, where it reminds me to get outside and play every time I see it. Why should you press leaves?
How do you press leaves?
Step one: Choose the leaf.
Step two: Prep the leaf.

Step three: Press the leaf.
What should you do with pressed leaves?