
How I Do a Successful Seasonal Closet Swap Twice a Year
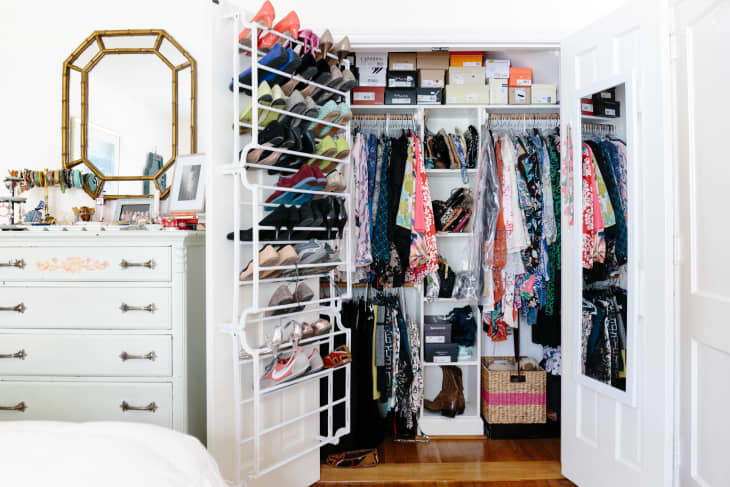
No matter how minimalistic I became or the size of apartment I upgraded to, I could never quite figure out how to comfortably fit all four seasons of clothing (and shoes and accessories) in my closet. Even after I began a professional organizing business and learned every trick of the trade, I came up short on space. While living in New York, where the temperature changes drastically over the year, I didn’t actually need to store everything all at the same time. So, I created my seasonal swap system that works like a charm each time I use it.
I switch out clothing twice a year, once in the spring and once in the fall. Here, I’ll go through the method, step by step, so you can use it for yourself, but feel free to tweak it to fit your seasons, lifestyle, space limitations, and so on.
First, find some storage space
This might be the hardest part, but it’s necessary. If about 50 percent of your wardrobe won’t be sitting in your closet all year, where will it be kept? Now, keep in mind that it will be condensed down in size (I’ll get to how) so you don’t necessarily need a large area to store your clothes in.
Admittedly, for years I “borrowed” space in my parent’s house when my apartment was especially tiny. I’ve also used another closet (like the second bedroom or coat) and even sucked it up and rented a storage unit (a controversial move for a professional organizer). Think about where you have, or can create, a little extra space that’s out of your way. Heck, even under your bed is an option if you’re desperate.
Next, have supplies on hand
The first time you do this, it might be tough to gauge how many bins, buckets, or bags you need, but you’re going to use your best guess and then tweak accordingly. The supplies I use are:
- Space bags. Any large size usually works and I recommend reading reviews to ensure they’re good quality. These are the ones I use and recommend to clients.
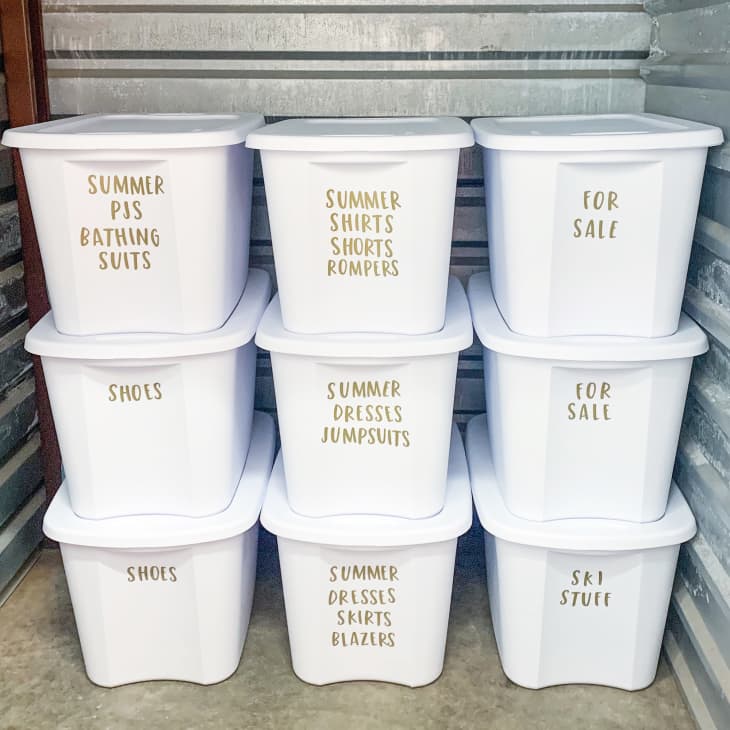
- Tote bins. I’m a fan of these 18-gallon bins, but use what will work for your space and make sure they’re wide enough to fit the length of the space bags. If you’re using your under-bed space, opt for containers like these instead.
- Shoe bags. There’s no need to be fancy here. I use an inexpensive set like this one. Alternatively, you can use an organizer like this one for shoes or this one for boots. Note: It’s best to try and get an accurate count of your shoes — specifically bulky winter ones — before purchasing so you know how many bags or slots you’ll need.
- Labels. While I eventually got fancy with mine, there’s no need. Use a simple label maker like this to mark the outside of the bins.
- Trash bags. For any donations or trash you come across.
I get a lot of questions about if space bags are safe for clothes, and the answer is that they are, but not for long-term storage as they can cause damage, like wrinkles and creases. At most, you should only be storing your stuff for six months before they come out to prevent any damage. Avoid putting anything made with leather or fur in the bags, and if you have a particularly special item made out of cashmere or wool, you can play it safe and keep it in the closet year-round. To avoid a lingering plastic smell on your clothes, I always suggest washing them as soon as they come out of the bags when it’s time for the next swap.
Now, get to work
Set aside an afternoon as the seasons are starting to change to do your swap. I highly suggest bribing yourself with your favorite beverage and music for motivation. If you want to employ some help from a friend, go for it, but commit at least a few hours to the project. Remember, it’s only twice every year and will help you manage clutter, too.
Using a flat surface such as your bed, sort your clothing section by section. Pull out anything you can get rid of and drop it in the donation bag. For the things you’re keeping, decide what you’ll wear over the next two months. If temperatures are dropping, your pastel pink flowy top might not see the light of day again until next year. Be honest with yourself about what you’ll wear during the fall/winter and spring/summer months. If it won’t be worn in the next six months, it goes into the storage pile.
As a side note, this is a good time to inspect the clothing that you’re keeping before putting it away. Does a button need to be sewn on? Do you need to hit it with a fabric shaver? Is there a stain you missed? Taking care of your favorite things now will keep them in better condition when the seasons change again.
Then, take each section and fill the space bags, combining categories if they’re small. As an example, I usually combine bathing suits and coverups, or hats, gloves, and scarves with tights, boot socks, and winter pajamas. You may need two bags to fit all of your bulky sweaters. You’ll get the hang of it as you go, figure out if you need more or less space, and know what to expect the second year around. For shoes, go through the same process and clean or, at the very least, knock any dirt off the ones you’re keeping in storage before putting them into the bags or organizers.
Once you’re done, suck the air out of the clothing bags with the vacuum until they’re as flat as can be. Stack as many of them as possible in the tote bins horizontally (I usually fit about three per bin). You can label each bag individually or just the outside of the tote it’s in. If you’re using individual shoe bags, drop them into a bin or two. For boots that are too large for a bag, stuff them (if needed) and lay them gently on top before closing the lid.
Lastly, organize all of your off-season stuff away in the predetermined storage space and marvel at the amount of empty hanging, drawer, and shelf space. Big sister advice here: don’t use it as an excuse to go on a shopping spree. Let your items breathe and buy only what and when you need them — not because you can.