
How to Whitewash Wood for a Modern Farmhouse Look
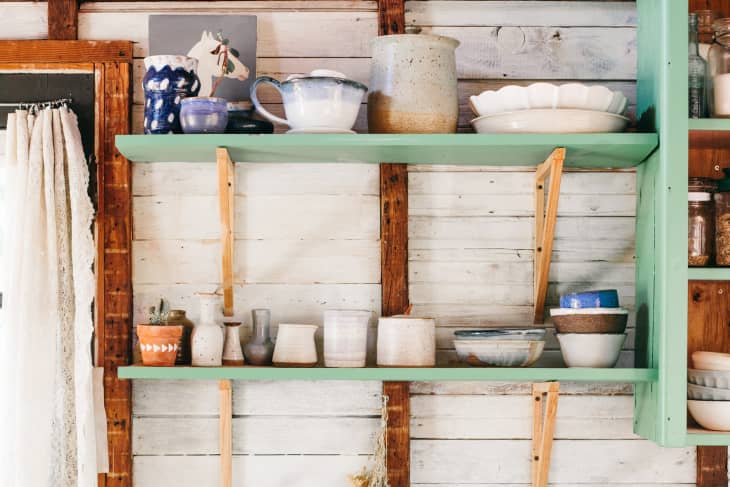
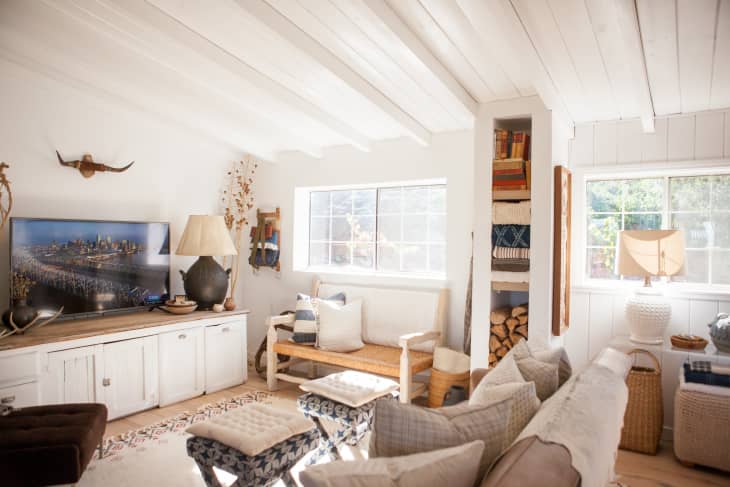
The modern farmhouse style, popularized by Joanna Gaines, is here to stay. And with it comes lots of “shabby chic” accents, like shiplap and whitewashed wood.
While installing something like wood shiplap isn’t exactly a one-day project, the latter is a project the average homeowner can complete in just a matter of hours. The textural look is a way of treating wood with thinned white paint to make it look attractively and intentionally distressed.
“Any new or stained wood can be whitewashed, such as cabinets, paneling, and furniture,” says Chuck Reger, franchise business coach at Five Star Painting, a Neighborly Company. “But pine, in particular, will produce a great whitewash finish, because of its warm tone and soft wood type.”
No matter what type of wood you use, though, it’s important to prep first. For maximum penetration and uniformity, the surface should be free of any sealer or finishes, says Andy Dickson, senior manager of training for Valspar Paint. Use sandpaper to open the wood pores, starting with a medium grit, like 150, then finish with a finer grit paper, try 220, to ensure a porous, but smooth finish. Finally, wipe with a damp rag to remove any lingering dust and debris.
Once your surface is prepped, you can begin the transformation process. Here’s what you’ll need to whitewash wood, and how to do it.
What you’ll need to whitewash wood
- White latex paint, like Valspar 2000 Flat Interior
- Water
- Empty gallon bucket
- Wood stir stick
- 2 wall and trim brushes, like the Valspar 2” Polyester Wall + Trim Brush
- Lint free cotton rag
- A polyurethane top coat, like Valspar Clear Protector
How to whitewash wood
1. Mix your paint
Pour equal parts paint and water into the empty pail and mix well with the stir stick to create your white wash, says Dickson. If you’d like a more opaque look, skew the ratio by adding a bit more paint than water; for a more transparent look, do the opposite.
2. Test your mixture
To ensure you’re happy with the finish, test your paint mixture on an extra piece of the same type of wood, says Dickson. Alternatively, you can test the paint in an inconspicuous area, like the back of a dresser. Adjust as necessary.
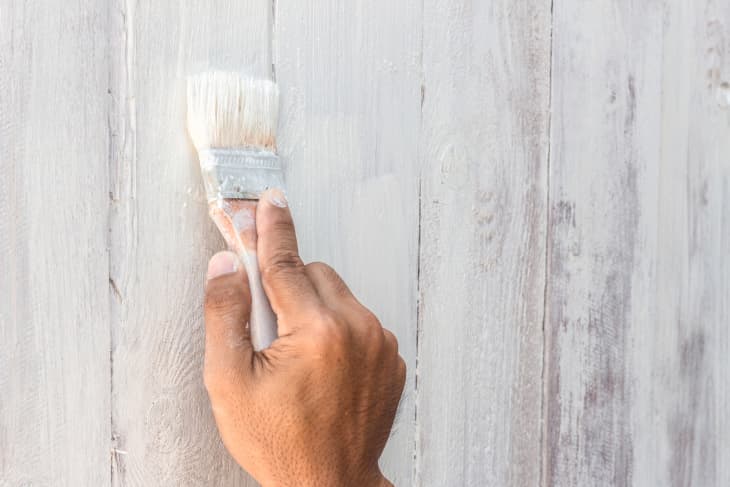
3. Apply the paint
Apply the white wash using a paint brush with—not against—the grain of the wood, says Dickson. This ensures an even, consistent look.
4. Wipe with a rag
Immediately, using the clean, lint-free cotton rag, wipe the board or piece of furniture to remove any excess white wash, says Dickson. If there are inconsistencies, apply more paint and then wipe to blend.
5. Let dry
Allow to dry to the touch—a process that should take approximately one hour, says Dickson.
When the wood is dry, examine the finish. For a more opaque finish, apply additional coats of paint, allowing adequate drying time between each one.
Once you’re satisfied, allow the project to dry fully—ideally overnight, says Dickson.
6. Apply a sealant
Though not entirely necessary, it’s a good idea to apply a polycrylic top coat once the paint has thoroughly dried, says Reger. This gives the surface a smoother feel, plus adds durability.
For best results, apply two coats of the sealant with a clean brush, allowing four hours of drying time between coats, says Dickson.