
Before & After: A Coffee Lover Orders Up a Fresh IKEA Hack
After a move that left her with more square footage, but less counter space, Stephanie was on the hunt for something to house her all important espresso machine in a stylish and functional way. Realizing that a good old fashioned IKEA hack was in order, she set about giving her soon-to-be-java-cart a new look. And I think we can all agree, it’s a grande idea!
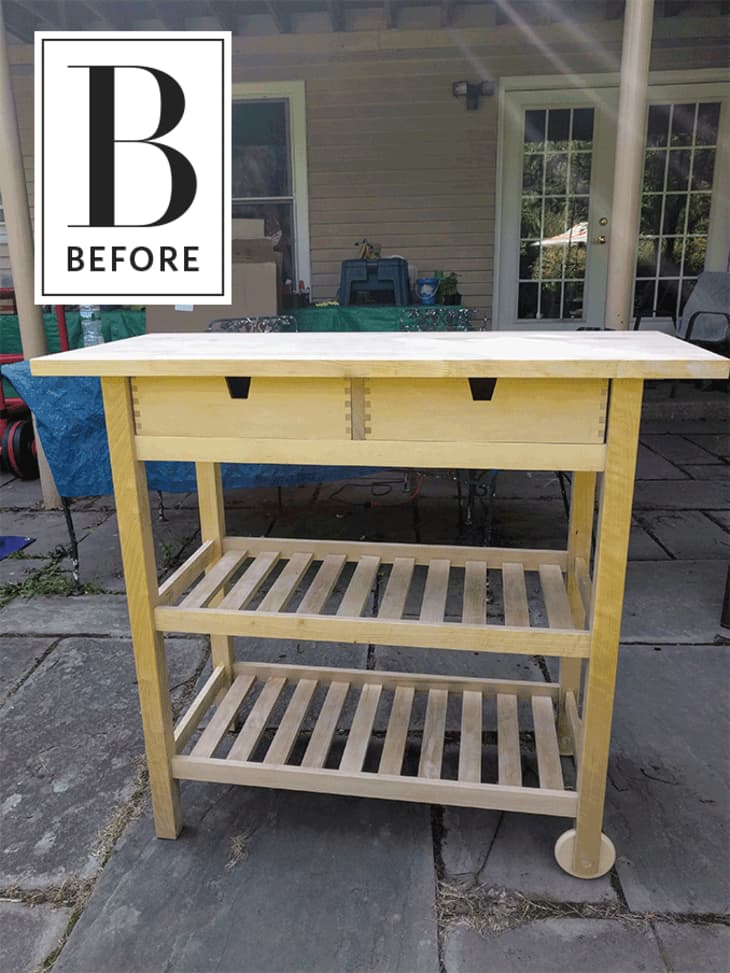
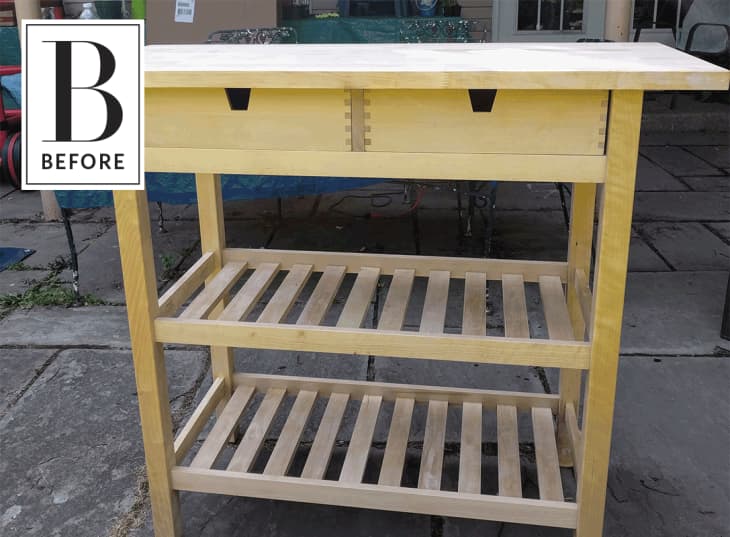
From Stephanie: While most people style kitchen carts into bar carts, we knew our cart had to be for cappuccinos. Ever since we came back from Italy last August, we’ve kept our espresso machine out on our countertop and have been enjoying making Italian-style cappuccinos every morning. But when Chris and I moved into our new apartment in March, we ended up in a bigger kitchen but with less usable counter space. So a new kitchen cart was our solution. We purchased this one after realizing most bar/kitchen carts run upwards of $300. The Forhoja one from IKEA was only $109 and I decided we could customize it ourselves for less.
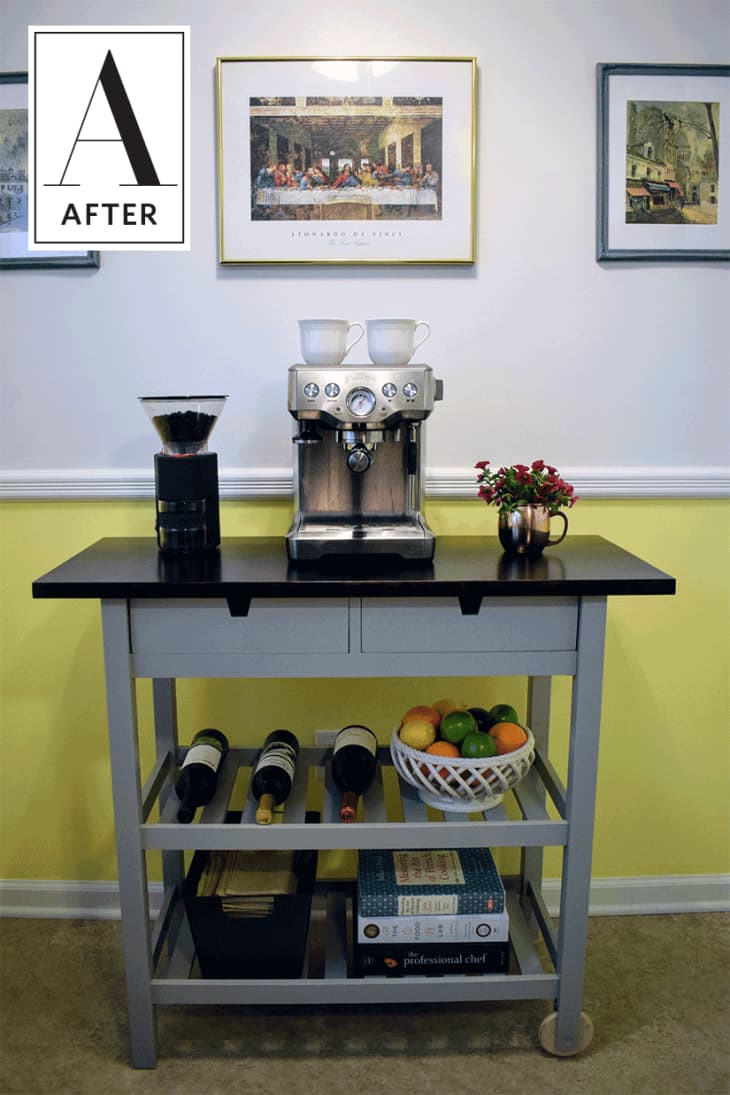
I sanded, painted, stained, and lacquered this kitchen cart. I spread this out over two days: (1) Paint and stain (2) Lacquer. The first day took about four hours and the lacquer took only about 20 minutes. Plus time for everything to dry. The cart was $109 and paint, stain and lacquer was around $50. My father-in-law assisted me by providing me with a power sander and giving me tips on technique. Because it’s the summer and buggy out, all the bugs loved the smell of the stain and landed on it. This was such a bummer because we had to re-sand and re-stain inside to get rid of the bugs.
I love the contrast of the gray paint with dark stained top! And I love the lacquer finish that lets me wipe down the top easily to clean up any spills.
Thank you, Stephanie! You can see more instructions for Stephanie’s project on her website.