
Before and After: A $300 IKEA Hack Gives This Living Room the Look of Pricey Built-Ins
Over the past year, living rooms have become even more highly trafficked than they already were. They’re steadfast, stay-at-home hubs for family time and TV nights, but that also means they’re home to socks, books, toys, loose papers, and all the other stuff that comes with sheltering-in-place for a year.
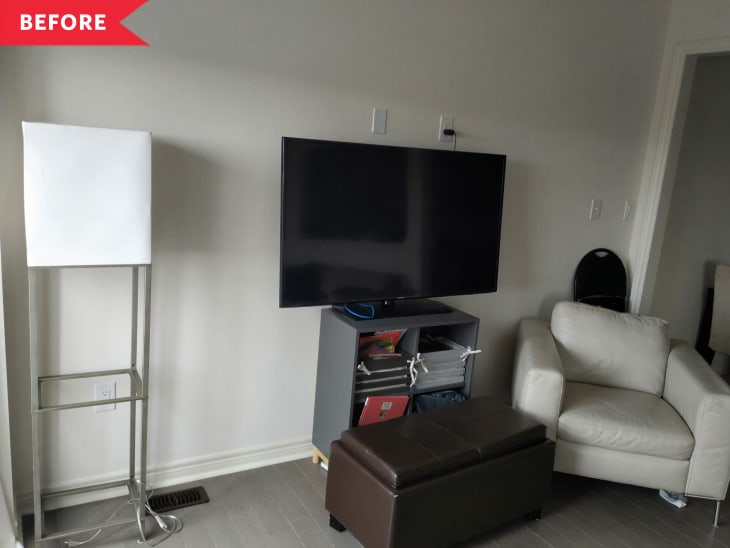
For Momina Zahid’s (@momina.zee) family of four, the living room is “almost always occupied and filled with all sorts of things,” and a larger TV cabinet is what was needed to reign in the mess. “Temporarily, I was using an ottoman with storage and an open shelf to store all things tech for the TV, and the toys were just piling up in a corner — rather, all four corners of the living room!” Momina says.
Initially, she priced out custom cabinets, but the price was steep, and the plan wasn’t exactly what she had in mind. “I received a quote of close to $2,500 for a built-in media console, and after I heard the contractor question my choices, I decided to take matters in my own hands,” Momina says.
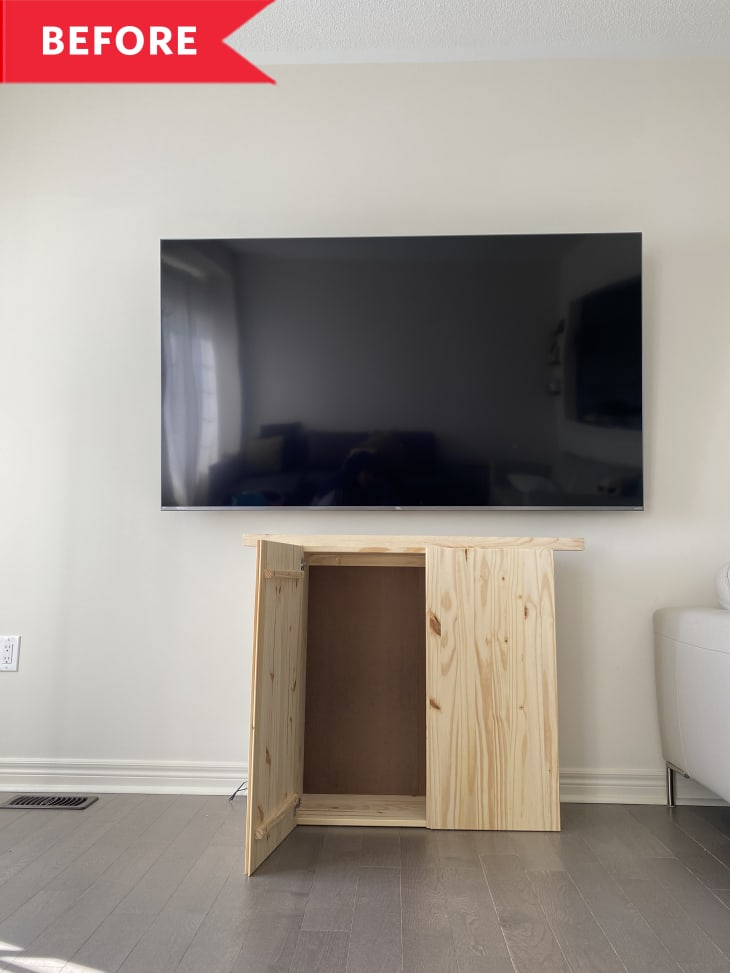
She decided to purchase four unfinished IKEA IVAR cabinets, which were “a beautiful blank canvas for a DIY,” she says.
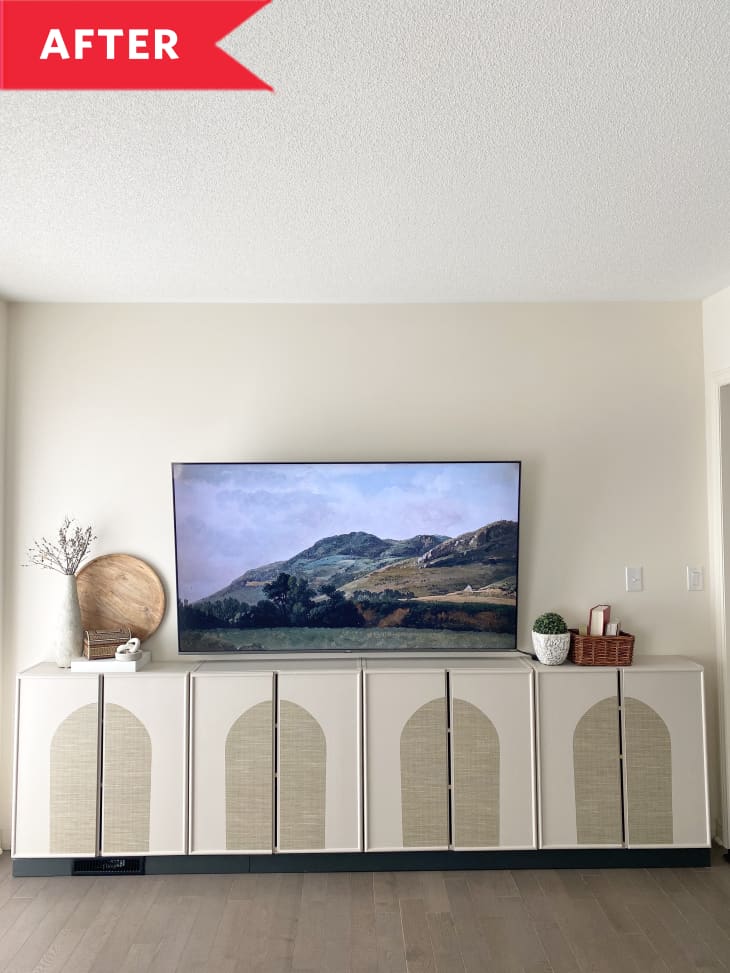
To make the cabinets look built-in, Momina removed the baseboards from her TV wall. Using framing lumber, she built a base for the four cabinets to sit on so that the base and cabinets were secured and flush against the wall. Thinking ahead, she made sure to drill some holes on the insides of the cabinet sides so TV wires could be easily hidden later. And then came the fun part: customizing the cabinet fronts.
Momina added half-round pine molding to form a border around the cabinet doors and painted the cabinet fronts a neutral beige-gray (Behr’s Wheat Bread). She liked the added trim, but she still felt like the doors were missing some texture. “Burlap and cane are so trendy right now, but since I had already added molding to the cabinets, adding any of those materials would get really tricky at this point,” Momina says.
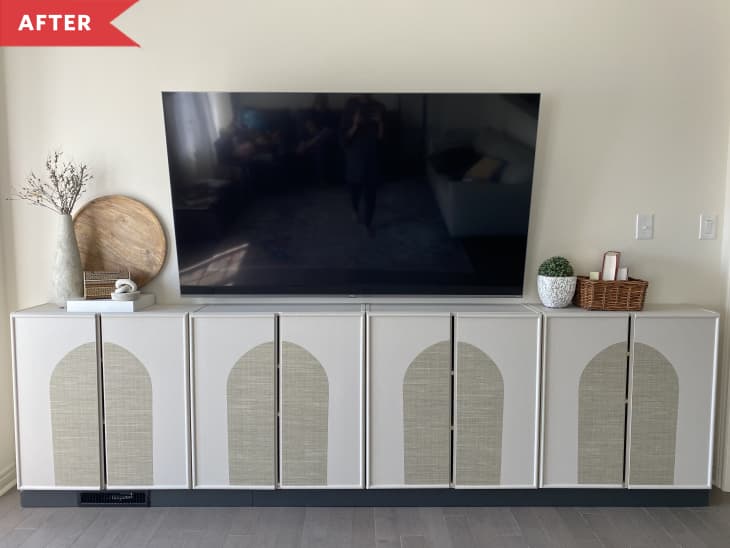
After searching online, she found the perfect, kid-friendly solution: grasscloth peel-and-stick wallpaper. Using a construction paper stencil, she cut rounded half-arches and stuck them on each door to create four full arch shapes.
“The IKEA IVAR cabinet is designed in such a way that the doors do not completely meet at the front, so if I had to do this all over again, I would find a way to cover that gap,” Momina says. But she loves how durable her DIY is.
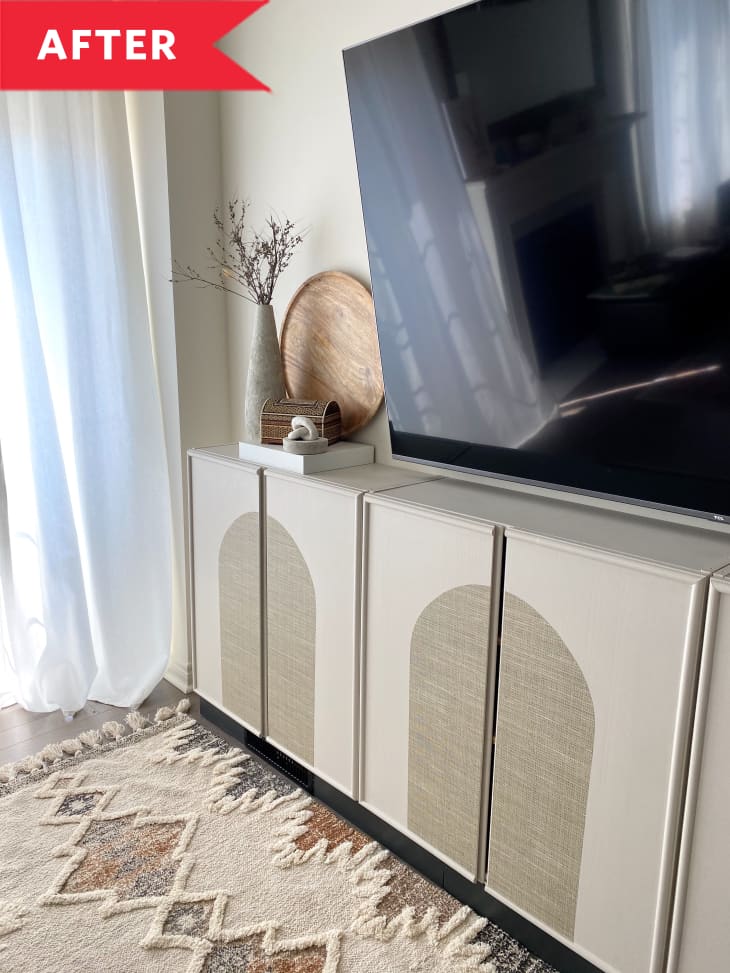
“This look gives a burlap feel from afar, and you really can’t tell that it’s wallpaper unless you come very close to the console,” Momina says. “I also know that my kids would have not spared actual burlap or cane no matter how taut it would be. Wallpaper on cabinets is the sturdiest design I can think of, and durability is much-needed around here!”
Momina also chose to forgo adding any pulls or hardware for the sake of kid-friendliness.
All in, customizing the cabinets cost around $300 for the primer, paint, molding, and wallpaper, which Momina shows is certainly not just for walls. “Use it on any smooth surface to elevate pieces of furniture you own,” she says. Take that as permission to pick up a roll and play around with it at home — you never know what kind of design you’ll fall in love with.
Inspired? Submit your own project here.
Get all the IKEA UPDATES
Sign up for The IKEA Edit, our twice-weekly newsletter with the latest IKEA finds, deals, and hacks.