
Before and After: The Secret to This $80 IKEA RAST Dresser Hack is a Shift in Perspective
If you have a small bedroom, then you know the game of sneaking storage out of every square inch. One spot that can be overlooked, but is actually super valuable real estate? Nightstands, which can pack a serious organizational punch if you pick them right.
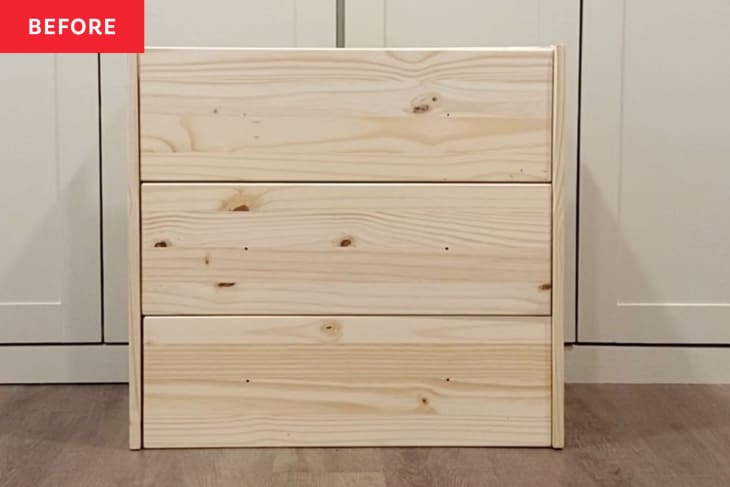
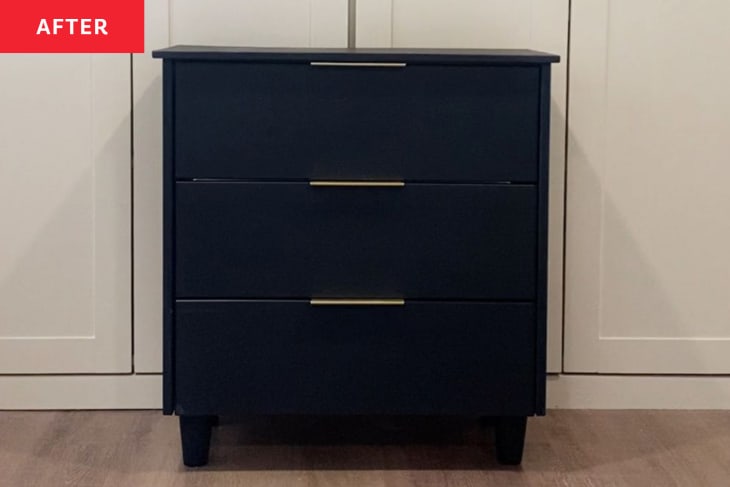
One practical pick is the $60, three-drawer RAST dresser from IKEA, as evidenced by DIYer Kara Estes (@beglorifiedhome) and her husband, Mitch. Kara and Mitch took a plain pine RAST and turned it into sophisticated storage in two afternoons, thanks to furniture feet, edge banding, black paint, and some contemporary brass hardware — plus a little change in perspective.
“I had the idea to assemble the chest upside down to better utilize all of the original pieces,” Kara says. “I definitely got some skeptical looks from Mitch when I told him about that grand plan!”
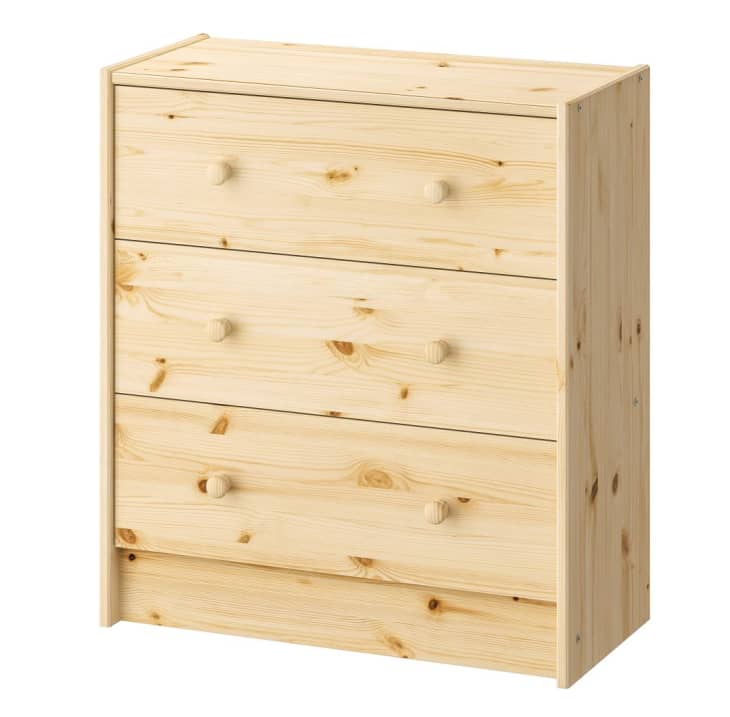
The reason Kara decided two flip the dresser upside down and use the top of the RAST as the bottom, she explains on Instagram, is because the top of the original version (shown above) is inset so that it rests lower than the sides. “I didn’t like that look,” Kara says. Her original vision was Magnolia’s gorgeous-but-sold-out, two-drawer nightstand from Target, which has an overhanging top. Kara wanted to get the same look — and with her own custom hack, she gets a bonus drawer and saves about $120, too.
“It cost us less than $80 with some supplies on hand,” Kara says, adding that if you had to buy all new supplies, the project would probably cost around $150.
To create the custom piece, Mitch and Kara and to do a bit of sawing to get pieces that were the right size. They used a miter saw to cut off just over 2 inches from the bottom end of both side panels on the dresser so that they were flush with the drawers. Then, the couple created a new top — big enough for a slight overhang — from a scrap piece of plywood.
“To assemble the nightstand, we put the drawer slides in their correct and original position on the side panels,” Kara explains. “Then we attached the original back support piece as normal. Next, we screwed in the original top piece on the bottom.” That new base piece sits flush with the side panels and is attached with wood screws. The IKEA RAST comes with an apron front trim, which Kara and Mitch didn’t need; instead, they used that wood piece as support for their new plywood top.
Kara added tapered legs to the bottom of the nightstands to give them a little lift. Then came the top: Before attaching it, Kara used edge banding to give the plywood the look of solid wood. Lastly, Kara filled in the dresser’s pre-drilled knob boles before priming and painting the piece dramatic black. The finishing touch? Sleek new hardware in trendy gold.
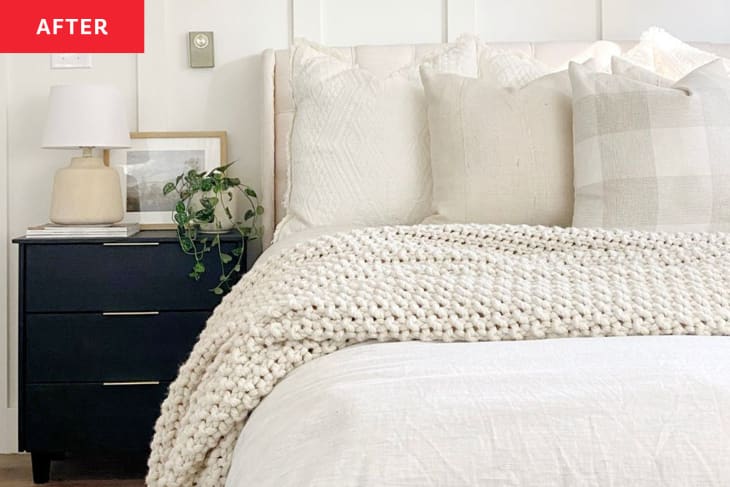
The result is hardly recognizable as an IKEA piece. The only thing that gives that away is the low budget. “I love that we were able to DIY a nightstand for less than half the cost of our inspiration nightstand!” Kara says. “I don’t think we would change a thing.”
Inspired? Submit your own project here.
Get all the IKEA UPDATES
Sign up for The IKEA Edit, our twice-weekly newsletter with the latest IKEA finds, deals, and hacks.