
See a Cookie Cutter Kitchen Get a Dramatic Green and Black Makeover
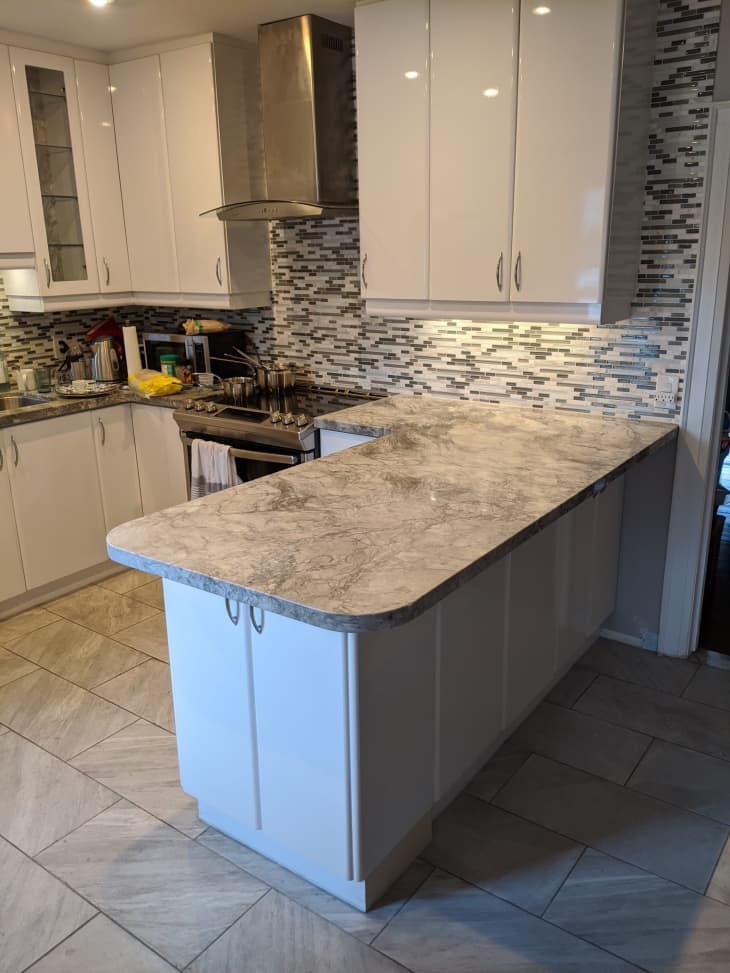
When Sasha Faiz and Andrew Ghose were looking for a home in Toronto, the pair opened their hearts to “fixer-upper project” homes. And thus, they were game to make a change when they saw this “modern” original kitchen clad in grays and whites in their now-modern-meets-vintage home.
“It was very nice but did not match the era and feel of the rest of the house,” Sasha says. “We wanted to make the change so it could feel more like us and how we live.”
Sasha says before, the kitchen felt very sterile and “kitchen-like,” whereas she wanted it to feel more like another cozy living space.

IKEA cabinets and storage came to the rescue.
Inspired by kitchens with “old world charm” typical in England or Europe, the couple wanted to create a warm atmosphere with more charm.
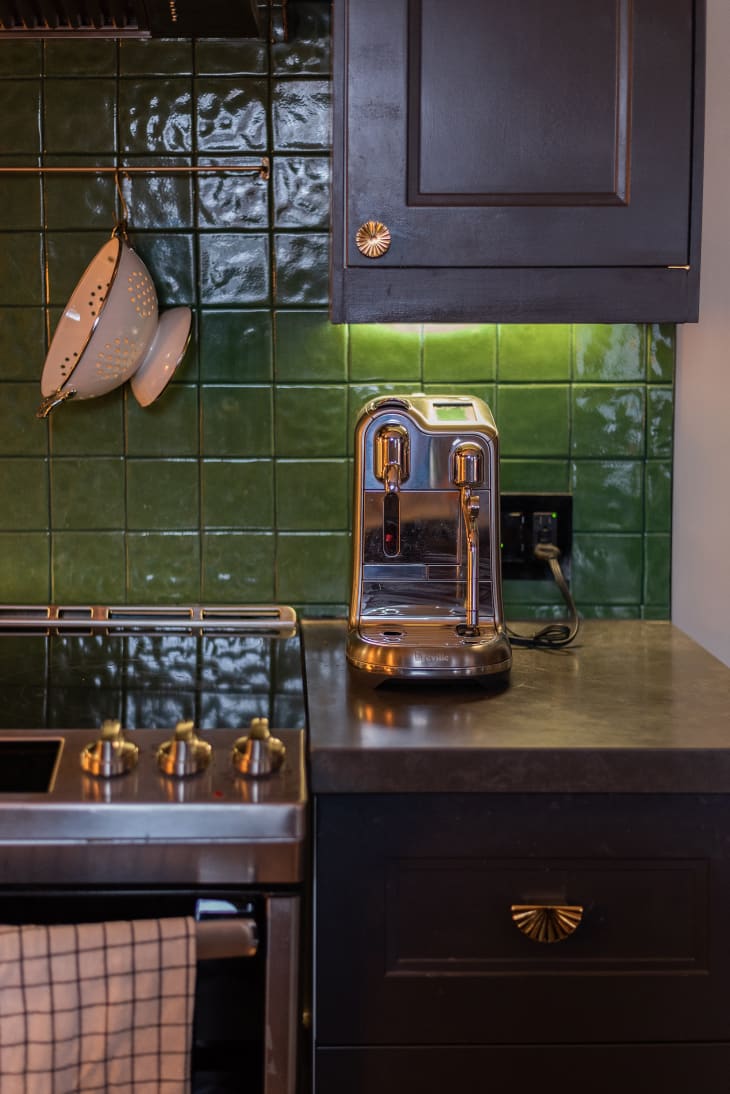
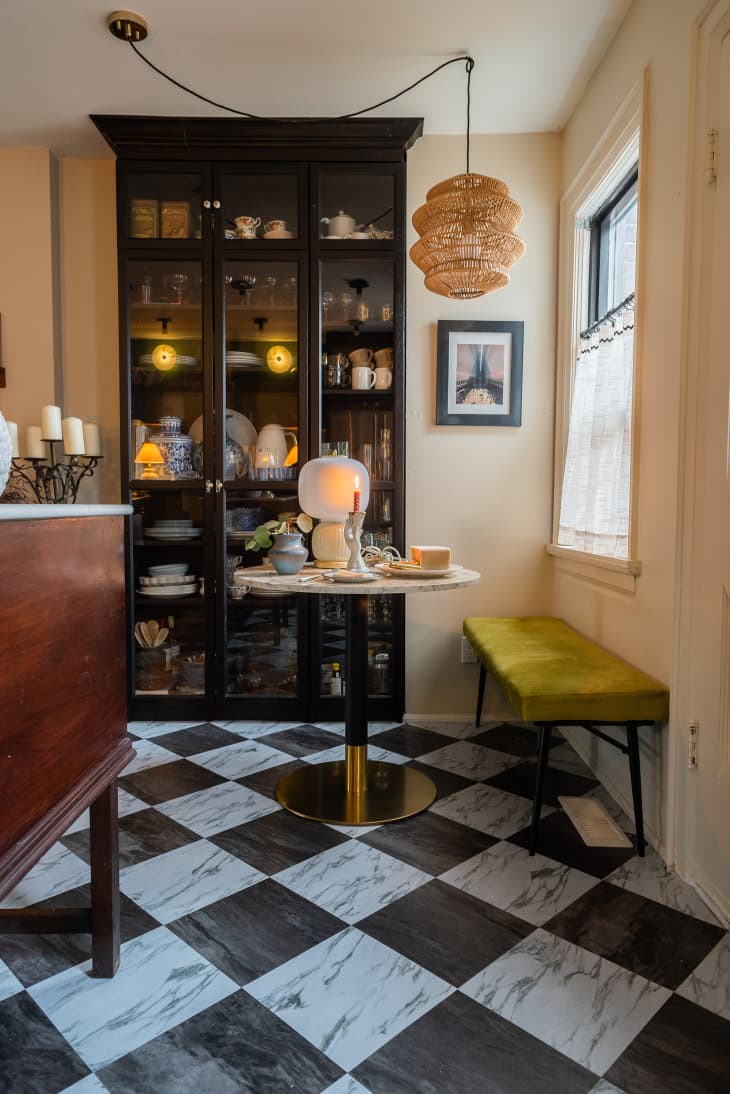
The first step was replacing the old flat-front cabinets with IKEA ones and painting the cabinets black(Benjamin Moore’s Wrought Iron). They also bought an IKEA BILLY bookcase to use as a dish cupboard across the room. But the transformation didn’t stop there.
The new green tiles only cost $400.
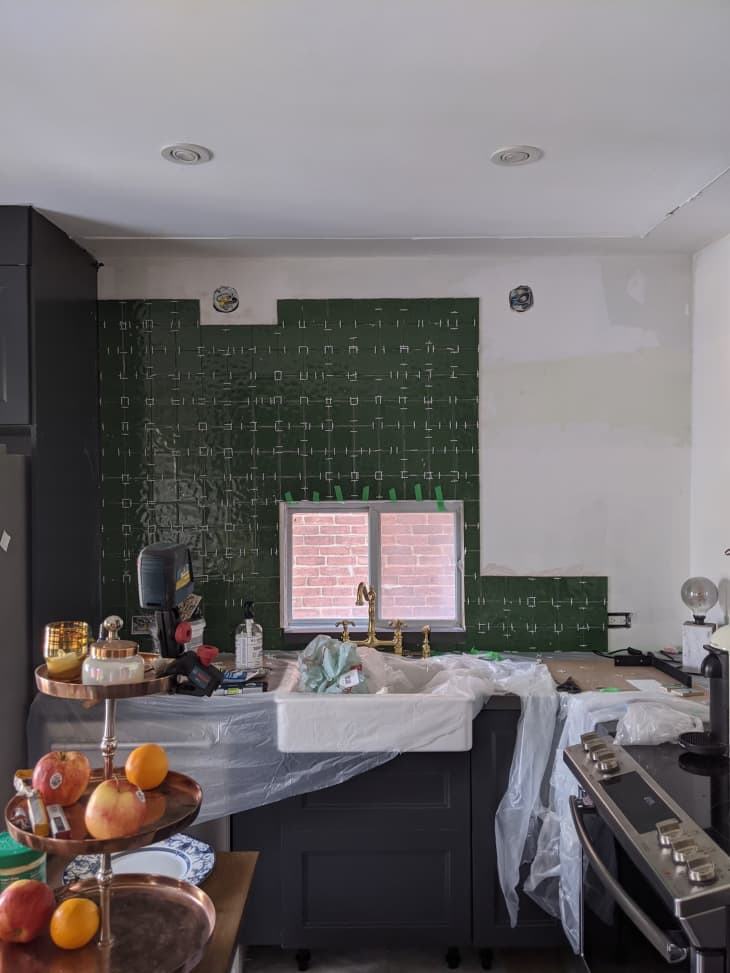
One of Sasha and Andrew’s favorite elements is the tile they hung on their kitchen walls. The couple purchased green Turkish-inspired tiles from a clearance sale, costing them only $400. Here’s how they used tiles to complete their kitchen.
Sasha explains that prepping the walls properly before installing tiles shouldn’t be overlooked. She and Andrew had to scrape off the old mosaic tiles — this required a scraper, protective gloves, eye protection, plus “patience, and a glass of wine nearby” and drywall over damaged parts, plus sand to get an even finish, and then install their new green beauties.
Sasha says the tiling “was tricky when working with no straight angles!” She recommends using spacers to keep the tiles stationery, buying a laser level and gut-checking with your eye as you go. “Gravity is real, so start from the bottom and work your way up,” she says.
Plus, she has a pro tip from a project roadblock: “If you’ve chosen the wrong grout color like me, stain the grout after it’s dried with a green acrylic paint mixed into grout and paint over the grout lines,” she says. “Let dry and add a sealant to ensure the newly painted grout line is sealed and stays put.”
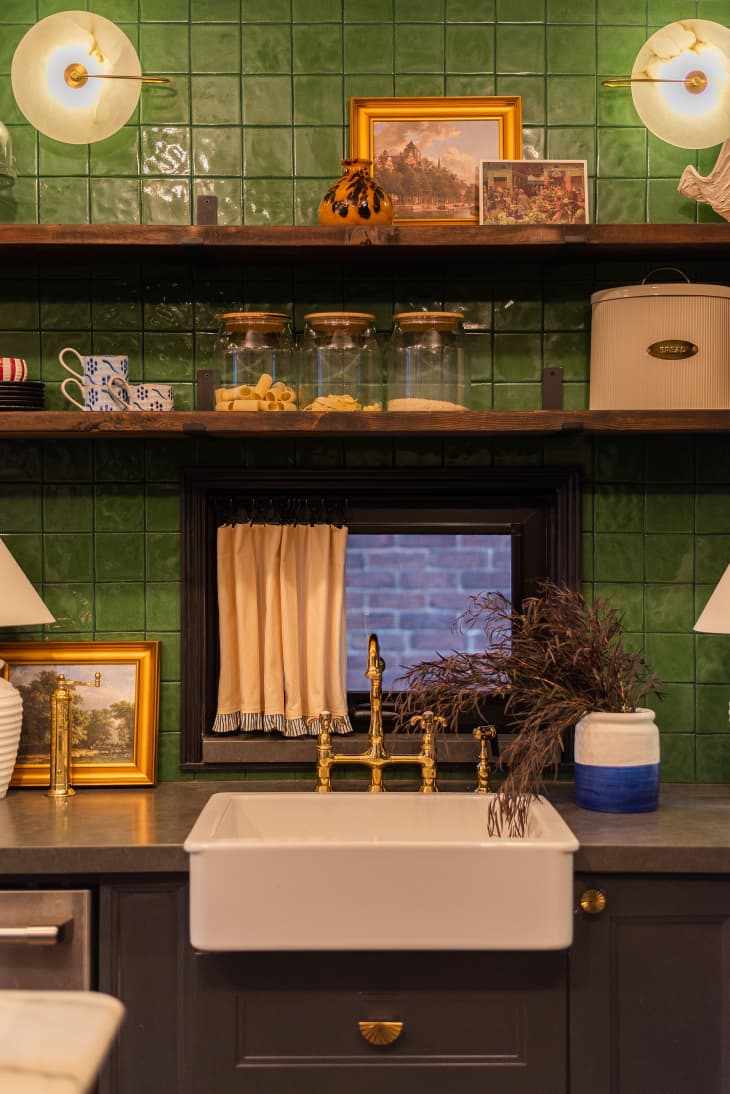
The “after” looks straight out of the English countryside.
The finishing details include wall and trim paint (Benjamin Moore’s Tapestry Beige), a new white farmhouse sink, a dining table and velvet bench, brass hardware, kitchen countertop accessories, and a new rug.
The entire kitchen renovation (including creating an island from an antique hutch and custom-cut quartzite) cost around $11,000. But this isn’t the only space the couple has transformed — to see more, visit the full home tour on Apartment Therapy.
This post originally appeared on The Kitchn. See it there: Before & After: Green Tiles and Gray Cabinets Bring “Old World Charm” to This White Kitchen