
Real Life Lessons from a First-Time Painter
I have a confession: I’m a design writer who, until recently, had never actually painted a room. I’ve spent countless hours staring at fan decks, and I’ve memorized more shade names that I care to admit, but as someone who has hopped from rental to rental, rarely staying put for more than a year at a time, painting never quite seemed worth it. But as of this month, I’m proud to say that my neophyte status is no more.
While this will probably be old hat to many of you, my guess is that I’m not the only first-time painter out there. Luckily, my boyfriend’s dad was a contractor, and he’s spent many hours with a roller in hand. But not all first-time painters are so fortunate, so here are a few things I learned on my first go-round:
• I had read that one gallon of paint would cover about 350 square feet. While this is a good place to start your estimate, be prepared to alter your paint amount based on the color, wall texture, and how many coats you need to do. I chose a rather deep, dark hue for slightly textured walls, and it took a lot more paint than I expected to get sufficient coverage. So in short, keep your paint chip handy in case you need to buy an additional quart or two.
• Using primer is a good way to save some money, since you’ll need to use fewer coats of mixed paint, which is more expensive, and it will also help give your walls a truer color. I assumed that because my walls were already a light color that primer would be unnecessary, but because I was using a supersaturated hue, it still helped me avoid having to paint lots of extra coats. The process has been streamlined with a number of paint-and-primer combos, which I found to be a huge help.
• Before you use a new roller, dampen it very lightly. Then gently shake it or run your hand down the roller to get rid of all the moisture. You could also roll it on a drop cloth, grocery bag, or other spare material that does not have print or ink on it. This will help you get any hidden lint particles off the roller so they can’t create tiny, lumpy messes on your wall.
• Paint in a “W” or “M” motion, without lifting the roller from the wall. This will help disperse the paint evenly, and on walls with some texture, it will make sure that problem spots are covered from multiple angles.
• Start your first stroke with an upward motion, because if you roll down on the first stroke, the paint can puddle under the roller and run down the wall. You’ll also know if you’ve overloaded your roller if the roller drips or smears instead of rolling across the surface. On the flip side, don’t be timid about the amount of paint you get on the roller. There were some patches where my roller was too dry, and they definitely had to be fixed later.
• Paint one wall at a time. Tempting though it may be, don’t paint all the eye-level surfaces in the room and then come back with the extension pole. This can create visible lines in the painting.
• Leave at least two hours for drying between coats, especially with deeper, richer colors. Even if it seems like the paint is dry, it probably isn’t, and taking ample time between coats will ensure that your color looks more even when all is said and done. I found this to be a useful window for pizza and a movie.
• Pull off your tape while the paint is still slightly wet for a smoother seam. If you let it dry too much, there’s the danger of pulling a bit of paint off with the tape. We used Frogtape with excellent results. There was virtually no bleeding, and the lines were very clean.
• Invest in a good trim brush. A better brush will save you lots of time, and it will really make the job look so much better.
For those pros in the audience, what other tips do you have for first-time painters?
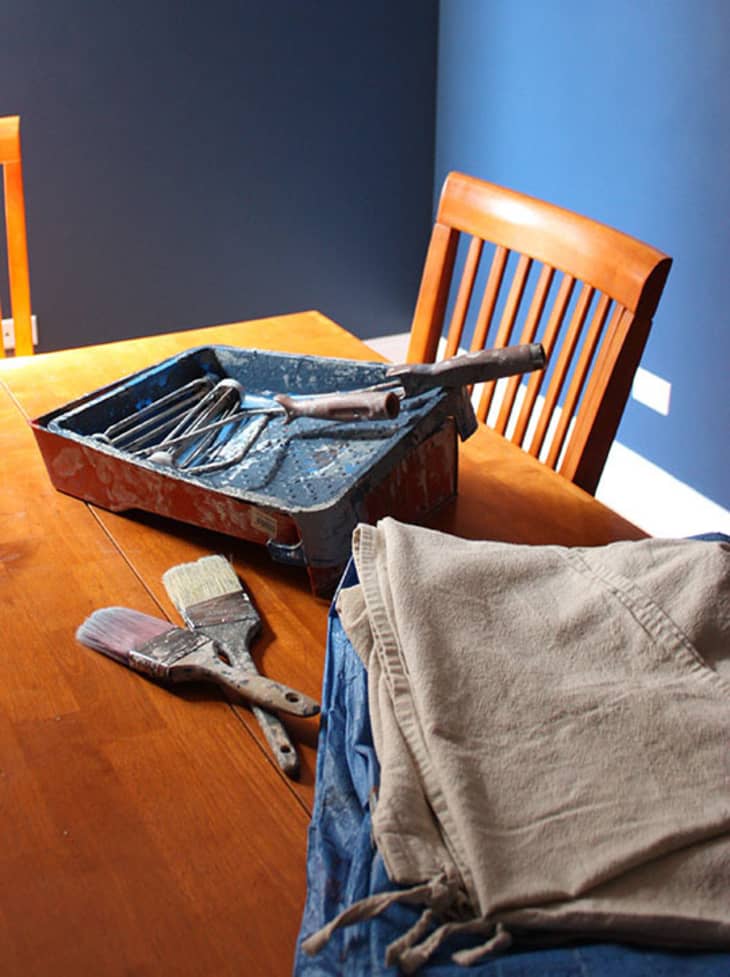
(Image: Carolyn Purnell)