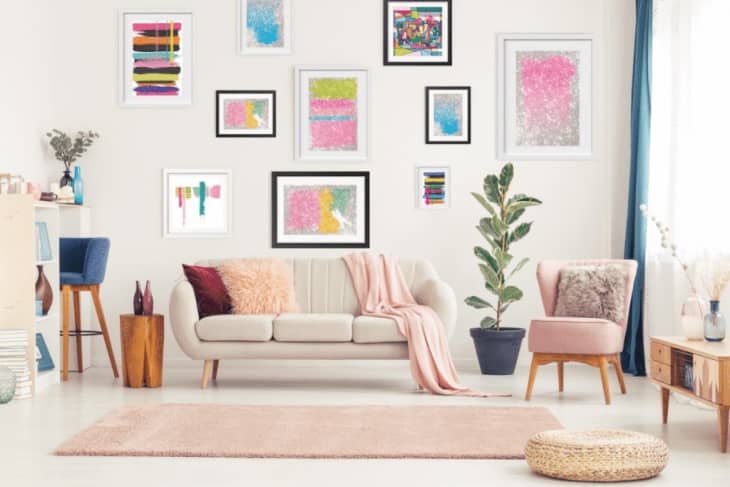
Interior Designer Mikel Welch Shares 3 Easy Steps to Creating the Perfect Gallery Wall

If you’re renting an apartment and have got plenty of empty wall space to dress, the perfect solution is creating a gallery wall. It’s a great way to display memories and artwork you cherish while making sure you get your security deposit back (in due time). But, as the wise interior designer Mikel Welch once said — in the most recent episode of Apartment Therapy’s “Design Therapist,” to be specific — you’ve got to get it right. And he’s shared the tips and tricks to walk you through the process.
In the new episode, Welch helps Becky and Jason, a young couple who just moved into a new apartment in Jersey City, NJ. They’re renting an apartment on the top floor of a three-story building, complete with 14-foot ceilings that they have no idea how to fill. Welch suggested that they created a gallery wall, especially since they had art and knick knacks readily available to display, and provided tips on how to execute one successfully.
Here are Welch’s three easy steps to creating a gallery wall that you can utilize for your next DIY project.
Add ledges to make the presentation more playful.
Before deciding on all the art you want to hang, think about making it a bit more playful by installing small ledges into the wall. There are plenty of removable options online, such as these Command picture ledges, which allow you to display special memorabilia and give your gallery wall a playful edge.
Plan your layout with kraft paper.
A major part of successfully executing a gallery wall is planning out the right formation — and especially for renters, it’s important to decide what goes where before sticking anything to the wall. Welch suggests using kraft paper to create a mock gallery wall by cutting out the size of each piece of artwork, then placing it on the wall using painter’s tape. “Step back, and the two of you can look at the wall together and move things around so they feel right,” Welch said to Becky and Jason.
Add peel-and-stick removable millwork.
If you’re really looking to bring your gallery wall to the next level and making it more high-end looking, Welch says peel-and-stick removable millwork is the way to go. “When you go into a swanky restaurant or a Victorian home, you know those rectangular panels that you see on the wall? Those are millwork, and it gives you a 3D type of effect where you can actually place your artwork inside of those peel and stick frames,” Welch explained.
Now that you have Welch’s wisdom to lead with, go forth and build your gallery wall.
