
How to Create This Year’s Trendiest Pumpkin (No Knife Required)
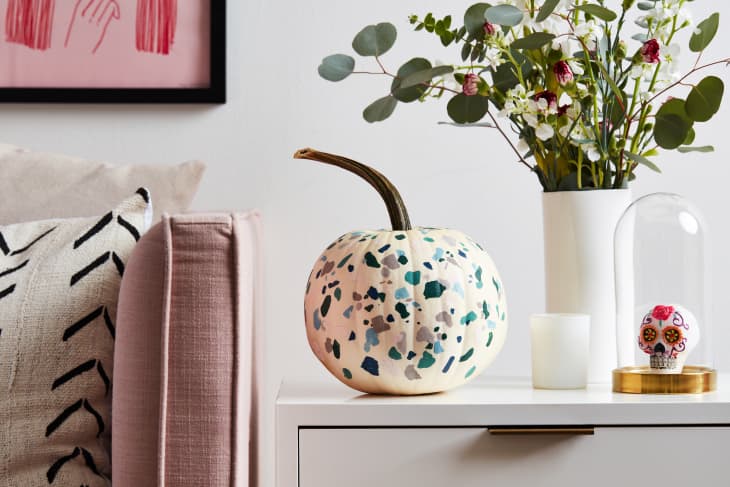
Terrazzo is everywhere—flooring, tabletops, stationery, and even the pumpkin patch. Well, sort of. With some DIY magic, it’s easy to Cinderella a humble pumpkin into something that resembles one of this year’s biggest trends.
The best part? The chic transformation takes only half an hour, and there’s no carving involved. If you have a little bit of paint and elementary-level painting skills, you can pull this off. Here’s how.
No-Carve Terrazzo Pumpkin
Cost: $17
Time: 20-30 minutes
Skill: Beginner

Supplies:
Medium white pumpkin
Assorted acrylic paint (5-6 colors)
Paintbrushes (1 large and 1 small)
Step 1
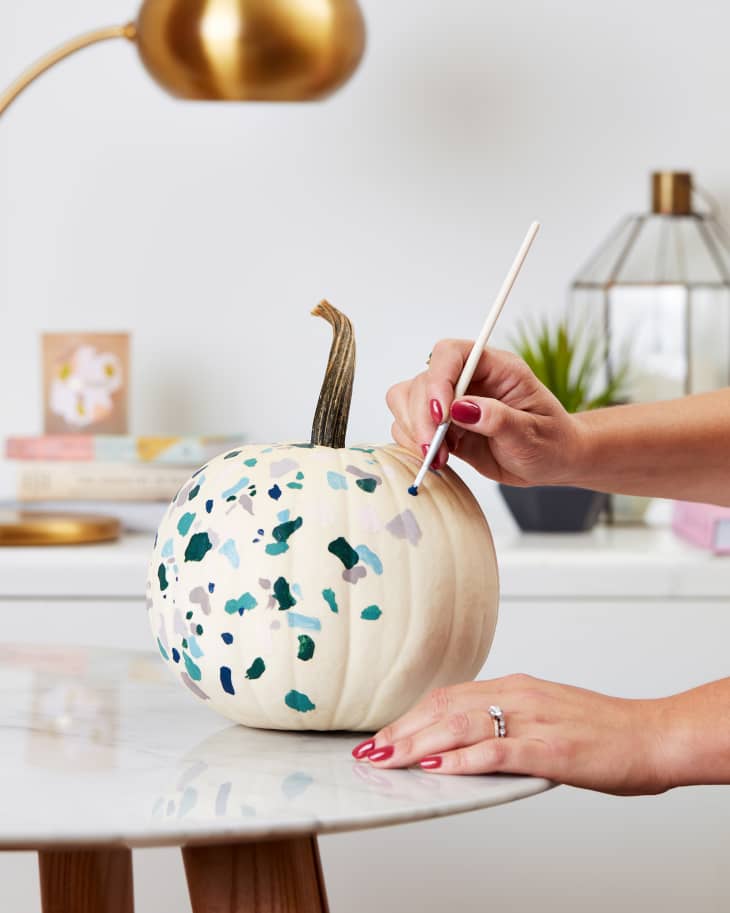
Working with one color at a time, use paint brushes to apply paint to the pumpkin in various sizes and shapes. Some shapes should be large, while others should be small flecks. Imperfection is the goal! (If you’re worried about getting crisp lines, you can use paint pens—like these—just note the range of colors is not nearly as extensive.)
Step 2
Let each paint color dry for approximately 10 minutes before applying the next hue in varying shapes and sizes, occasionally overlapping colors to create a natural look.
If you only have an orange pumpkin…
Supplies:
Medium pumpkin
White acrylic paint
Assorted acrylic paint (5-6 colors)
Paintbrushes (1 large and 1 small)
Step 1
Paint pumpkin with one coat of white. Let dry 10 minutes. Apply a second coat, and let dry 20 minutes to ensure colors don’t bleed.
Step 2
Working with one color at a time, use paint brushes to apply paint to the pumpkin in various sizes and shapes. Some shapes should be large, while others should be small flecks. Imperfection is the goal!
Step 3
Let each paint color dry for approximately 10 minutes before applying the next hue in varying shapes and sizes, occasionally overlapping colors to create a natural look.

Display on your table, mantle, counters, or bookshelves—since it’s no-carve, this pumpkin can last two to three months without issue.
Want more no-carve pumpkin ideas? Find them here.