
10 One-Hour Paint Makeovers That Truly Anyone Can Do

In our DIY Makeover Issue, we offer project inspiration, instruction, and helpful tips and hacks for every DIYer, no matter your skill level or budget. We can’t wait to see what you create with your new skill set — find it all here. This content was created independently by our editorial team and generously underwritten by the new Ford Maverick™.
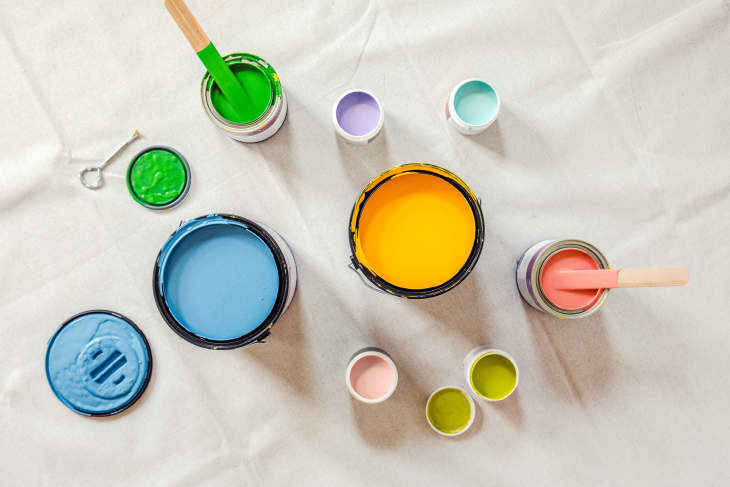
There’s no denying the power of paint to transform a space. From light to dark, colorless to colorful, and vice versa, it’s arguably the best budget-friendly resource for DIYers. But beyond coating your walls, paint also has the ability to overhaul the entire look of objects — think: furniture, rugs, vases, or planters — without any power tools or special skills.
And pay no heed to the notion that all paint jobs are tedious. Many projects can be completed in just one hour (not including drying time, of course). From chalky finish paint to spray paint and many shades of craft paint in between, here are 10 ideas that prove a little paint and only an hour of your time can go a long way.
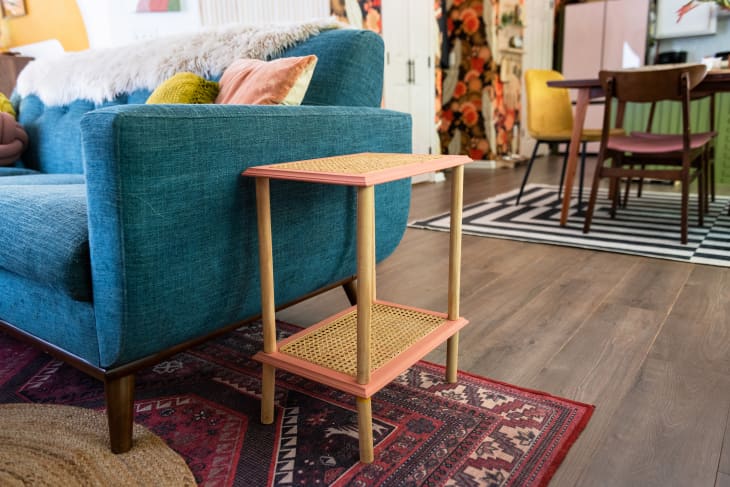
1. Revamp Wood Furniture with a Colorful Makeover
What you’ll need: sandpaper, paint, paint brush, painter’s tape
Small wooden furniture pieces serve as excellent candidates for easy paint makeovers. All it takes to transform them? A light sanding or degreasing and a few coats of paint. If your furniture has any areas that you don’t want to paint, such as with Meg Baker of @baker.blooms’ cane table pictured above, be sure to tape them off first. And if you’re starting with a particularly glossy surface, you may want to opt for chalky finish paint to ensure superior adhesion. In less than an hour, you can make a drab piece of furniture look totally fab. And anytime you’re craving a change, simply repaint with a whole new hue.
2. Give Furniture a Modern Paint-Dipped Look
What you’ll need: sandpaper, ruler, painter’s tape, spray paint, plastic tarp
If you love the classic lines of an old piece of furniture but crave more of a modern finish, try the paint-dipped trend. It’s a simple project that saves you the time and energy of having to paint the entire item. Get this project underway by lightly sanding the portion of the furniture you’d like to paint, such as the chair tops in Collective Gen’s DIY or the bottom tips of a bar stool in A Happy Stitch’s DIY. Then use a ruler to mark a horizontal line across the area with a ruler and tape it off. Cover the portion of the furniture you don’t want to paint with plastic, and spray-paint the uncovered portion. Once the paint dries overnight, remove the tape and plastic, and marvel at your modern makeover. Prefer a glam look? See Kendoll B’s gold-dipped stools.

3. Transform Thrift Store Vases Into “Terra-Cotta” Treasures
What you’ll need: baking powder, paint, paint brush
Thrift store aisles are chock-full of what you might deem “undesirable” vases. But just because the pattern or finish might be past its prime doesn’t mean you should overlook it. Instead, take inspiration from the #trashtoterracotta projects circulating on Instagram and TikTok, like The Heinrich Houses’s DIY. When you mix a tablespoon of baking powder into a cup of latex paint, it creates a textured matte finish similar to terra-cotta. Mix up any kind of color palette you’d like (it doesn’t have to be orange hues), paint it on a hodgepodge of thrifted vases, and watch as they transform into a cohesive collection.
4. Bring a Boring Mirror to Life with Chalky Finish Paint
What you’ll need: painter’s tape, chalky finish paint, paint brush, clear wax
Find an old mirror that’s the perfect size and shape for your space, but dislike the outdated finish? Simply wipe it down, tape off the glass on the mirror, and brush a couple coats of chalky finish paint onto the frame. If it’s a custom color you’re after — say, to match a wallpaper like in this DIY by My Poppet Makes — you can mix a few colors together. Otherwise, simply use a color straight out of the can. Once the paint has dried completely, apply a clear wax to seal the paint, remove the tape, and hang. Behold, your newly painted mirror just became the fairest one on the wall.
5. Stamp a Playful Pattern onto Your Doormat
What you’ll need: craft paint, stencil or dish sponge and scissors
A plain doormat is nice to have, but a doormat painted with a cute pattern is just plain fun. If your art skills are on point, you could definitely freehand a custom design. If you’re unsure of your abilities, you could use a stencil — or even create stamps out of dish sponges, like Carrie Waller of Dream Green DIY did. For that option, draw and cut out the desired shapes from a dish sponge. Then simply dip them into craft paint, and stamp them onto the doormat. From Waller’s watermelon slices to flowers to more abstract shapes, the addition of a playful pattern will add instant cheer to your front entry.
6. Spruce Up Plain Baskets with a Design
What you’ll need: painter’s tape, craft paint, paint brush
If you want to incorporate more woven materials into your home decor, don’t pass up baskets you consider too plain — you can easily spruce them up with paint. All it takes is taping off an area, like in Lovely Indeed’s hamper DIY, or a pattern, such as stripes or chevron, and applying a couple coats of craft paint. You could also freehand a design, such as an animal face on a children’s toy basket. A painted basket lends beautiful warmth and texture.
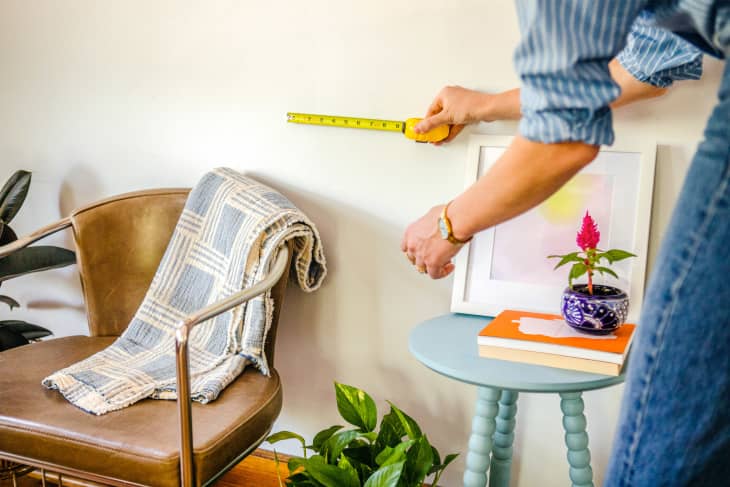
7. Create an Arch Shape Accent Wall
What you’ll need: pencil, ruler or yardstick, pushpin, string, painter’s tape, paint, paint brush
Painted arch shapes are having a heyday in home decor. As far as murals go, they’re easy to paint, and they can turn a basic wall into a fun feature. Paint one above your desk to improve your home office view, behind a bookshelf for added visual interest, or even behind your bed to give the illusion of a headboard. Start by drawing two vertical lines that will form the outside edge of your arch. Place a pushpin at the center point between the lines. Cut a piece of string that’s the same length as the distance from the center point to one of the vertical lines (plus an inch). Tie one end of the string to the pushpin, and tie the other end to a pencil. Pull the string taut and draw an arch shape from one vertical line to the other. Now it’s just a matter of taping around the outline and filling the shape in with paint. Want something other than a solid color? Check out this DIY by Delineate Your Dwelling to see how you could add a graphic pattern around the arch for a fun twist on the trend.
8. Add a Fancy Look to Plain Wine Glasses
What you’ll need: rubbing alcohol, paint, paint brush, painter’s tape
Why serve wine in plain glasses when you can serve them in fancy ones? It’s easy to create sleek designs with paint. For example, you could tape off the bottom third of a glass and paint it with a shimmery metallic gold or silver color. Or you could paint a circle shape with chalkboard paint so guests can label their glasses with their names. You could also freehand any design you like, from florals to polka dots. See this DIY by Something Turquoise to learn how to make a marbled look with paint. Whatever design you settle on, just be sure to clean your glasses first with a bit of rubbing alcohol to remove any grease or oil, and don’t paint around the rim where people’s mouths would come into contact with the paint. Happy hour just got a whole lot prettier.
9. Give Simple Candles a Colorful Glow-Up
What you’ll need: nontoxic water-based acrylic paint, painter’s tape, paint brush
Sure, it’s easy to update candleholders with paint, but did you know you can also paint the candles themselves? You just need a specific type of paint: nontoxic water-based acrylic paint. This will ensure that no toxic fumes are emitted into the air if you plan to burn them, but you could also just paint flameless candles instead. As for what kind of designs to paint, stripes and color-blocked patterns are easy to create using painter’s tape, as seen in this DIY by Tonality Designs. Or you could freehand any number of designs, including a terrazzo pattern, dainty flowers, and fruit shapes. Once dry, enjoy the glow from your beautifully bespoke candles. Bonus: They make a great gift.
10. Turn Cinder Blocks Into Stylish Planter Pots
What you’ll need: painter’s tape, acrylic paint, paint brush, plastic bags
At first glance, 99-cent cinder blocks might not seem like the wisest choice to use as planters. Not only do they have an opening on the bottom, their stark concrete appearance is also rather underwhelming. But the issue of having dirt fall through the bottom is an easy solve: Simply place plants inside plastic storage bags and insert them into the cinder blocks, like in this DIY by Little Miss Momma. And to lend some style to the plain cement surface, either paint them a solid color or add some colorful designs onto them. You could use painter’s tape to create stylish geometric shapes, stripes, or color blocks, or use a stencil for more elaborate patterns, like in Salt in My Coffee’s DIY. Let the paint dry, and voilà!