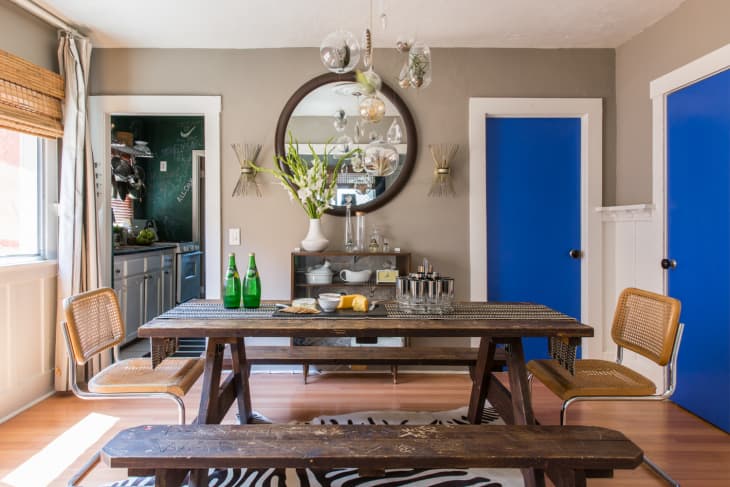
I Asked 5 Designers to Share Their Best Tip for Painting Doors, and They All Basically Agreed

The doors inside your home have some big responsibilities. They may not have the spotlight like your front door, but your closet, bedroom, and bathroom doors still can have a positive impact on a room, whether they’re a reliable place for your mirror or provide a storage solution.
No matter their day-to-day purpose, there’s something to be said about your interior doors complementing the spaces they’re in. There are lots of ways to get design savvy on these often-overlooked spots; however, painting your interior doors is a simple and achievable DIY project that’ll make a lasting, stylish impression.
While it may sound as simple as picking out a color, design pros agree that there’s one thing you need to know when it comes to painting your interior doors: prepping to paint is a non-negotiable. From sanding to priming, read on for expert insights on where a stellar paint job on your interior door (or, doors!) begins.
Wipe Down Your Door — And Protect Your Floor
Regardless of the color you’ve chosen, Theresa Butler, principal and founder of Theresa Butler Interiors, agrees that it’s crucial to take your time and properly prep your interior doors before breaking out the painting tools.
Cleaning your doors with mild soap and water, as well as protecting your floors are two big recommendations from her (P.S.: drop cloths are ideal for the latter). “By trusting this process and exercising patience, your DIY project can end up looking as though you hired a professional!” she adds.
Sand Down Your Door (and Wipe It Again!)
Sanding your interior doors is an essential piece of prep before painting, and it’s what Tina Ramchandani, founder of Tina Ramchandani Creative, recommends doing for the best paint application.
While sanding doors can create a fresh canvas for paint and remove blemishes, it’s also a solution to removing old paint, which Noz Nozawa, principal designer of Noz Design, highlights as a crucial step. “Stripping the door of its old paint not only makes the adherence of new paint more successful, but it also reduces the risk of paint layers building up, making the door stick more and sit tighter in the door jamb,” she says.
Post sanding, wipe those doors down! Amber Guyton, interior designer and founder of Blessed Little Bungalow, wants to make sure you’re not forgetting to do this once you’ve ensured the door surface is sanded of imperfections. She notes, “Clean the door, and wipe it clean of dust and anything that’ll keep the paint from being applied smoothly.”
Include Priming in Your Prep
Seasoned DIYers and first-time painters alike should never overlook the power of primer. It lays the groundwork for your paint color to truly pop, although you’ll want to be certain you’re using the right one based on your surface.
“It is important to choose an appropriate primer for your surface,” says Jamie Davis, co-founder of Portola Paints. “For example, if your door is raw wood, was previously painted, or if it was painted with a water or oil-based paint, these will need different primers to achieve the best final result.”
