
See How a Pro Organizer Fixed My Messy Deep Kitchen Cabinets
I’ve long struggled with my small, 100-square-foot kitchen — which, as part of a 1970s house, doesn’t always work for a modern (amateur) cook. Some cabinets are too shallow for dinner plates, while others are so deep they’ve become dark caverns where gadgets go to hide. My two corner cabinets are the latter, and tricky to access. The previous owners tried to help by adding wire shelving that slides and rotates; one has a half-circle shelf that swings out, and the other features a lazy Susan with a cutout for the cabinet door.
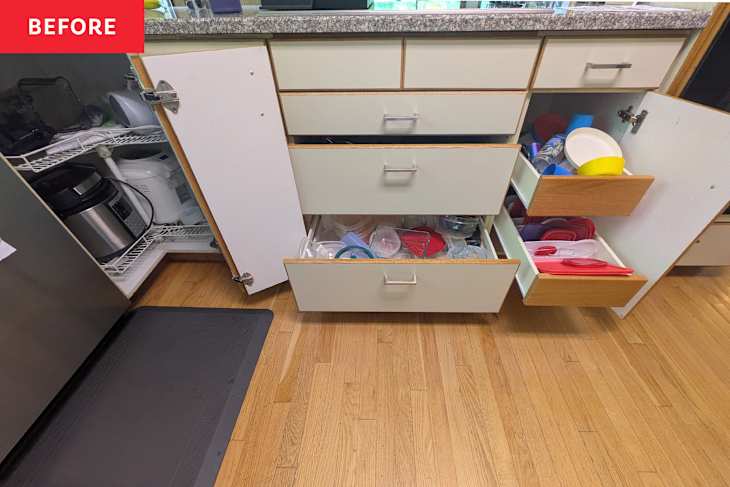
The problem? The wire shelves aren’t sturdy enough for the heavy items I’d been storing (things like my bread maker, pressure cooker, and cast iron cookware). They creaked and groaned every time I turned them. Plus, some baking dishes and plastic containers had slipped behind the wires and gotten stuck, which made the entire setup nearly unusable.
To finally tackle the chaos, I called in pro organizer Jean Prominski of Sparkle Home Organizing. Here’s what we did.

Step 1: Clear and Assess the Space
Prominski’s first suggestion was simple: Take everything out. She encouraged me to think not just about what should stay in the kitchen, but also what could be stored elsewhere to free up space.
With her encouragement, I went all in. I emptied the cabinets, sorted every plastic container and lid, and pulled all my large appliances onto the table. Soon, my kitchen and living room were a sea of stuff. The kids were alarmed. I was sweaty. But at least I could finally see what I owned.

Step 2: Rehouse Items with Accessibility in Mind
If I could, I’d install custom pull-out shelving to make my cabinets more functional. But working with what I had, Prominski and I focused on accessibility. Despite her gentle push to donate my bread maker, I wasn’t ready. I stashed it high above the oven instead.
The appliances I use less often, like my blender and snow cone maker, went in the deep cabinets above the fridge. For my heavier items, Prominski suggested adding a trunk or decorative storage piece in the adjacent living area. I found a simple one at HomeGoods, and it now holds my pressure cooker and ice cream maker perfectly.

Step 3: Put Things Back in the Cabinets Thoughtfully
With the lazy Susan cabinet cleared, I decided to turn it into “kid central.” I moved their small plates and bowls there so they could grab them easily. The half-circle cabinet took more thought. I realized it could serve as a mini pantry extension, so I stashed baking supplies and large, lightweight containers inside (the kind I use for cookies and holiday treats). This made sense, as my KitchenAid mixer lives on the counter in that corner.

I didn’t completely revolutionize my corner cabinets, but I did make my kitchen work better. Everything has a clear place, and I no longer dread searching for lids or containers. Now, meal prep is smoother, the pantry feels roomier, and the whole space functions more efficiently. My kitchen might still have its 1970s quirks, but for now I’m content — and that feels like a win.