
Renovation Project Secret: How To Lay A Perfect Bead of Caulk Quickly & Neatly, Every Time
While in the process of diy-ing a bathroom renovation, I discovered a key process “secret” worth learning. Laying the perfect bead of caulk might not sound very exciting, but is an essential process to know for any home owner.
My first attempt to lay caulk wasn’t so bad. I was trying to seal an apron sink we just put in the kitchen. My caulk work turned out nicely, but, boy, was it tedious, not to mention super messy! I used everything from pieces of cardboard, business card corners to damp rags and sponges. The process worked pretty well when it was a small area to be caulked, but there was no way I was going to use this process to caulk an entire bathroom. Here’s my new found way of getting perfect caulk lines in only 1/4 of the time.
What You Need
Materials
- Caulk (should match your grout color)
- Painter’s tape
Tools
- Caulk Gun
- Wet rag
- Utility knife
Instructions

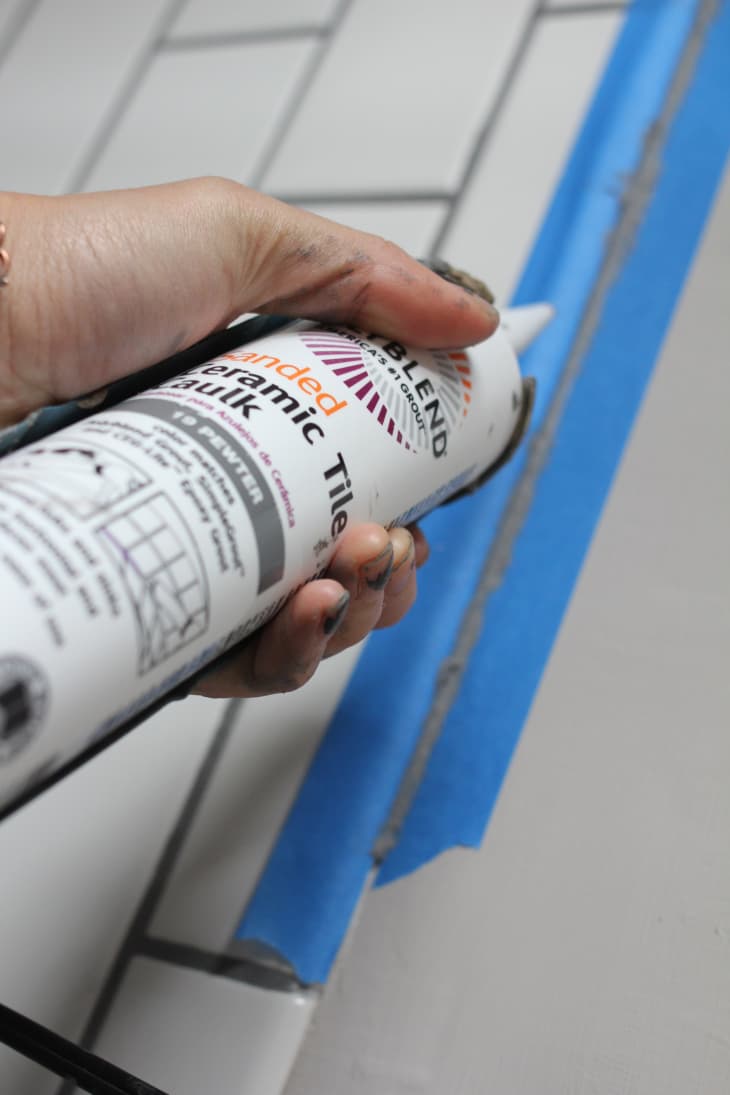
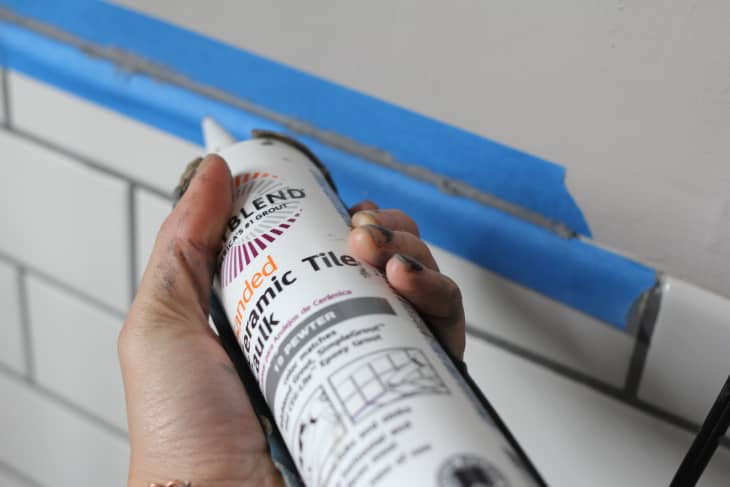
1. With your utility knife, cut the very tip of the caulking tube at a 45 degree angle. Only cut an opening equivalent to the size you need. In this case, I’d like my caulk lines to be the same size as my grout lines—1/8″. I used Polyblend sanded caulk in Pewter, which matched perfectly with the Mapei Pearl Grey Grout I used. Some caulk tubes even have a size guide showing where to cut, which I found useful.
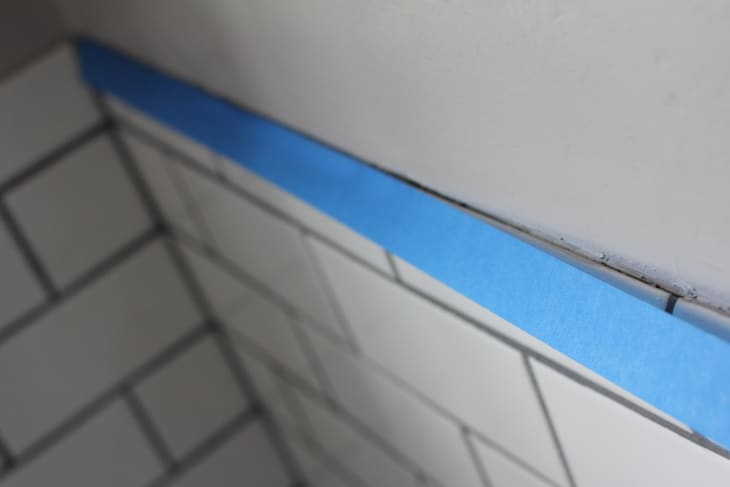
2. Prepare the area you’ll be caulking by removing all dirt and debris with an old toothbrush. Tape along the edge of the tile right before is starts to bevel.
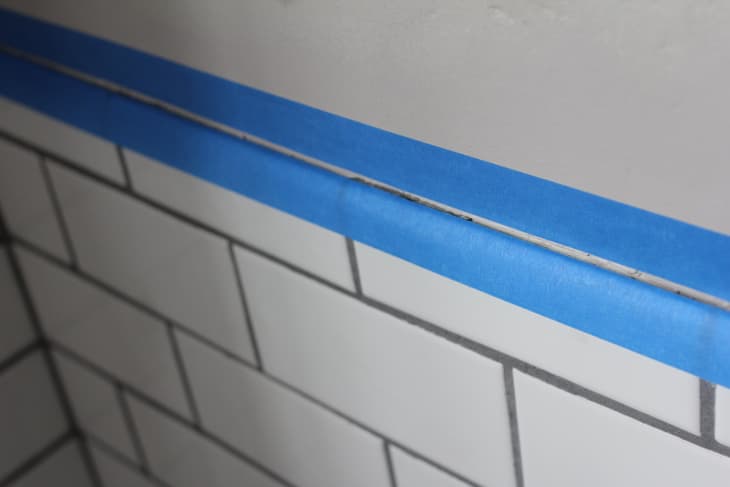
3. Apply the second tape line just 1/8″ above the first.
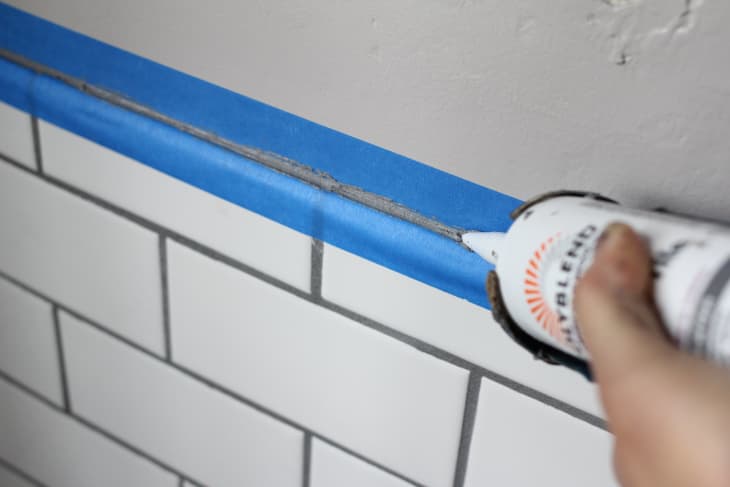
4. Aim opening down and apply gentle pressure to the trigger while slowly “drawing” your straight line.
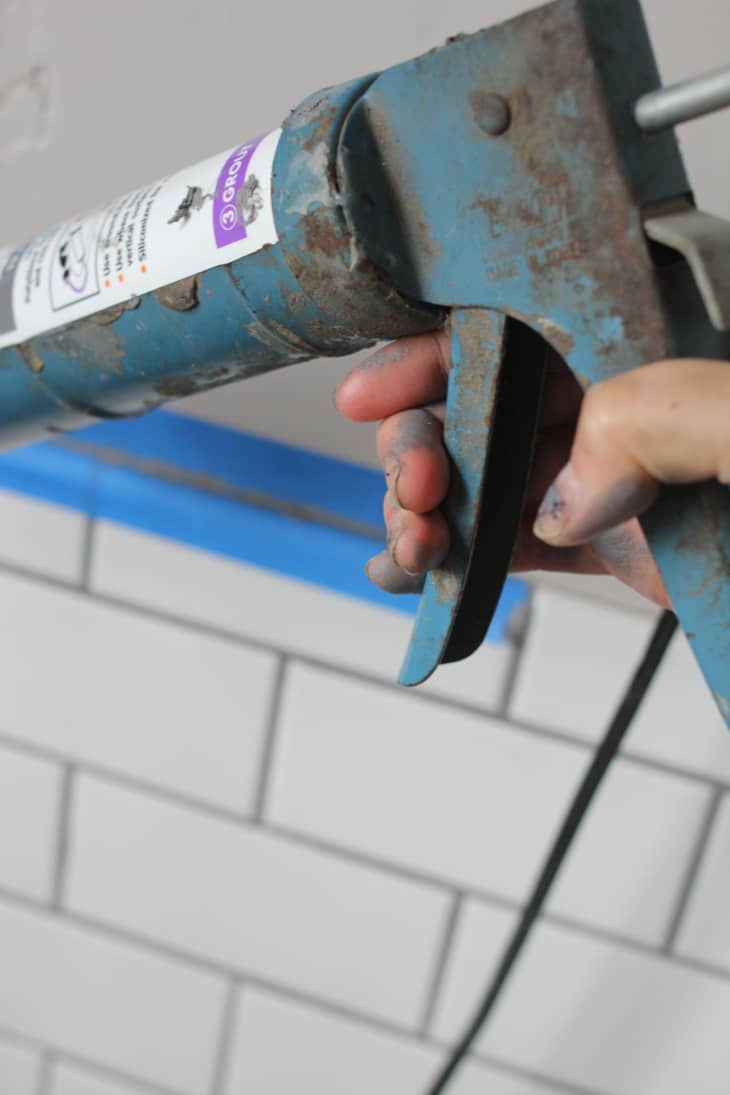
5. Perfecting a clean bead of caulk requires the right combination of trigger pressure and gun speed.
6. Continue laying your bead until you reach the end of the taped area. Quickly press the trigger release tab to stop the flow of caulk escaping form the tube. If there’s a bit of overflow, use your wet rag to wipe the tip clean.
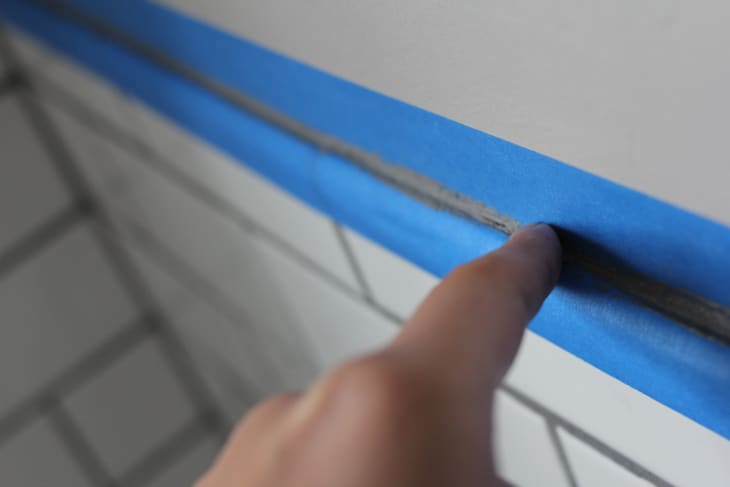
7. Check the bead of caulk for any bumps or gaps—like the one you see here.
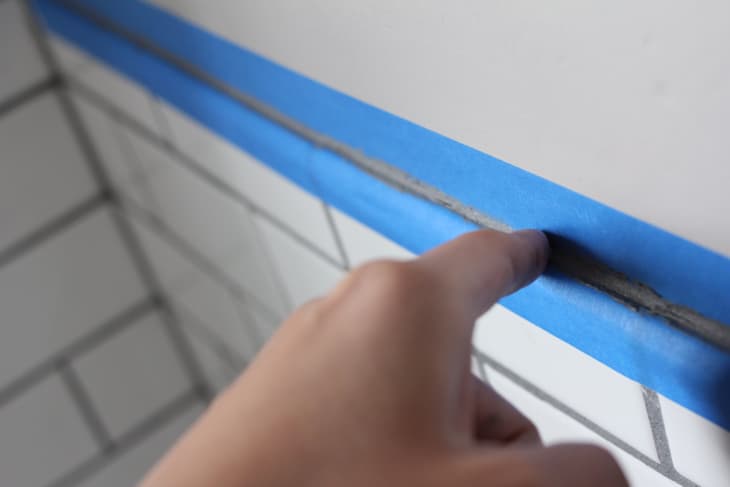
8. Simply smooth it over with a wet fingertip. Wipe your finger clean immediately with the damp rag. Caulk is very difficult to remove off skin once dried.
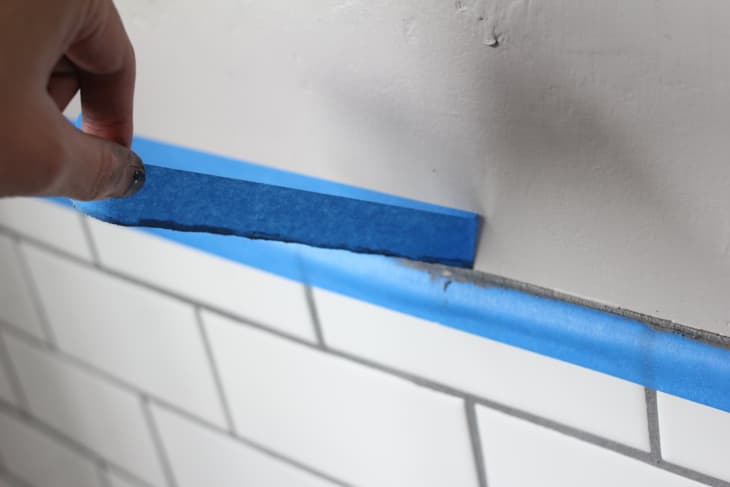
9. Before the caulk dries, slowly lift the tape back pulling int the opposite direction.
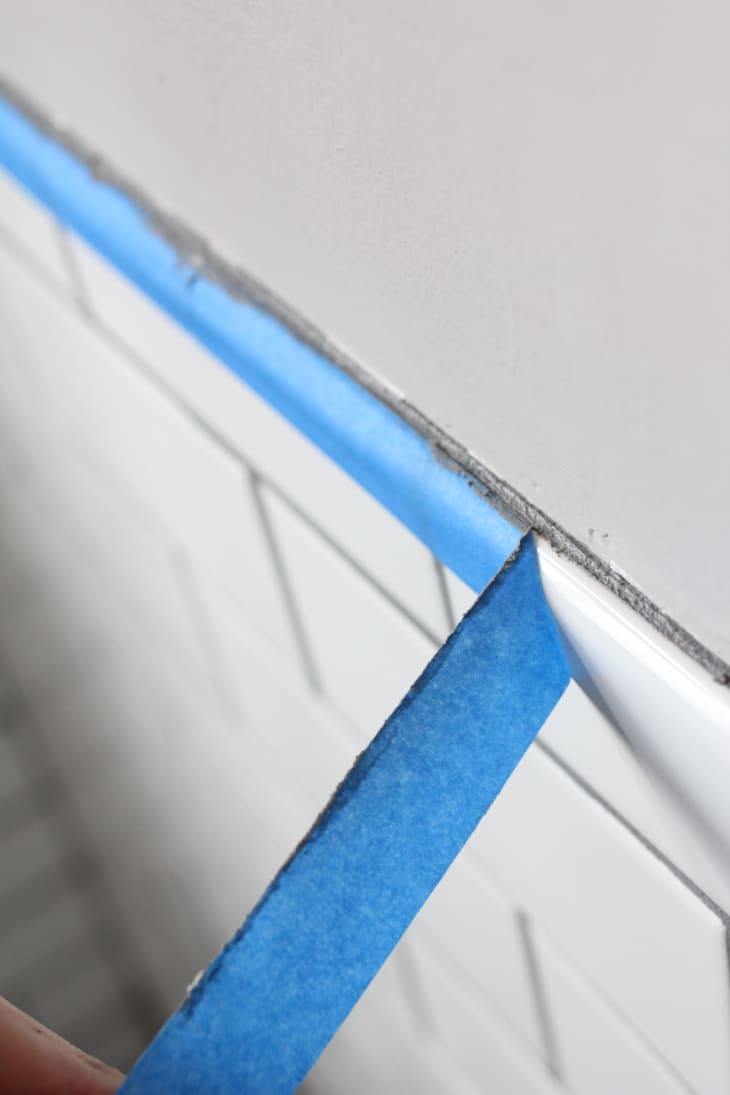
10. Repeat with the bottom piece of tape.
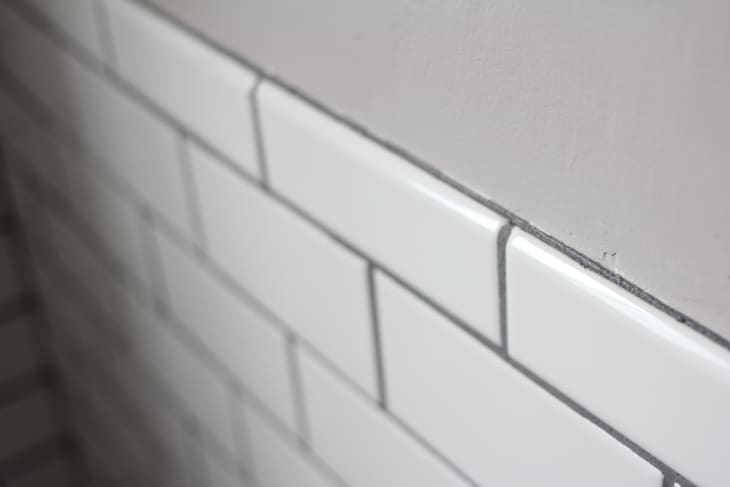
11. There you have it. Perfect caulk lines.
Have a really great DIY project or tutorial that you want to share with others? Let us know! We love checking out what you’re making these days, and learning from our readers. When you’re ready, click here to submit your project and photos.