
A Tiny Nook DIY Changed the Whole Room and It Only Cost $100
Improving your shelving game in an awkward alcove can do wonders for a room — take it from DIYers Claudia Williams or Lara Lucas, who both created cozy little corners out of once-wasted space.
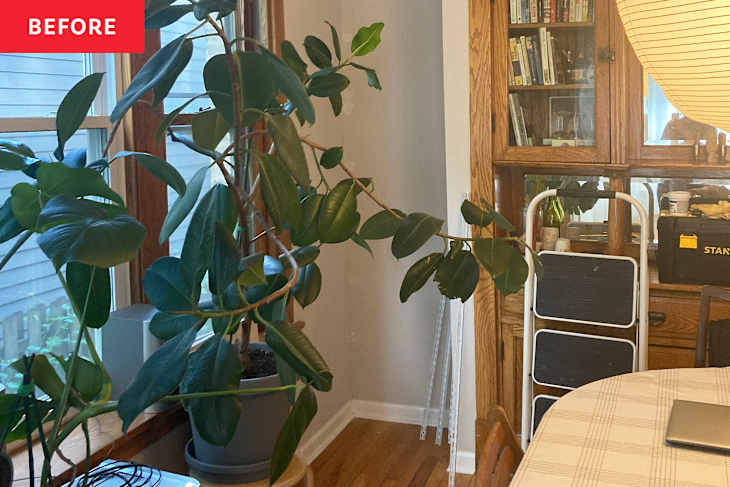
A third DIYer to add to the list is Molly Malloy, who transformed an “empty, unused” corner into a storage-packed space with open shelving.
The Empty Space Was Hard to Ignore
“I knew when we moved into this apartment that this alcove would be a great candidate for open shelving,” Molly says. “There is a vintage built-in right next to this space, so it was hard to ignore because it’s next to the focal point of the room.”


The Project Cost Was Around $100
Molly got to work and added white tracks and shelf brackets from The Home Depot, and she also sourced her wood for the shelves from The Home Depot. “I found a board of glued-together pine that would work and had it cut in half to get the right dimensions,” she says.
She had one slight setback, which was that she installed the tracks too far apart at first. “I realized before I finished installing the tracks that [they] needed to be closer together in order to support the shelves properly,” she says. “I had to take down the tracks I installed and repair the holes.”
She also stresses the importance of prep work before the project begins.


The Shelves Got a Coat of White Paint
“I wanted the shelves to have a nice, smooth finish, so I spent a good amount of time sanding and patching to get them just right,” she says. “Painting them was easy after putting in the effort to make them smooth.”
Molly used a Backdrop paint that’s now discontinued, but it’s a creamy off-white. Hers was leftover from another project, which saved some money.

The Shelves Make the Room Feel Complete
Now, she has the perfect place to put her record player. “I also love that it highlights our built-in even more!” Molly says of the project. “The shelves make the room feel more complete and functional.”
Inspired? Submit your own project here.