
Before and After: A “Modern-Traditional” Makeover Ups the Charm in This All-Beige ’90s Bathroom
It’s possible to add quaint, vintage-inspired charm to your home even if doesn’t have cozy vintage beginnings. Take it from Erin Zubot (@erinzubotdesign), whose One Room Challenge bathroom redo, which she dubbed “modern-traditional” is adorable, chic, and vintage-inspired now but had fairly standard beige beginnings.
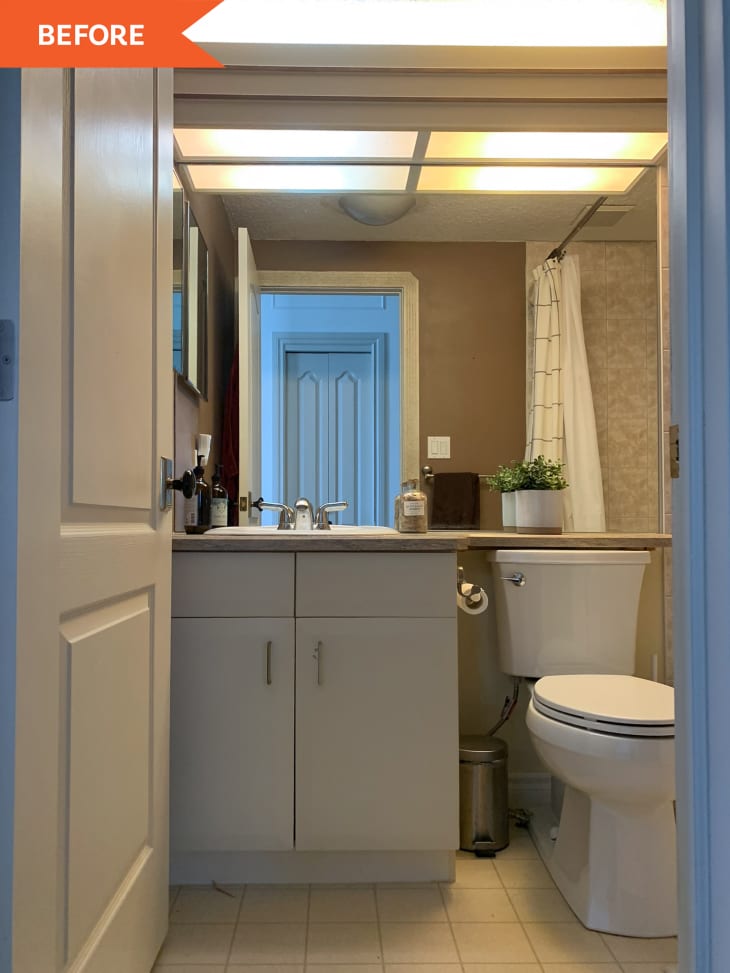
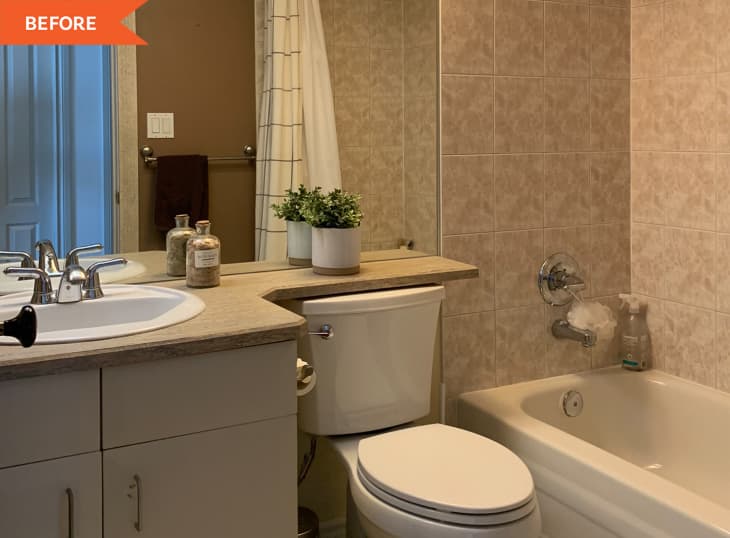
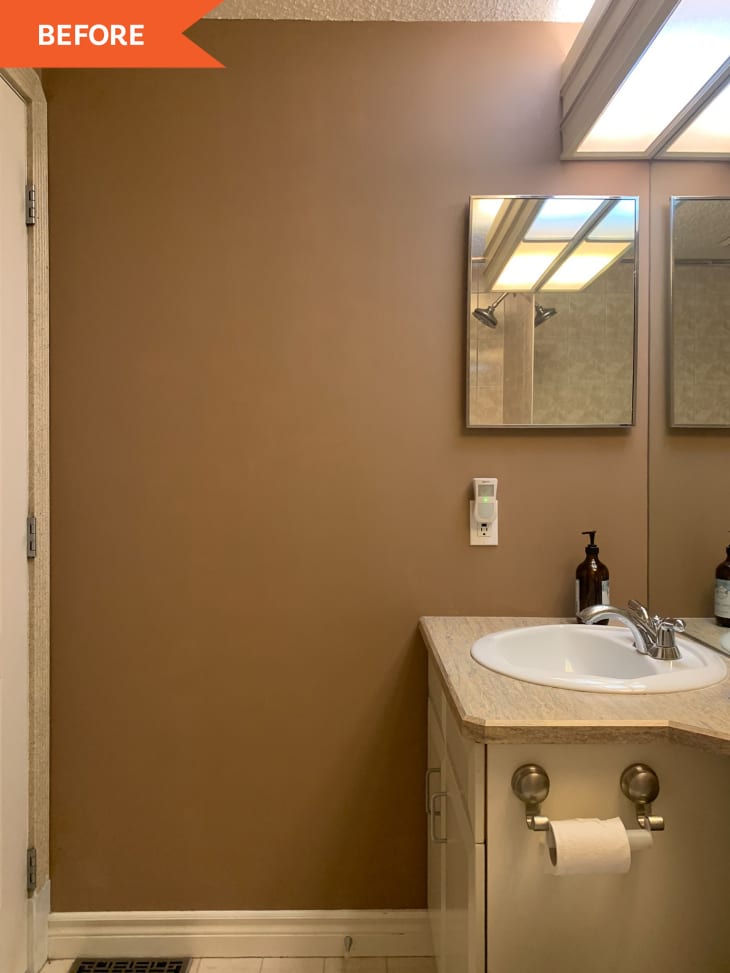
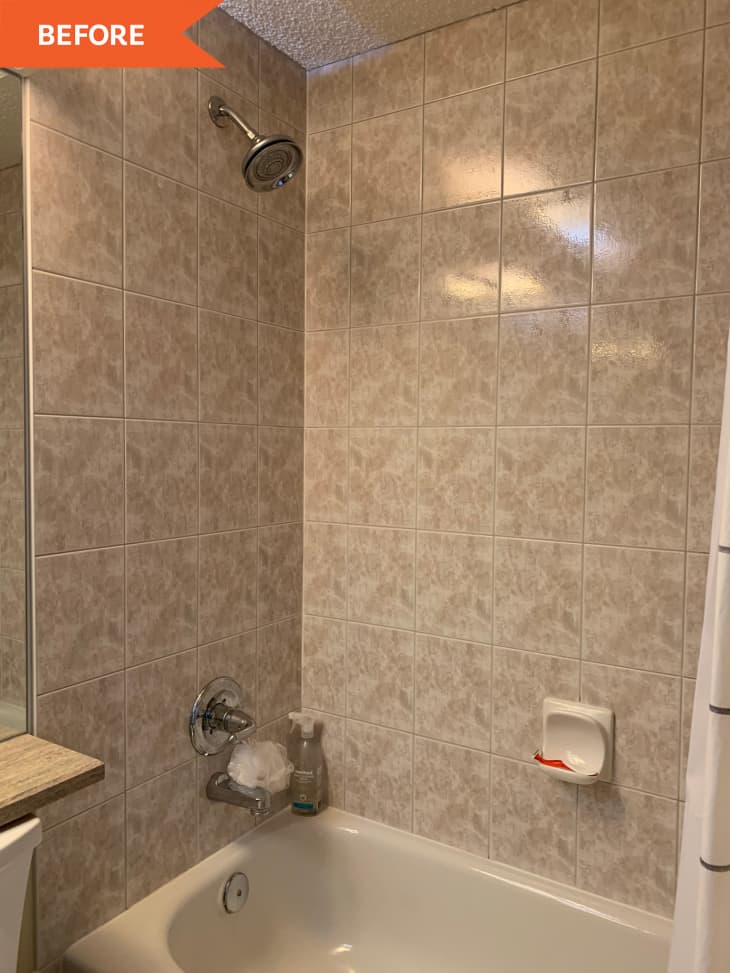
“The bathroom was original to the 1997 home and had dingy linoleum, laminate counters and a damaged vanity, pink tile and a water-stained popcorn ceiling,” Erin explains. All those beige and brown tones worked together to make this bathroom feel dark and a little cramped, too.
Erin says that she chose the space for a One Room Challenge redo because it was one that guests frequented often, and because it was one that she could largely tackle on her own.
Erin’s approximately $5,000 redo involved scraping the popcorn ceiling, demoing the clunky sink, and adding fixtures, paint, and tile. The goal: Get the bathroom out of the beige ’90s and give it a little vintage charm that still feels modern and timely.
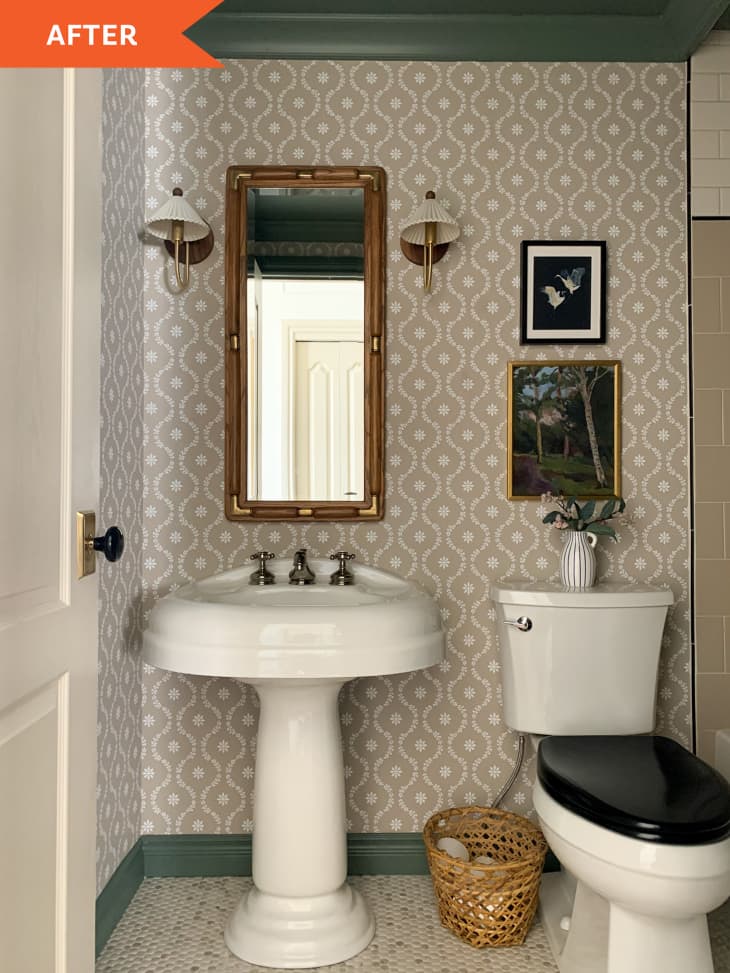
The project kicked off with the new sink — a $75 Facebook Marketplace find that was around 75 years old, plucked from an old farmhouse. “I also picked up a very cool vintage mirror (likely from the 80’s or 90’s) that had an unfortunate honey oak finish on it but very cool lines and brass details and thought that paired with the vintage sink, it could be pretty cute!” Erin writes on her blog. (It was $20 from Facebook Marketplace.) “I stripped the finish off of it and refinished it with a mid-tone stain (“Special Walnut” by Minwax), and it’s every bit as special as I thought it could be.”
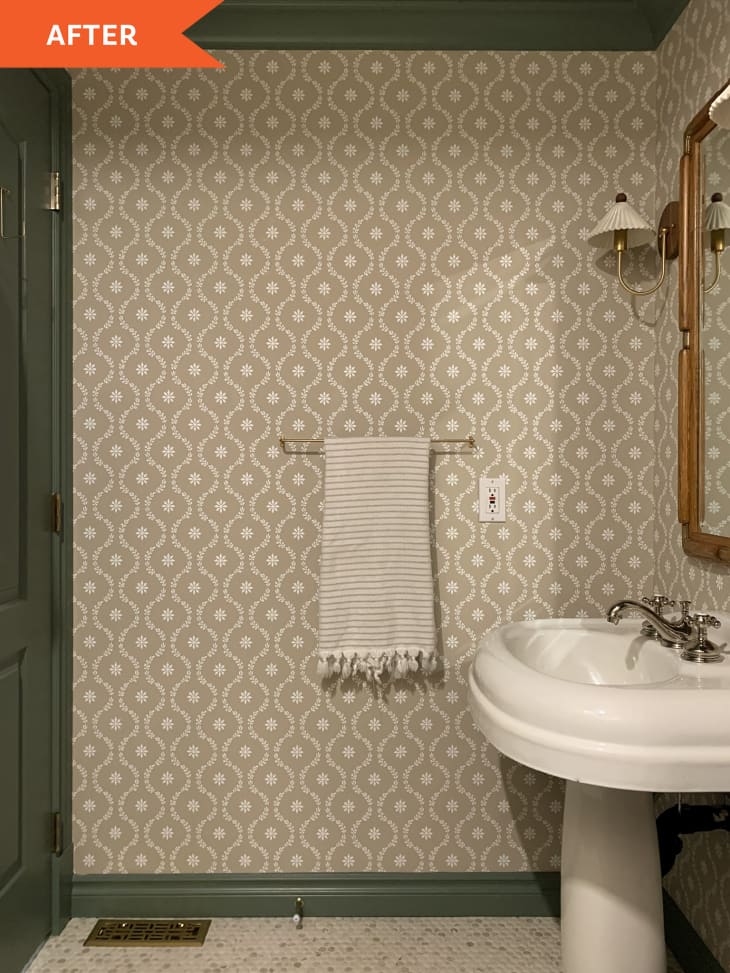
Erin also scored a clearance vintage-looking Cole & Son wallpaper for the redo, and once she had her materials, her design came together quickly.
“I did the bulk of the work with my daughter lending me a helping hand to tile and wallpaper and my husband helping to demo,” Erin says. “My brother-in-law came over at the end to help fix some leaky plumbing I couldn’t seem to get right. The only real setback involved my tile trim not quite being large enough to cover my tile edge, but I made it work! I decided to tile right over my old tile, and I was nervous about doing that, but it was easier than I thought it would be.”
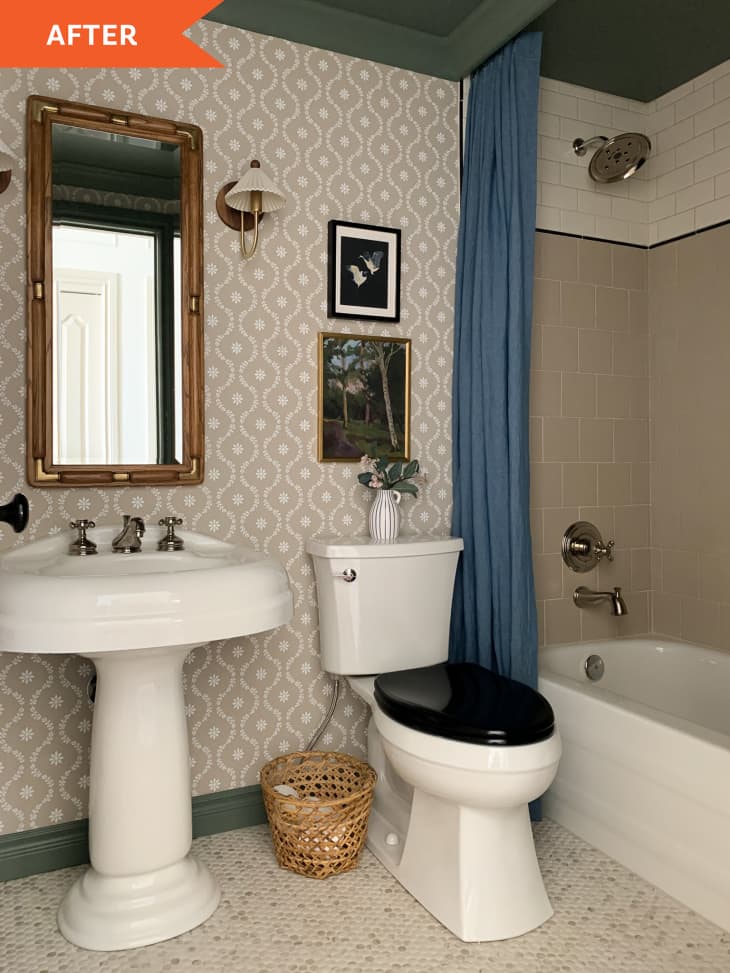
Erin chose a 6×6” beige tile for the bottom bulk of the shower and a 3×6” off-white for the upper third; they are separated by a row of black trim tile. Erin wrote on her blog that it was satisfying to see the tile design in her head come to life, and she likes how the penny tile on the floor “is a soft, subtle pattern that supports the rest of the bathroom without being too overwhelming.”
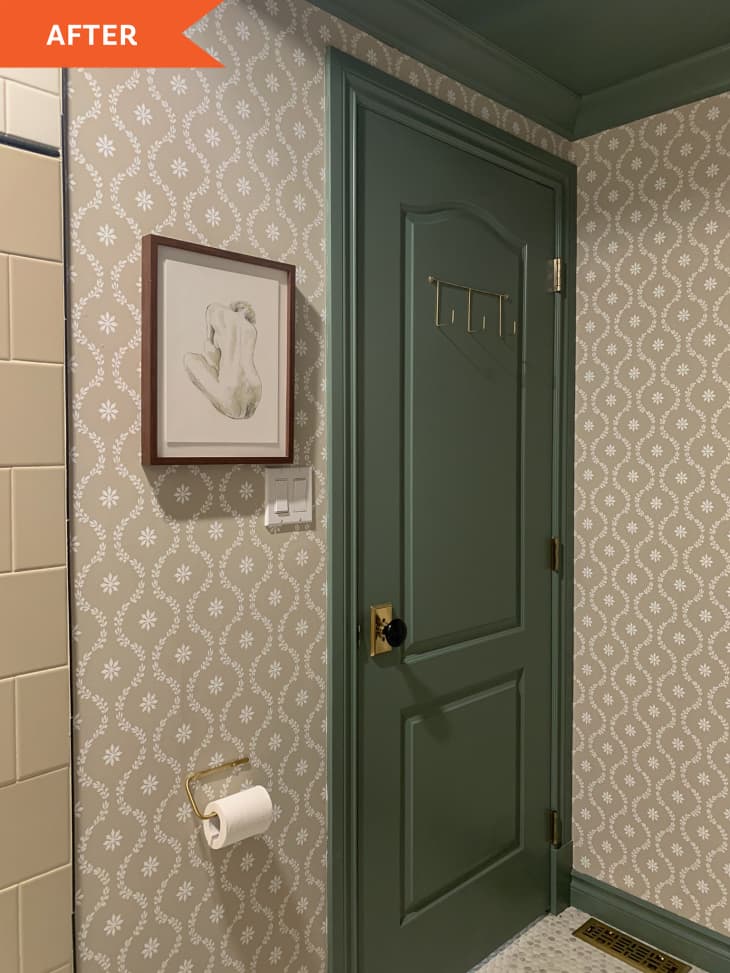
Erin says if she could do one thing differently, she’d choose a slightly wider tile trim to cover the edges of her tile, but she mostly has no regrets. For trim and paint (and the new, smooth drywalled ceiling), she went with very on-trend sage green (Valspar’s Lush Sage).
Erin’s mom sewed a new ceiling-mounted shower curtain for the space, and Erin completed her space with new hardware for the sink and tub, new sconces, and artwork. “I love everything about the after!” Erin says.
It’s the perfect blend of old-meets-new.
This project was completed for the Spring 2022 One Room Challenge, in partnership with Apartment Therapy. See even more of the One Room Challenge before and afters here.
Inspired? Submit your own project here.