
See This Dated 1950s House Get the Cutest Cottage-Style Transformation
Oftentimes, fixer-upper homes need fixing on the outside as well as the inside. That was definitely the case for the 1950s house shared by Natalie Paquin (@natalieapaquin) and her husband, Graham. Natalie and Graham moved in about five years ago, and the outside — including the exterior paint job — was the first thing they addressed.
“We knew we wanted to remove the sunken front deck, paint the stucco, and replace the torn-up siding with vintage-looking brick,” Natalie says of the exterior project.


Lower siding was swapped out for brick.
Natalie and Graham removed the old front deck and filled in the empty overhang with concrete to match the foundation. Next, they painted the 70-year-old stucco on the upper half of the house with Dulux’s Silvery Moon.
On the lower half of the exterior, they removed the siding, installed new brick veneer, and painted it a similar off-white. Installing brick veneer was a first-time for Natalie and Graham, and they turned to YouTube tutorials for lots of help.
They also added new trim around the windows and painted that a contrasting black (Behr’s Totally Black.)

The overgrown yard got a manicure (and a walkway).
One of the biggest undertakings of the curb-appeal project was taming the overgrown yard.
Natalie and Graham had new sod installed, had a new walkway to the front door poured, and had new trees added. They also saved some of the old plants from before and put them in a rock garden bed. (The project used over 27 bags of rocks!) “[We] made it a priority to save all the pre-existing bush and trees from the front that we could,” Natalie shares on Instagram.
Among the new plants they added are a pear tree, limelight hydrangea, and a Virginia creeper vine around the front door.
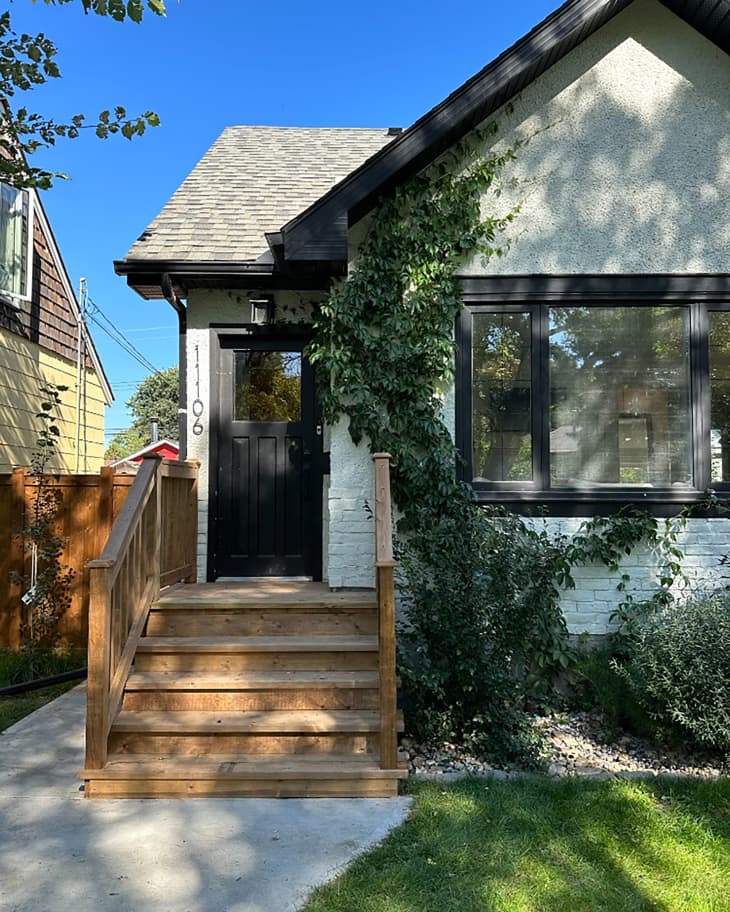
A historic door adds charm.
Speaking of the front door: Natalie replaced the dated front door with a historic front door that she sourced from Montreal, which she sanded and stained.
She also sanded, stained, and sealed the porch. “We built this front porch the year we moved in … and we didn’t stain or seal it at the time, and it so quickly became weathered and bleh-looking,” Natalie writes on Instagram. “So here’s your reminder to seal your outdoor wood projects!
Natalie says on Instagram that she loves watching her hard work pay off and watching her home’s exterior feel more grown-in every year. “ I literally used to dream of having a tiny little white cottage in the heart of the city, and I have exactly that,” she writes.
Inspired? Submit your own project here.