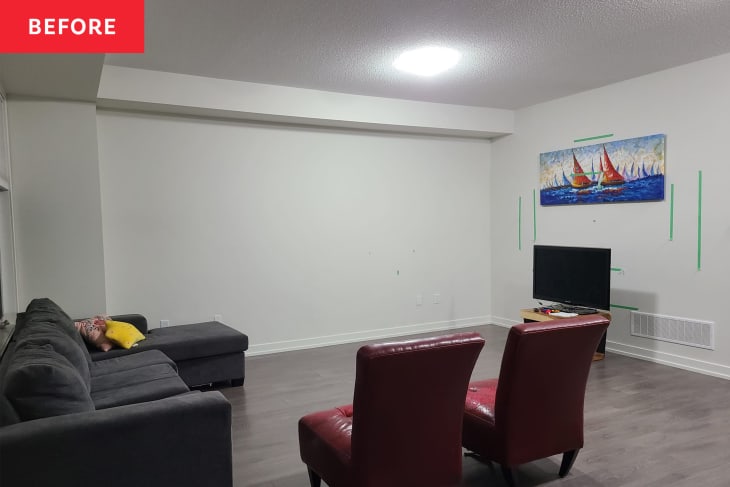
Before and After: A Geometric Wood Accent Wall Livens Up This Blank White Living Room for $450

Wood slat walls are a common accent wall choice these days, in part because natural wood tones (and 3D textures!) are trendy again, and in part because the process of adding thin, vertical wood slats to walls is a fairly inexpensive and first-timer-friendly DIY project. For proof, check out this dramatic dining room redo, this bathroom accent wall that continues down to the floor, and this clever entryway nook.
A wood slat wall was a great fit for this project completed by experienced DIYer Hana Sethi (@hanashappyhome), too. Hana did the project for her friends Leena and Shabir, who “wanted something moody, modern and something no one else had,” Hana explains. Leena and Shabir had gone years without knowing what to add to the large blank wall in their living room, so Hana stepped in to help them create a custom wood accent wall. While Hana has lots of tool-wielding experience, she says slat portion is definitely beginner-friendly — especially if you don’t have any outlets to cut around.
The first step in the project was painting the blank white wall an inky charcoal black: Sherwin-Williams’ Cyberspace. After that, “there are two parts to this space: the slat wall and the geometric wall,” Hana explains of the project’s scope. For the vertical slat wall, Hana says she, Leena, and Shabir used paper to make a template for spacing, then transferred the template to wood. They used 1×2 poplar slats because the poplar didn’t need any sanding or staining — it just needed a polyurethane seal — but you can also use pine because it’s a bit cheaper, Hana says. (In total, the wood slat wall cost around $150, she estimates.)
The trio attached the poplar strips with a brad nailer, and then they used a jigsaw to cut around the outlets — the trickiest part of the project, Hana recalls.
After the wood slat wall was installed, Hana, Leena, and Shabir worked on the textured rectangle section on the left-hand side of the wall. They used painter’s tape to map out the design before beginning, since it gave them the exact measurements they needed for each board, Hana says.
Hana, Leeena, and Shabir then cut plywood for the boards.They put the boards overlapping on top of one another and also nailed those to the wall with a brad nailer. “Plywood isn’t the most pretty, but since we were painting it black, it was okay,” Hana says. They added wood filler to the edges of the boards to create a seamless look, which was cheaper (and faster) than using edge banding, Hana adds. Then, they painted it all in the same gray-black color as the wall.
Hana says she’s thrilled with how the two sides of the wall join together and create contrast and a twist on a typical vertical slat wall, and Leena and Shabir are, too. Her best advice for tackling a project like this? “I find that thinking about (it) in phases makes it so much more attainable,” she says. By breaking the project into three steps — paint, poplar, and plywood — the project went smoothly and efficiently. The grand total for both sides of the wall was about $450.
For more wood accent wall inspiration, check out these 17 project ideas.
Inspired? Submit your own project here.
