3 Smart Secrets for Labeling Moving Boxes That Will Make Your Next Move a Breeze

The moving process is only as difficult as you make it out to be. If you’re hangry and disorganized the whole time, you’ll come away from the move having lost some really important things like your mind, your time and your grandmother’s china. Thankfully, it turns out being one of those hyper-organized people who have it all together is really, really simple.
An organized move comes down to having organized moving boxes. Labeling what’s in each one is a good start (“cups and glassware,” “Katie’s toys”). Then, follow this 1-2-3 plan to keep everything in order:
1. Give each box a number…
Number your moving boxes individually, especially if you personally won’t be moving them (1 of 15, 2 of 15… etc.). This way, it’s easy to see if a box got lost in transit well before it’s time to unpack.
2. Then a color…
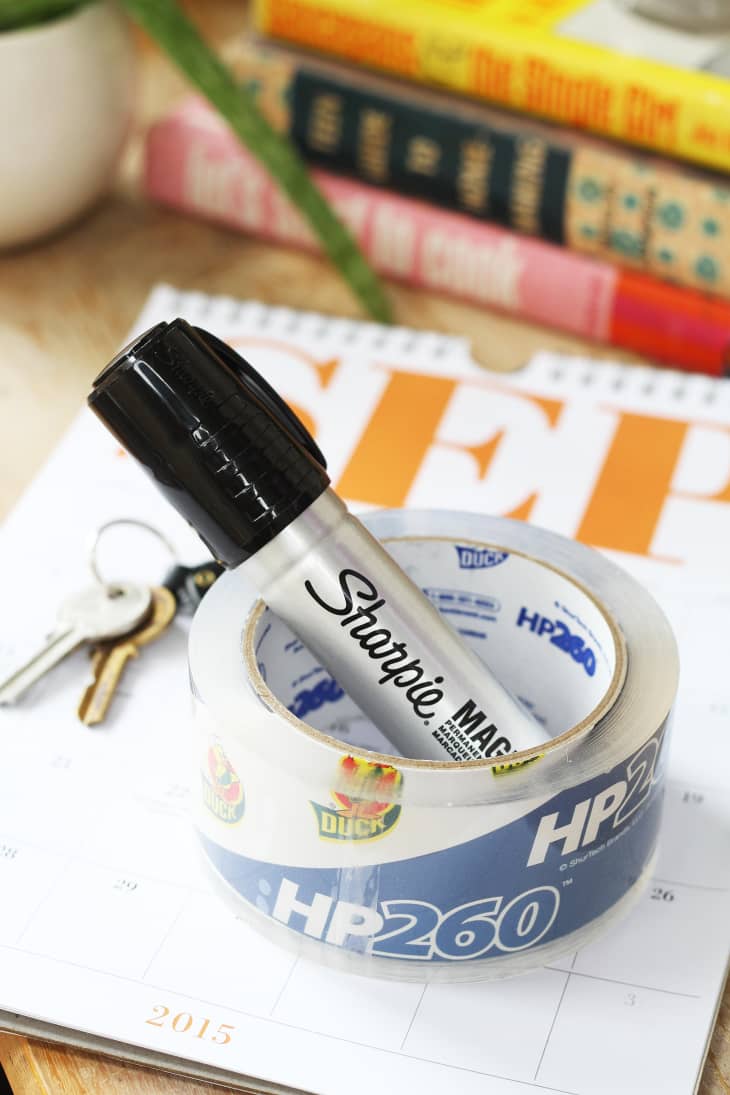
Grab a pack of colored permanent markers, and dedicate each color to a different room. Yellow for the kitchen, purple for the bedroom, etc. Color-code the boxes for each room with a big mark in the designated color so that movers (or your really generous friends) know exactly where to drop each box.
3. And finally, a priority.
Write “High” (or “H”) on items that should be unpacked right away, “Medium” on things that can be unpacked more slowly, and “Low” on things that can stay packed for a long while (or forever, whichever comes first).
And here’s an extra tip… put all of these details on the sides of the boxes instead of the top. That way you can see all the relevant info, even when they’re stacked up.
→ If you need some help packing, try these 9 simple tips & hacks to make moving day 100x easier.
Happy moving day!
