

A “Basic” Laundry Room Got a $502 Redo — Now It’s Packed with Storage
Have you ever lost a sock to the dreaded abyss of space between the washer and dryer in your laundry room? Or worse, behind the washer or dryer?
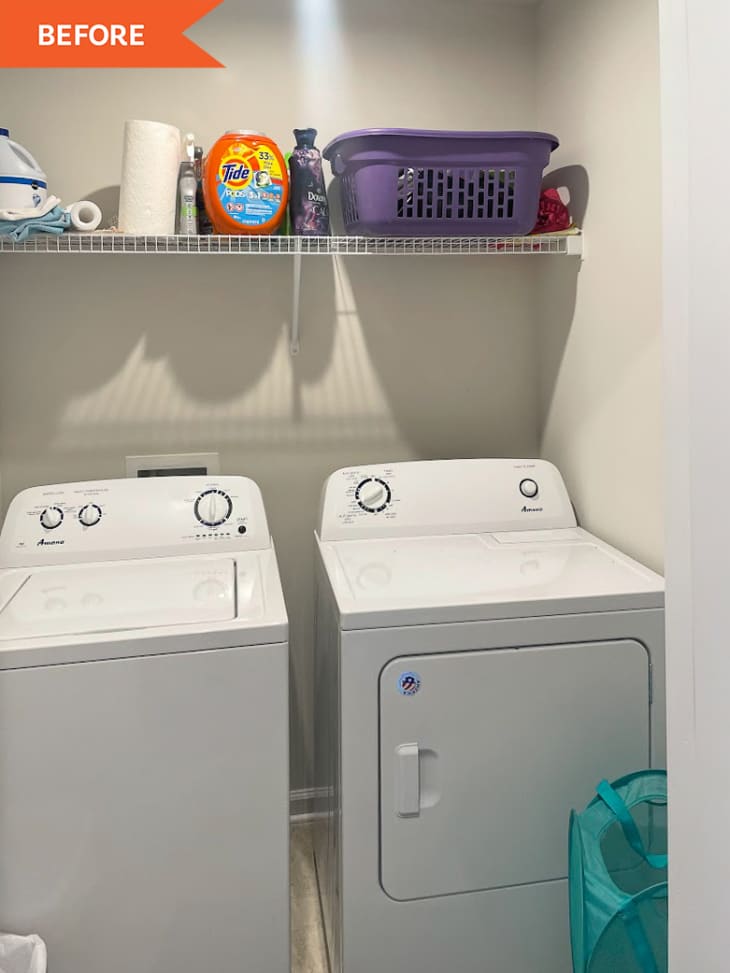
This clever redo by Rachel Weidman (@what.bb.built), which she did for her friend Sara, ensures that it’ll never happen again. Before, not only did Sara’s washer and dryer have that awkward space between them, but the whole laundry closet was lackluster. “Her laundry closet remained builder- basic,” Rachel says. The “closet” was actually fairly large (“more like a small room,” Rachel says), but it was definitely wasting square footage with only a single wire shelf for storage.
Only One Weekend to Transform This Laundry Room
Rachel and Sara knew that they could make room for a cabinet, stacked laundry baskets, and even a drying rack with a little ingenuity. In a weekend’s worth of work and for $600, they made it happen and added more style, too.
A Laundry Room Can Still Be a Fun Place
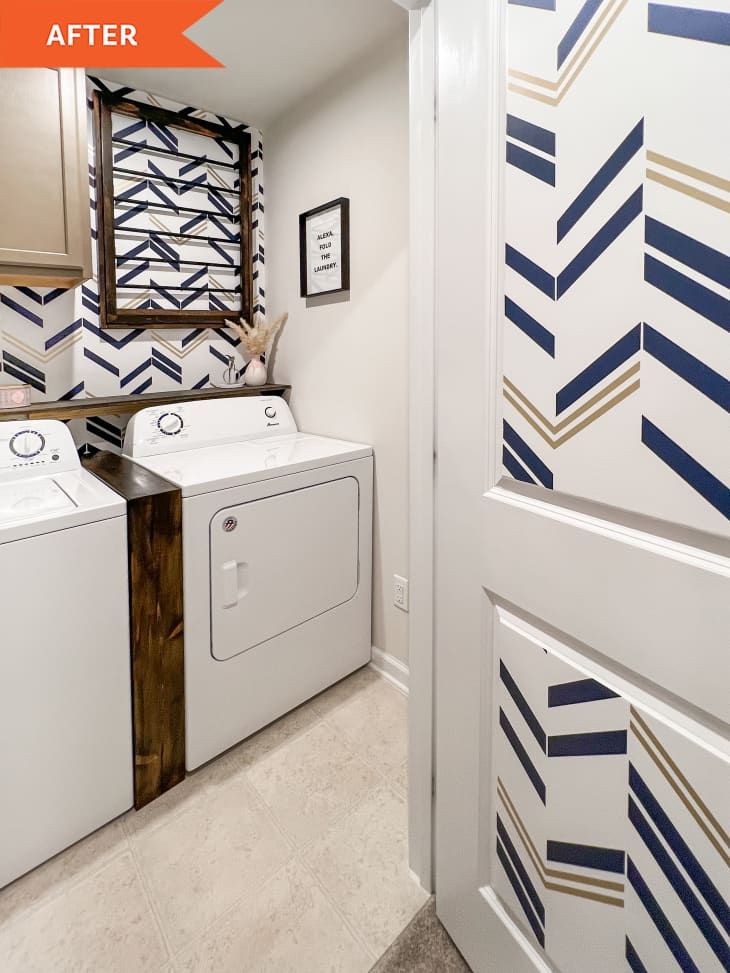
When it came to style, they chose a bold pattern: chevron wallpaper in blue, white, and beige, which livens up the boring “flat walls” before, Rachel says.
“I was specifically interested in trying out peel-and-stick wallpaper for this project so that if I couldn’t get it to apply nicely, then I could just take it right down,” Rachel says. “Luckily, it was pretty easy to apply and ended up looking really good.”
Rachel said she decided to try something fun with the leftover wallpaper and applied it to the back of the door, set inside the panels. “[It] ended up feeling really intentional once fully applied,” she says. Her advice for future peel-and-stickers? “If you have some extra wallpaper at the end … try to think of some other fun way to use it!”

New Cabinetry and Space-Saving Shelves
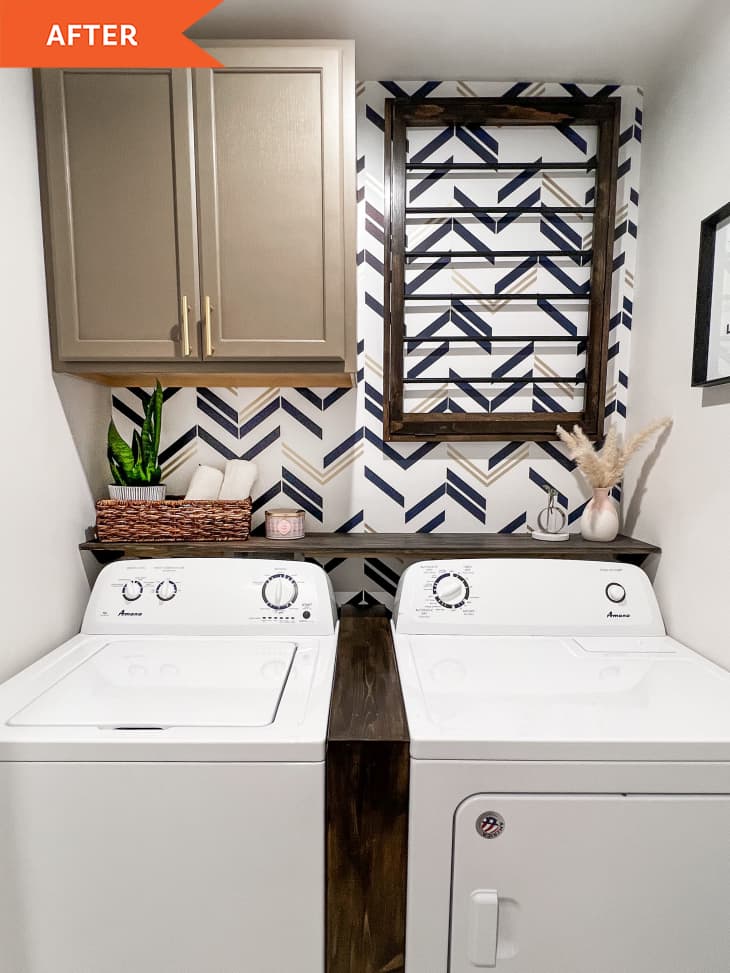
As for the space-maximizing solutions, Rachel installed a pre-assembled stock cabinet, a great go-to in a laundry room. To give the cabinetry a more finished look that matched the wallpaper, Rachel and Sara selected Sherwin-Williams’ Virtual Taupe paint and gold pulls. Rachel’s advice for adding pulls to brand-new cabinetry is to use painter’s tape to make sure everything is aligned, measured properly, and even before drilling.
Rachel also built shelves: one to seal up the scary space between the washer and dryer, and one behind the appliances. “Because the cost of wood is so high right now, I prioritized being able to build each shelf for this room with one piece of wood,” she says.
For example, the shelf between the washer and dryer is 30 inches across the top and 31 inches for the vertical piece. Rachel made both from a single 1×6, then mitered the end of each piece “for a really professional joint on the front,” she says. “I sanded the corner down slightly and stained/sealed the shelf before calling it complete.”
Her Favorite DIY Didn’t Take Up Any Space but Made the Largest Impact
Her final DIY in the space is a collapsible, wall-mounted drying rack, which she made because Sara has several clothing items she likes to air dry. Rachel constructed it using two rectangular frames fitted with dowels, waterproof spray paint, and hooks and chains so the rack can expand when in use.
“My favorite part is the embedded magnet that holds the drying rack flush to the wall when not in use!” Rachel says. Plus, she loves that it doesn’t take up floor space.
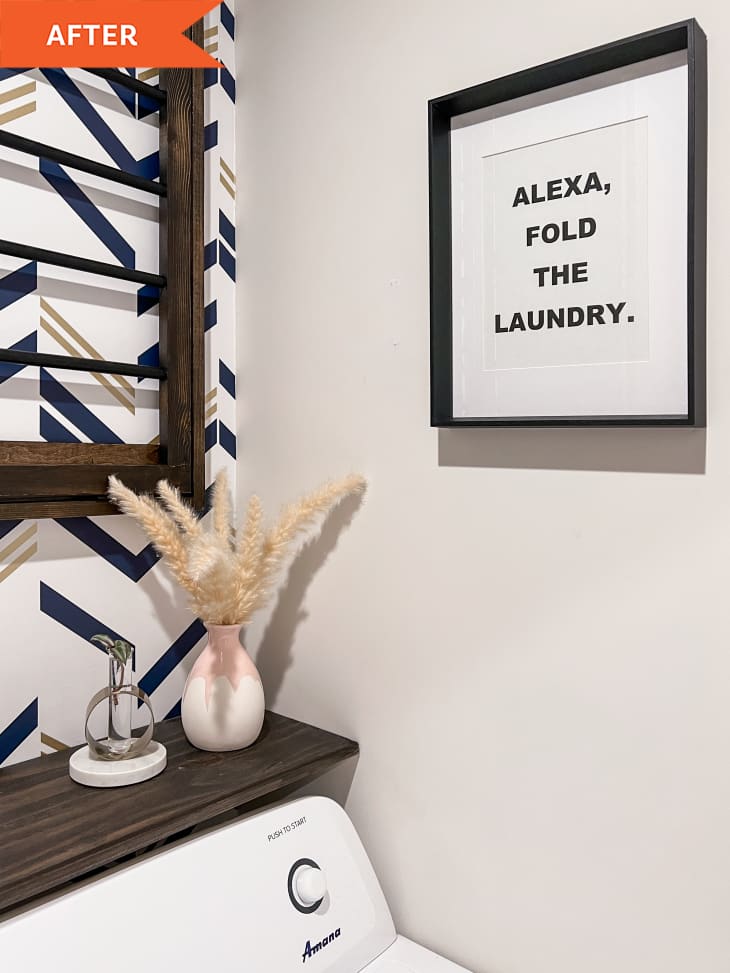
Rachel’s last bit of advice when it comes to revamping a room is to shop your own home when it’s time to accessorize. She and Sara picked out baskets and little accents Sara already owned to style the space, keeping their project total at a low $502. ($135 for the wallpaper, $160 for the cabinet, $31 for the paint, $42 for wood, $11 for hardware, $98 for the drying rack DIY materials, and about $25 for miscellaneous screws and such.) Not a bad price for a laundry room that will never eat another sock again.
Inspired? Submit your own project here.


