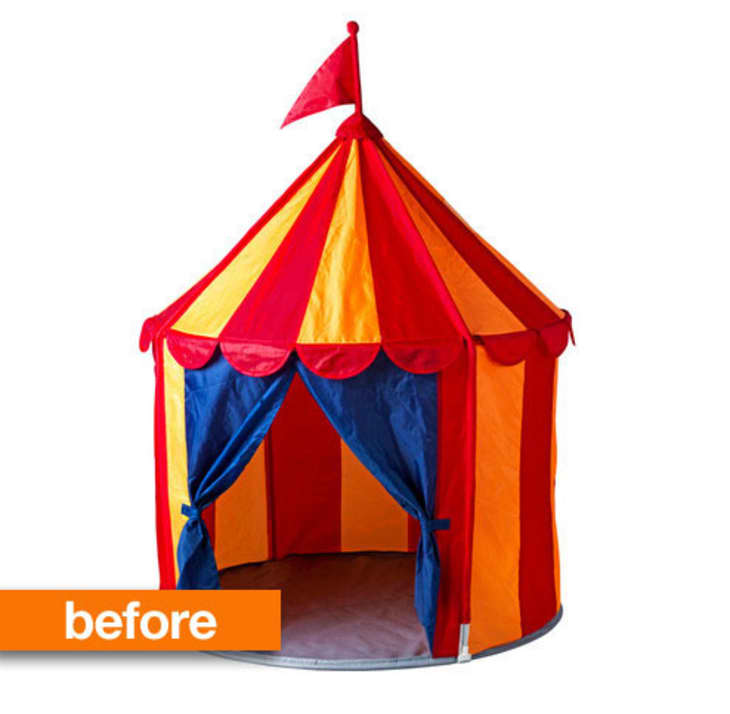
Before & After: IKEA Circus Tent
Crystal loved the price and concept of IKEA’s CIRKUSTÄLT play tent, but she wasn’t a fan of the loud primary colors especially to use in her daughter’s softer-hued bedroom. She picked out fabric she did like and got busy with her sewing machine…
Voila! She used the same “bones” of the tent, but completely new fabric that is more her style. Crystal describes:
I brought the tent home and disassembled it with a seam ripper to make a template so I could re-construct it with a few design changes. I took apart most of the tent to get exact measurements and to trace templates for parts like the roof, sculpted flags, the flagpole and base, etc. After hours of figuring out how it was constructed and several weekends of work, I finally finished it!Things I changed besides the fabric when making a new slipcover include:
• Instead of alternating fabrics between 2 fabrics (like they did with the yellow & red), I chose one for the sides and one for the roof.
• CIRKUSTÄLT hid the support for the top hoop under the flags around the tent. I wanted to add some contrast between the roof and sides, so I added a 1″ pink casing for it above the flags.
• I included 2 pockets and 2 windows into my design.
• I changed the style of the flag on top.
• The tent diameter is 39″ so I put a 3″ round rug inside with some throw pillows.
Thanks Crystal!
See more: Little Free Radical. Check out her other DIY tutorials, many IKEA hacks, here.
(Images 1: IKEA. 2. Little Free Radical)

