Before & After: A MacBook Remade Just For Mom
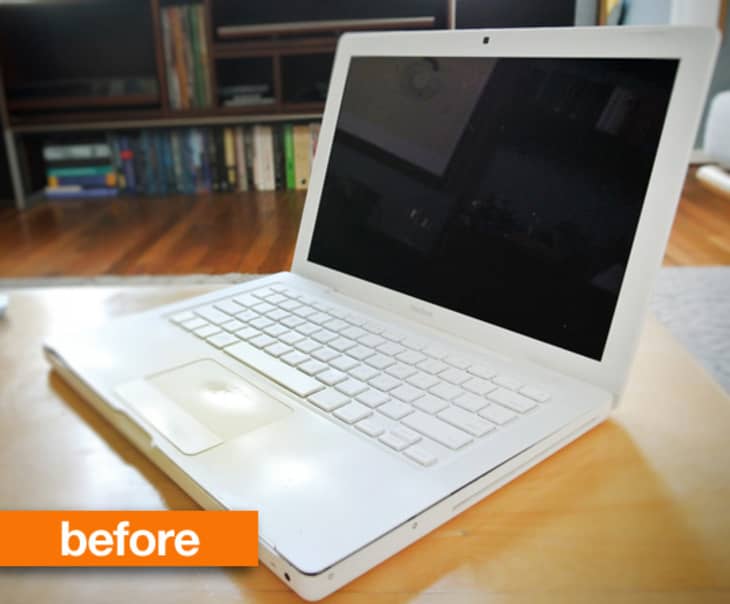
It was about two years ago, my partner Emily’s 2006 MacBook laptop began showing the visible signs of being well used…very well used. The white polycarbonate front edges cracked after years of palm pressure and the heat discolored the once pristine white laptop to a yellowish hue most often equated with British dental hygiene. The MacBook was soon replaced, then packed away with the intention of one day being donated, but quickly forgotten tucked far into the recesses of our closet…
Then earlier this month, after rediscovering the box during one of my famous caffeine induced bouts of spring cleaning fever, I began thinking how much my mom would like a laptop. Nothing fancy, just something for checking her emails, watching YouTube videos, and surfing the internet from the comfort of her couch. I began planning and daydreaming of a MacBook reborn for my mom to use.
Both front sides of the top panel were cracked and splintering; Emily had used packing tape as a makeshift repair.
Of course, I didn’t want to give my mom a worn down, cracked laptop like some bumpkin. But after seeing what a drastic improvement swapping in a solid state drive (SSD) made with my MacBook Pro, and also recognizing my mom needed mostly basic options, I believed this once beloved laptop had a few more good years in it yet. And so like the Bionic Man, I set out to rebuild the laptop: “We have the technology. We can make him better than he was. Better…stronger…faster.” And hopefully all under the total price of a Benjamin.
To start off, I removed all the excess gunk which had accumulated inside and on the exterior. Magic Sponge does a remarkable job of removing stains, and if used carefully, can buffer out some light scratches on the exterior (do this very, very gently and not on high gloss areas). This process alone made the laptop seem worth salvaging, revealing a lot of the age marks were only skin deep.
Opening up the MacBook to access internal components wasn’t too difficult, requiring nothing more than a basic computer tools kit and the patience to remove what seemed like a hundred tiny screws (this video walk-thru helped guide me through the process). I do recommend you keep a few pieces of packing tape or several magnets to keep these parts from going missing during disassembly, lest they find themselves hiding wherever it is your missing socks have also disappeared to.
Once open, using canister air is great for removing years of accumulated dust and debris that can find its way inside any computer (it’s always both shocking and fascinating to see the accumulated matter that finds itself into computers).
I ordered about $80 in replacement parts, salvaging what was likely going to be donated or disassembled for random DIY projects.
The long in the tooth Intel Core Duo processor isn’t upgradable, but I had two major components I could swap out easily: the hard drive and RAM. I maxed out RAM to a now decent 3GB, while replacing the pokey 5400rpm mechanical hard drive with a 30GB SSD drive. 30GB seems pretty minuscule storage wise, but considering my mom’s computer habits, it would be years before she’d even use a couple gigabytes of storage (her Gmail inbox is another story altogether).
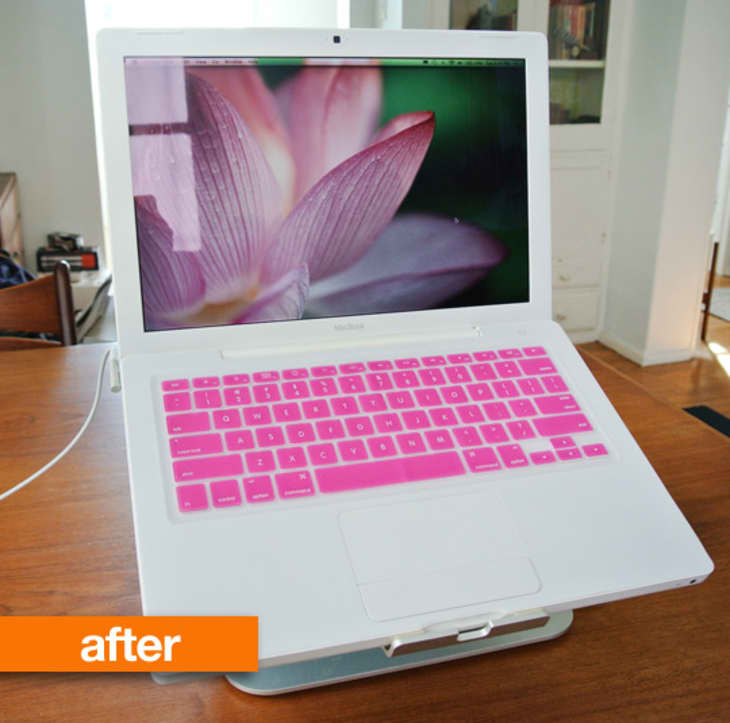
The laptop was going to be just for browsing online downstairs or in the backyard, not as her primary machine, so 30GB was not only spacious enough and much faster, it was very affordable at just $59.99. The additional RAM upgrade set me back a reasonable $31.99, and I also decided to add a little visual flair by ordering a hot pink keyboard cover, because mom has an affinity for bright pink.
Once all the internals were upgraded, it was time for the more unusual hardware repair. I had never replaced a whole laptop keyboard and touchpad, but a $42 replacement part was all it took to remove the previously cracked parts marring the appearance, and about half an hour later, I had everything closed back up, ready for a fresh install of OS X.
With OS X installed, the last few touches were some UI customizing specific to her computer habits (and eyesight). I know she primarily uses her current machine to read emails, drop into Facebook occasionally, check the weather, and maybe make a Skype call. I used the iPad as inspiration for optimal usability, bumping up the icons to a senior’s eyes friendly 128 x 128 pixels size and centering them for simple access, removed the Dock and hard drive icon (which she never goes into and prevents any “whoops” changes), created a direct shortcut icon to her Facebook page, while setting up her browser to keep all downloads in one folder to prevent desktop clutter.
The results are a machine somewhere in-between a Mac laptop and an iPad; testing it out after upgrades were completed, the newly upgraded machine felt better than ever. With nothing extraneous installed on the machine, the upgraded SSD drive, maximum amount of memory inside, and a fresh OS install, the MacBook was faster and more responsive than when it was turned on the first time. I would dare to say it’s twice the machine it was brand new.
Yes, there are still a few scratches here and there (easily disguised using a hard case, which is a possible future order), but at a glance, the once down-in-the-dumps portable is going to see new light as a very capabale secondary mobile device for my tech-savvy mom, whom I think will find this easier to type on and use than an iPad. I guess I’ll find out this weekend when I take it over to her house and surprise her with the white and bright pink machine, but I’m happy knowing it took less than $100 to give the MacBook a new lease on life.