
Before & After: Eyesore No More
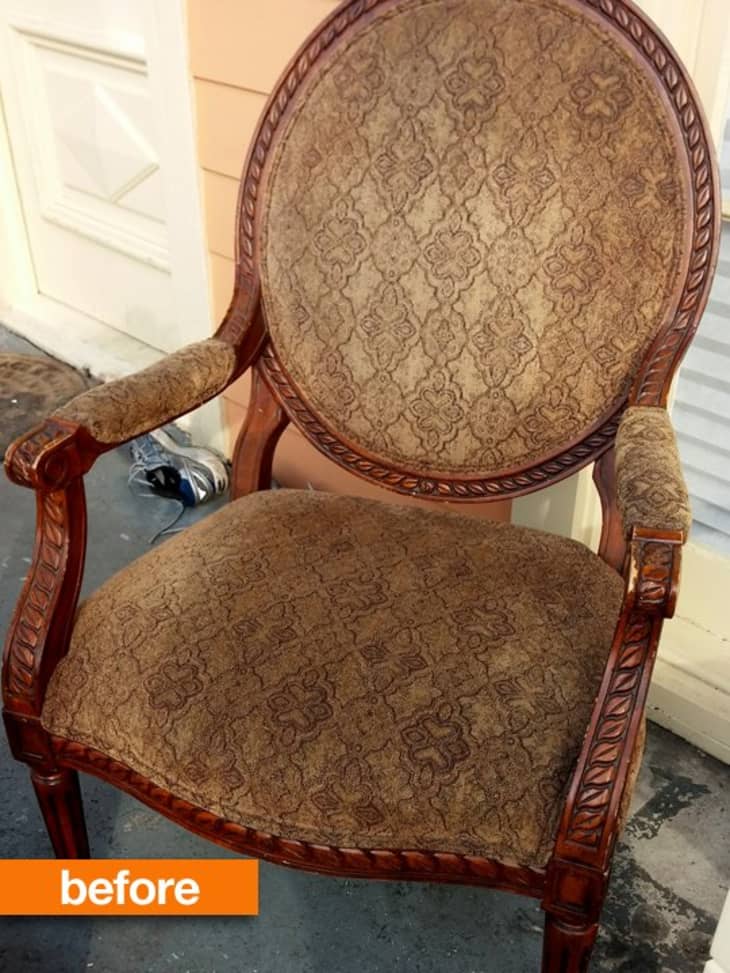
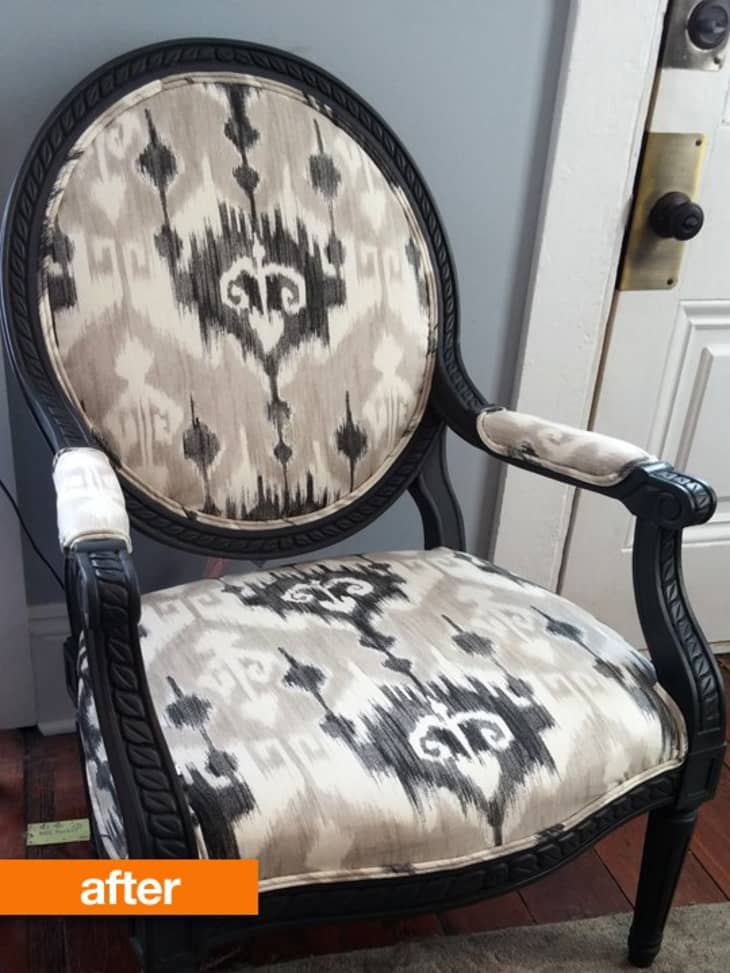
Kirsten tells us that her fiancé thought she was slightly crazy when she brought this hideous chair home one drizzly afternoon. He thought it was even crazier that she’d paid $25 for this eyesore. Guess what? He loves it now.
And this from a reupholstery newbie! Amazing job.
From Kirsten:
The first thing I did was strip the chair down to its stuff, which was in surprisingly good shape. Next, I painted it with two generous coats of Annie Sloan’s chalk paint in Graphite. After a light sanding, I rubbed in some of the tinted wax, let it dry and then applied two coats of clear wax. After a good buffing, I was ready to put on the new fabric and the double welting. It was my first time upholstering a chair and my first time making double welting and it couldn’t be any easier. Anyone with a staple gun, a sewing machine, and a bit of patience can do this.
See more (and some excellent instructions for this DIY) at the Laurel House Project.
Thank you Kirsten!