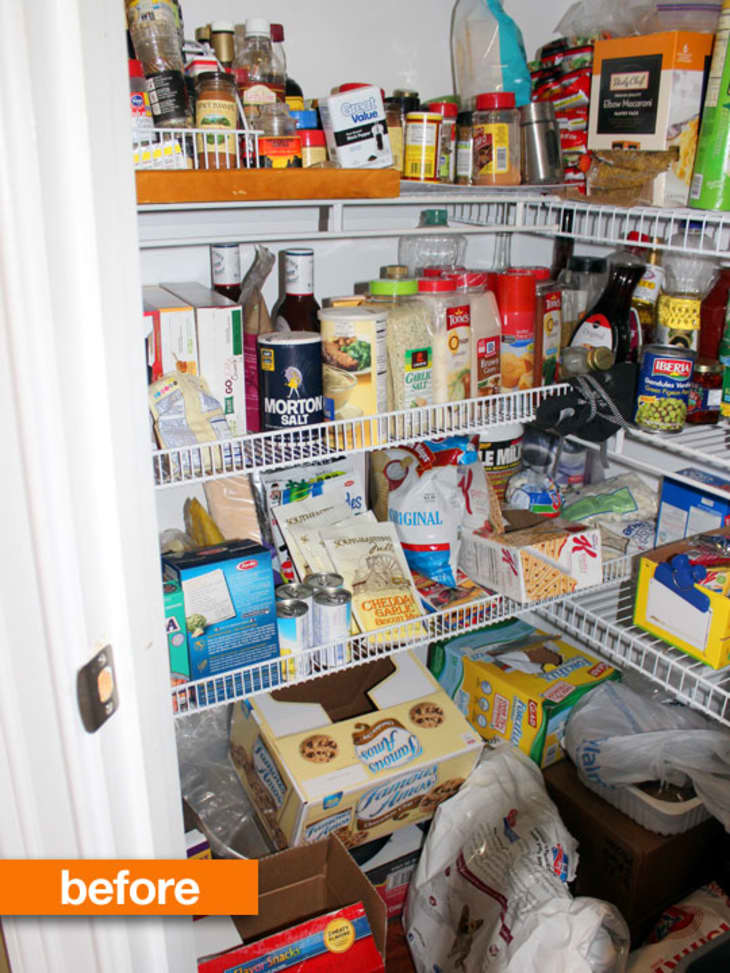
Before & After: Kimberly’s Overflow to Organized Pantry
We independently select these products—if you buy from one of our links, we may earn a commission. All prices were accurate at the time of publishing.

(Image credit: Apartment Therapy)
Who hasn’t opened their pantry or cabinets to a mess and thought — there’s not even any “real food” for dinner? Kimberly’s pantry needed a clean out and some order. If this ‘before’ photo looks familiar to you, check out what some labels and dollar bins did for her:
(Image credit: Apartment Therapy)
From Kimberly:
I decided I’d just take one shelf at a time one night a week and organize everything. That idea lasted until I finished the first shelf. After seeing how good it looked, I became obsessed with labeling/organizing everything else.
I already had white vinyl and dry erase markers on hand. So in the spirit of free, I went with cutting out white labels for my blue $1 store bins after I had pulled everything out of the pantry and started organizing. Once I started sorting things out, I found that we had two bins full of pasta. So much for “nothing to eat”, huh?!
I was able to quickly get the main food shelves sorted out and reorganized in one evening. But I still had the top shelves and the floor, as well as the shelf with baking items that I had to put off a few days to finish organizing. I ended up adding one shelf and moving all of my baking items to it. Since we buy in bulk, I now have a shelf over our heads dedicated to other/overflow items. So when I decide it’s a good idea to buy a warehouse-size box of Oatmeal, I have somewhere to store all the excess where it’s not in the way of daily items. I was also able to add a shelf closer to the floor, so no more using upside down cardboard boxes to store items off the ground.
Our dog food container sat on the floor. It wasn’t big enough to hold the 40lb bag of dog food that we’ve been buying, so that means a dog food container sat on the floor with a bag of dog food next to it. I found this container on Amazon that although pricey ($30), fit into the space and the color scheme perfectly.
For more photos and details, check out Kimberly’s blog, Dibble Dabbles.
Thanks, Kimberly!
Have your own Before & After project you’d like to share with the editors? Submit it here.
(Images: Kimberly Dibble)
