
Before & After: The Totally Transformed, Under $50 Fireplace Makeover
We independently select these products—if you buy from one of our links, we may earn a commission. All prices were accurate at the time of publishing.
(Image credit: Amber Kogler )
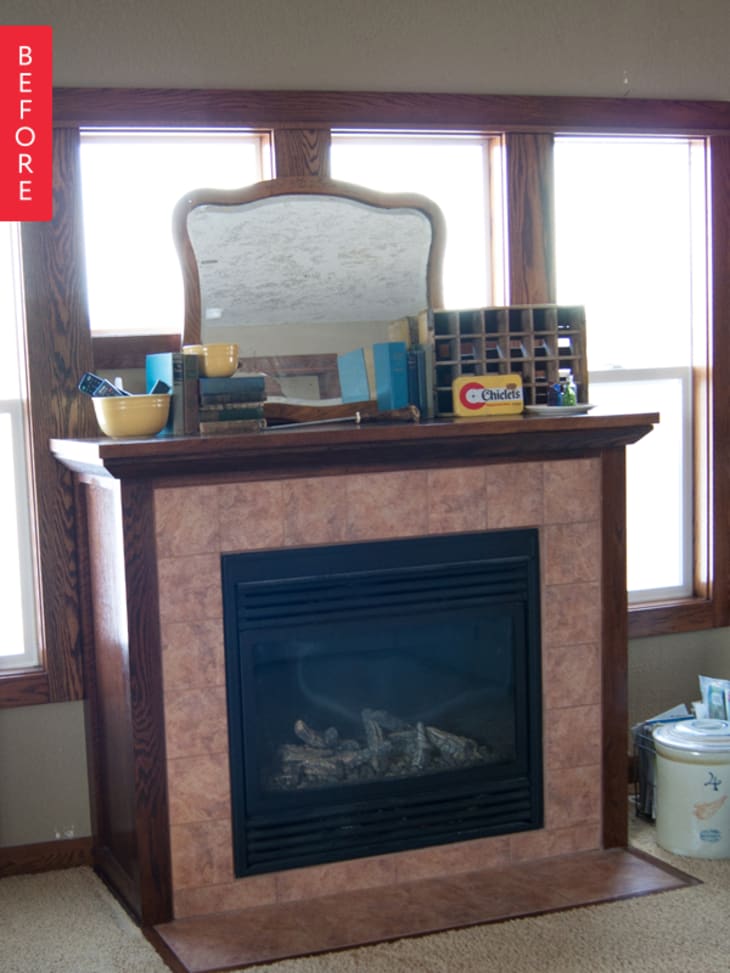
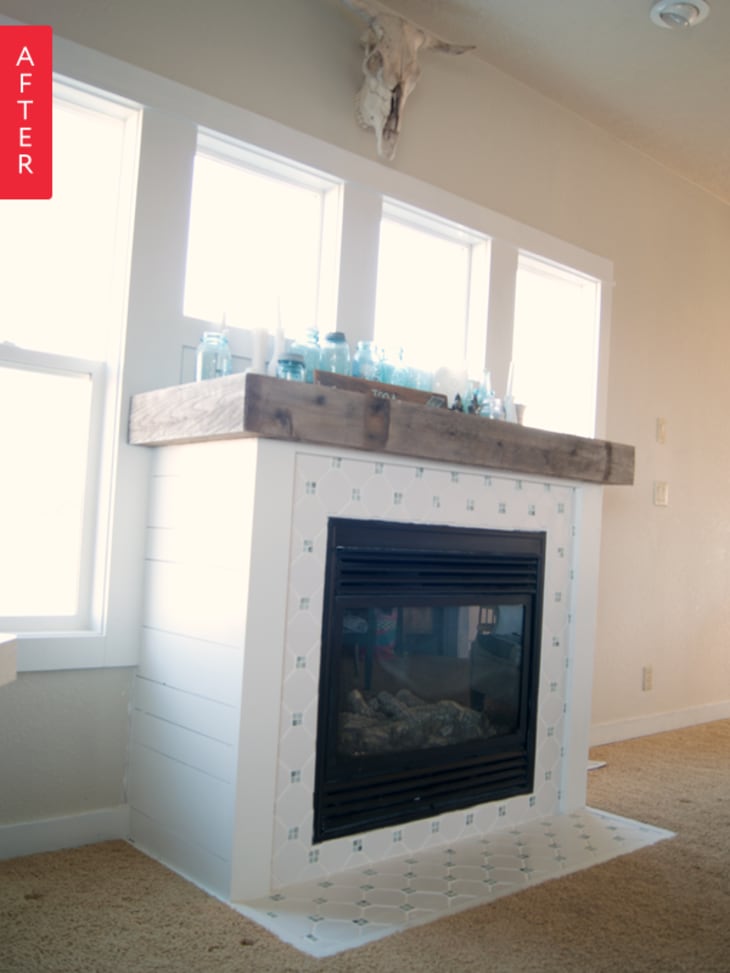
The dark-and-orangey fireplace in Amber’s living room was not her style. With a little ingenuity, she managed to give it a lovely light facelift, for under $50.
(Image credit: Amber Kogler )
From Amber:
When we first moved into our house it was dark! Dark walls, dark trim and a big boxy and dark fireplace with orange tile. Not exactly our style. We’ve been diligently working to lighten everything up, but the biggest eyesore was also the main focal point of the living room – the fireplace!
The first step in the fireplace transformation was painting the walls & ceiling (Martha Stewart Sandpiper ) and trim ( straight from the can white) around the fireplace.
Then we tackled the fireplace itself, demo-ing the tile, mantel and trim. I wanted to make the mantel much chunkier, so we clad the whole mantel with FREE reclaimed cedar fencing that we had hauled home from our neighbors after they replaced their fence.
To bring in another layer of texture, we chose to plank the sides of the fireplace with random sizes of one by material – mostly leftover scraps from other projects.
The most important part of the fireplace transformation was the tile. My husband actually nabbed the octagon tile and one sheet of tiny square glass and natural stone mosaic at a yard sale for just $10! In the past, I had tiled floors and backsplashes, but I have never attempted a complicated pattern like the octagon and dot we chose to use here. To complicate things more, our “dots” were slightly too big for the space created by the octagon tiles – this meant I had to eyeball almost all of the spacing since no spacers were the perfect size.
Finally we added bright white grout and painted out all the trim and planking in a semi gloss white. It changed the whole look of the room!
I put together a cost break down at each phase of the makeover:
Cedar Boards – FREE
Cement Board – $12*
Nails – $5*
*our cost was actually only $3 thanks to some returns
2 -1x4s – $8
2- 1x6s – $10
Tile – $10
Tiling supplies – already had
Bright White Non- Sanded Grout – $13
Paint- already had
Caulking – already had
= $44! For REALS!?
What I loved most about this project is it shows if you are willing to get creative, you can totally change the look of a space for very little money and some sweat. Sticking to classic design styles can still feel fresh and it definitely don’t have to be boring! Also, my advice if you want to tackle something like this… JUST GO FOR IT!
For more details and photos, check out her blog, Averie Lane.
Thank you, Amber!