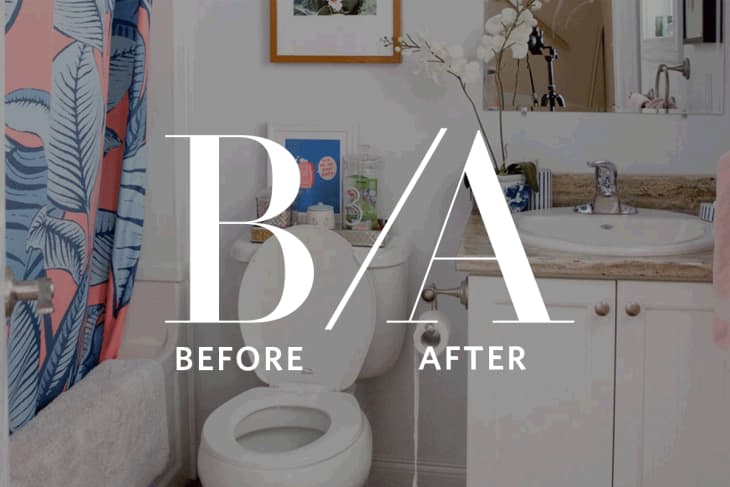
Before & After: Bathroom Beadboard on a Budget

We’ve seen Ariel work her renter friendly design magic before, and now she’s turned her energy toward the bathroom. In one weekend she added color, texture and style without sacrificing her security deposit. Check it out!
Because I had made all those small changes over time, I knew I needed to start over with something fresh. Then I started looking at more and more spaces online and started noticing commonalities to the small bathrooms I was loving – bead board, bold contrast, and lots of color.
So we got to work with a budget of $500. We wanted to create a two-tone effect in the space without painting half the walls. Beadboard kits available at Home Depot were the perfect solution as they came in 7″ panels that allowed us to easily work around the small walls and tight angles without having to do major cuts. When the time comes to move, the panels come down and we’re left with just a few touch-ups!
Our weekend project timeline (we really did this space in a weekend):
Friday night: Using Behr Paint, we painted the already primed bead boards in Flamingo Feather M180-3 and painted the rail kit in Blackout N510. While those were drying, we taped the walls so that they could be painted, and removed the mirror and light fixture.
Saturday morning: Gave the walls a coat of Pure White to give them a fresh look that would help the colors pop! While that dried, we added a final coat to the beadboard and chair rail kit.
Saturday mid-day: Measured and dry-fit the beadboards in the bathroom while marking our cuts. Did a second coat of Pure White paint on the walls.
Saturday afternoon: Installed new light fixture and mirrors once the walls were dry to the touch. They will continue to dry for at least 12 hours, but once they’re dry to touch (and then some) you can work around them.
Sunday morning: Taped the walls so that the ceiling could be painted. Paint the ceiling!
Sunday afternoon: Installed the beadboard and chair rail kits. We only used the top rail to hold the pieces together and then used our Air Strike nail gun to place a 3/4″ nail into the base of each board to hold it to the wall where the existing baseboard stops. We used black screws on the chair rail and then painted over them a second time to make sure they were incognito.
Sunday evening: Apply the final coat of paint to the ceiling and touch-up the boards and chair rail after their installation. Replace the switch plates with the new brass versions.
Thank you, Ariel! You can see more on Ariel’s blog PMQ for Two.
