
Before and After: A $200 Refresh Transforms This Fridge from Chronically Messy to Picture-Perfect
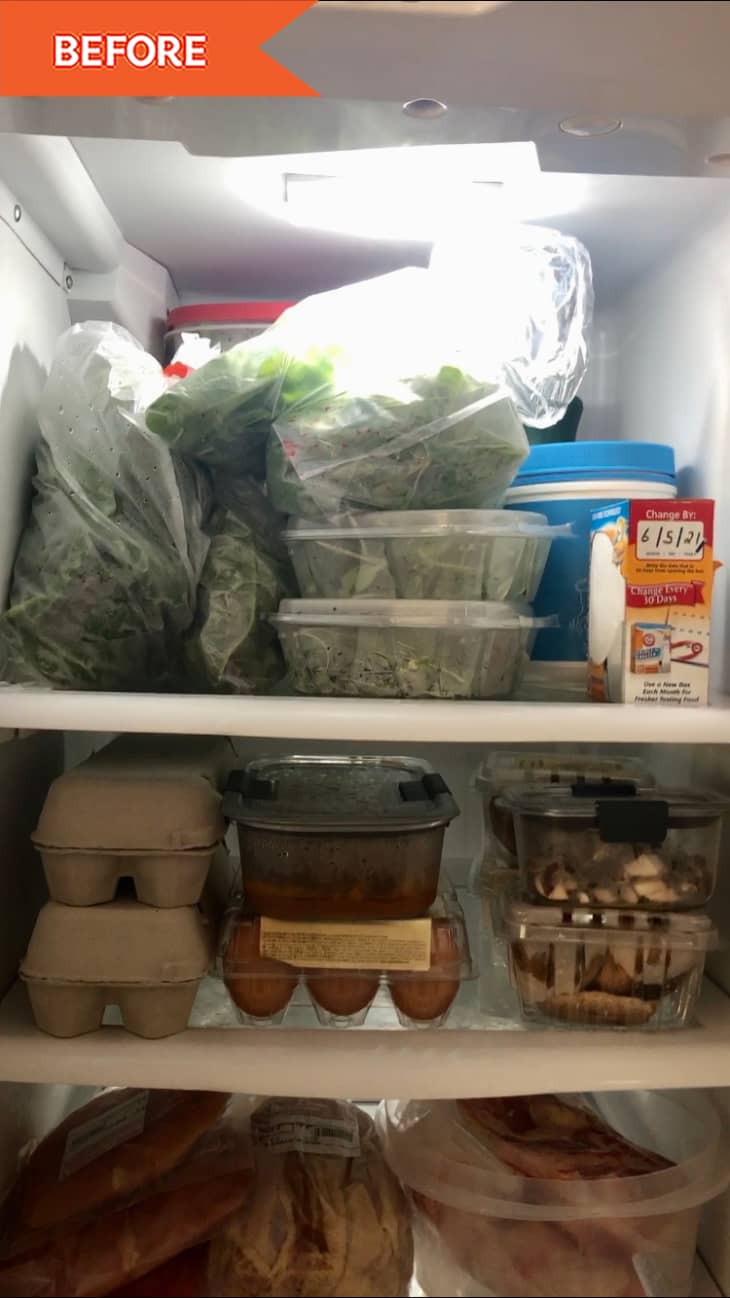
Messes always cause frustration because you can’t see what you have or get to it easily. Often, you might even forget that you own things and buy duplicate items, leading to increasingly overstuffed spaces and additional vexation.
Nowhere does this cycle cause more waste than when it happens in the fridge. A clean and organized fridge ensures that you can see what you have so you use it before it perishes and you don’t end up with multiples of anything. When food isn’t organized and in sight, it can lead to more waste (since it’ll go bad) and money the drain. Without getting on top of the problem, this can happen week after week like an endless cycle.
Sarah Valeri of Hello Clutter found herself in exactly this sort of situation every time she and her husband returned home from the farmers market. “Managing the quantity of produce we had coming in was like playing Tetris,” she recalls. “My husband is the cook of our family, and he would just find a place where something would fit and call it a day. It turned into chaos, and of course, when veggies get shoved in the back, you forget about them and it turns out to be such a waste!”
As a professional organizer, Sarah was “constantly rearranging the fridge to help things stay organized,” but none of her systems had any staying power because there weren’t specific bins or zones for her husband to know where things went. One Saturday afternoon after their usual farmers market run, Sarah says she hit her “limit of disorganization” and sat down to make a plan.

With a budget of $200 and four free hours, Sarah set out to implement a fridge organizing system that lasted. Her goals? “Create zones that would be easy to manage, have bins to wash produce as it came in so throughout the week we already knew it was ready to eat, and of course, make it look beautiful!”
Sarah began her project by taking everything out of the fridge. “First I started out by cleaning out the fridge. Starting with a blank, clean slate will help you not feel obligated to keep something in a place you had before out of habit,” she explains. “I took inventory of what we had on hand and what we usually have every week. I measured every shelf (height, length, and width) and sat down to make a plan.”

Next, Sarah uploaded a photo of her empty fridge to Canva and drew where she wanted each of her containers to go. She knew she wanted to use The Home Edit clear organizer bins, so she checked The Container Store nearby to make sure they were in stock, bought them, and brought them home to bring her project to life.

According to Sarah, the most difficult part of the project was making her plan for where she wanted different categories to go. She was meticulous and wanted to make sure she didn’t forget anything that would cause her organization plan to falter yet again down the line.
The easiest part, on the other hand, was also the most fun: “The easiest part of this project was implementation! I already had a plan, so once I got all the product home it was easy to put in and keep moving. There wasn’t a question where things were going, so while it was time-consuming, it was mindless at that point.”

Sarah is thrilled with the end result. “Everything has a place to go, and when it’s time to make a meal we know where everything is and we no longer are wasting food. It’s also so inviting, and I love being able to see the beautiful fresh, local produce.” It’s interesting to note that Sarah purposely didn’t add labels because what they’re able to get at the farmers market always changes.
When it comes to advice for those who want to create a similar space in their own refrigerators, Sarah says, “Make sure you make a plan and measure! It’s exciting to buy the bins, but you’ll add even more work to your plate if you don’t think through what you need or make sure that what you’re going to buy will fit in your space.”
We want to see your organizing wins. Submit your smartest solutions here.