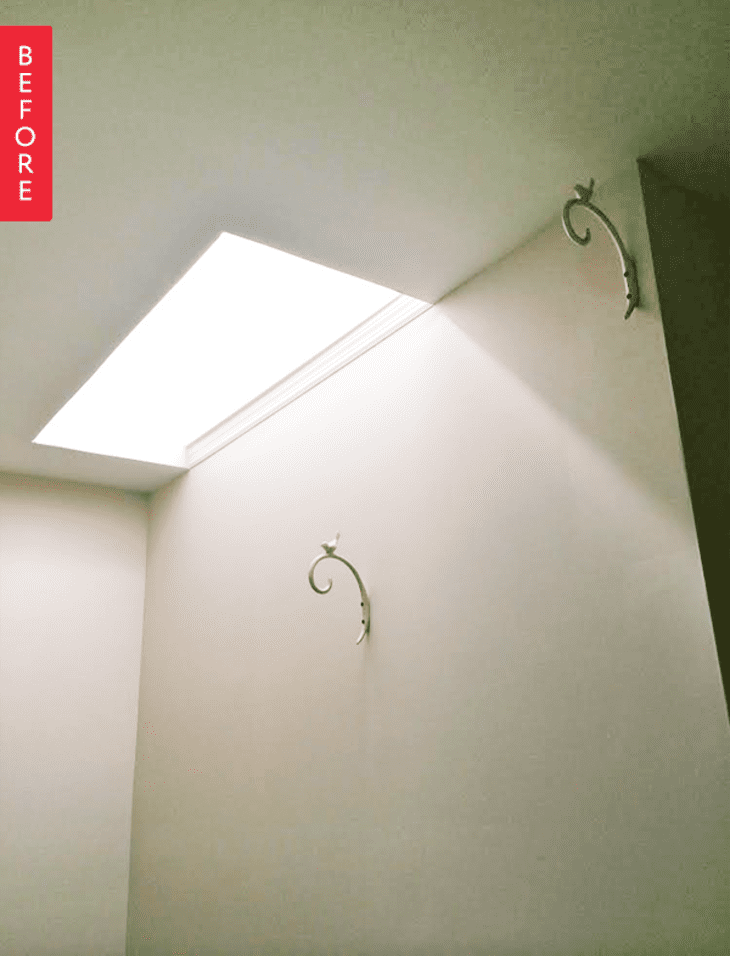
Before & After: Kimber’s Air Plant Weekend Project

Yesterday I explained the basics of how to care for air plants and then I showed you how certain species’ forms lend themselves best to different types of containers. Today I will walk you through the super simple steps I used to turn a vase sea sponge into an unique vessel in which you can hang your air plant (yes, it’s a natural dried sea sponge that is shaped like a vase!).
Materials:
- Vase sponge
- Copper wire
- Wire cutteres
- Darning needle or other sharp tool
- Beads with large holes
- Air plant
Instructions:
1. Cut three even pieces of copper wire, about a foot long each for a small vase sponge or longer for a large sponge (if you’re using a large vase sponge, you will need a bigger, 18-gauge wire).
2. Using your sharp tool or darning needle, I made three evenly spaced holes around the top portion of the sponge. Your sponge may already have holes, or the start of holes, that you can use instead of making new ones. Whether you make them yourself or they are already there, there should be sufficient space left at the top (initially when I turned the large sea sponge into a vessel, I didn’t leave enough of the sponge material on the top rim, so when watering it, the weight of the plant combined with the water of the sponge, pulled one of the wires through while ripping the hole). Leaving sufficient room at the top (1/2″ – 1 & 1/2″ depending on the size of your sponge), solved this issue.
3. Once you have your three wires pulled through the holes, simply form a loop and wind the remaining wire evenly around to secure it. If you have remaining wire, snip any excess.
4. Bundle the wires together and slide the bead through them. Bend the wires around to form a loop and then guide the wires back through the bead (this is why the bead hole must be big).
5. Once the loop is formed, slide the bead up to where you want it to sit and wrap the three loose wire ends simultaneously around and directly under the bead.
6. When you finish wrapping, snip the ends and you should end up with something that resembles the loop above. Now you’re ready to insert your air plant into your vessel and find a place with bright but filtered light to hang and enjoy it. It’s that simple!
My progress post yesterday shows my two giant air plants suspended from the ceiling of my porch. This is the perfect warm weather spot for them and they thrive the most when they get to spend months outdoors. But, since air plants do not tolerate cold temperatures or frost, they also need a spot indoors.
They’ll hang in my stairwell under the skylight during the cold season. The air plant on the left is in the vase sponge, the one on the right sits in a vanda basket (most often seen used for orchids and perfectly suitable for air plants).
And this no-fuss terrarium hangs in my bathroom. Just river rocks, a sea fan, a Sempervivum succulent and an air plant, which means it’s simple to swap out plants for an easy change-up.
Designing, decorating and caring for air plants is easy, fun and the possibilities are endless. It can also be quite addicting!
Share your project!
There are no embarrassing fridge interiors or junk drawers to confess to this week! But we would love to see the before and after photos of a spot in your home that gets a dose of cheer from a cute air plant. So take to Twitter, Instagram, Pinterest, Facebook and Tumblr with the hashtag #atweekendproject. We’ll be looking for you!
