
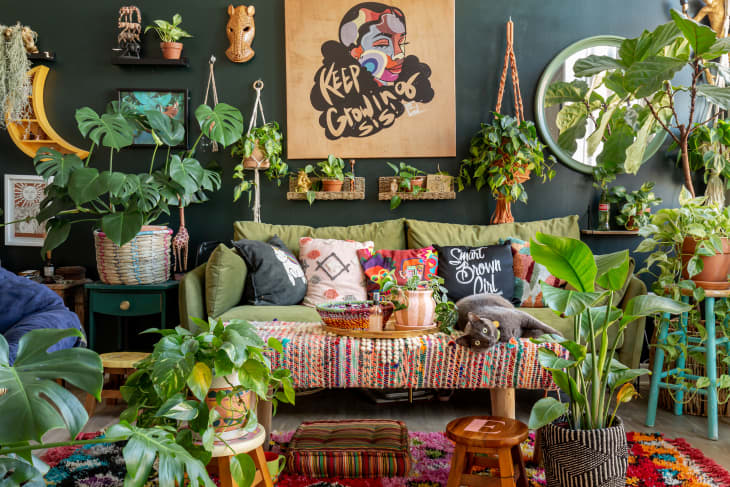
These 4 Golden Rules of Houseplant Care Can Turn Anyone into a Green Thumb
Throughout my career as a horticultural writer and houseplant hobbyist, I’ve frequently met people who are absolutely convinced that they have zero ability to keep a houseplant alive and thriving. They think this way for a variety of reasons, but the most common refrains I’ve heard sound something like, “I just don’t get it,” or, “It’s too much work,” or, “I murdered the pothos that was passed down in my family for three generations.”
It’s easy for beginners to feel like they have what is historically called a brown thumb — you know, the opposite of a green thumb, possessed by those gifted few who seem to be able to naturally keep just about any plant alive and happy without any effort at all. Having just one small plant perish under their care is enough to turn some people off to the hobby forever.
If you’re one of those people, I’m here to tell you that it doesn’t have to be that way. You are not destined to kill every plant you touch! You just need to set yourself up for success with a beginner-friendly plant and a few easy-to-follow pro tips. (Spoiler: You probably will find that you need to do much less than you thought.) Here, the four best pro-approved pieces of advice for turning your brown thumb green. Armed with these tips, a little patience, and a little time, your success is well within reach.

You’re probably not going to have to water as much as you think you should.
A lot of people have fallen into that “but what if it needs a drink?” trap. As a fledgling plant owner, I was right there in the thick of it with overwatering. I ended up with a philodendron with a massive root rot situation and a side of spider mites (ugh).
Things started to improve when I realized that most common houseplants won’t need a drink until the top of the soil begins to dry out. If you’re dealing with arid plants like cactuses or succulents, they won’t need a drink until the soil totally dries out. That’s at least three days after the initial watering, and likely more — sometimes from seven to 10 days, depending on the situation.
Do a little research on the type of plant you have and what watering schedule they prefer. Apartment Therapy’s Encyclopedia of Houseplants will give you a good head-start on most common houseplants. And when in doubt, ask the staff at your local plant shop.
One thing that is an absolute fact is that obsessively watering your houseplants will lead to root rot and death within a short amount of time. Overwatering ironically causes roots to be able to pull in less water and nutrients, effectively starving them.
Quontay “Q” Turner, creative entrepreneur and owner of Emerald City Plant Shop in Norwood, Massachusetts, doles out similar advice to her customers. “When in doubt, let them dry out!” Turner says. “It’s better to under water your plants than overwater. Remember, you can always add more water if needed, but you can’t take it out once it’s in the pot. Overwatering is the leading cause of death for houseplants, next to light deprivation.”
Your best bet is to start getting familiar with the feel of your soil — like, really familiar. Stick a finger in every couple of days to get a sense for how long it takes for the soil to dry out between waterings. Then, use that info to develop a watering schedule for your plants that will ensure you’re not giving them too much of a good thing.

Don’t be a helicopter plant parent when it comes to yellowing leaves.
You’ve definitely heard the term “helicopter parent,” which refers to a parenting style of overly involved parents that obsess over their child’s every move. In my career, I’ve found that this habit can be more often than not applied to houseplant owners, too! No matter what kind of houseplant you’ve brought into your home, one of the worst things you can do for your new plant is to constantly mess with it.
Yes, it’s important to pay attention to your plant’s growing habits, but excessive attention can quickly become a detriment. Remember that your plant is a living thing. It will grow and change over time — just like people do. Over its healthy life, your plant’s leaves will change. Some leaves may develop crispy edges, and some may turn yellow and fall off. If you’re caring for your plant correctly, this type of event is normal in a healthy growth cycle.
Snipping the occasional yellowed leaf is OK, but if you start snipping off every leaf that doesn’t look Instragram-perfect, then you’re going to start having issues. Even healthy plants can typically only survive around one third of growth cut off at a time without suffering. Any more than that and you’ll end up with a stressed houseplant. Combine that with another helicopter-plant parent habit like overwatering and you’ll have a seriously suffering houseplant on your hands.
According to Turner, losing plants is just part of keeping plants in your home. “Plants are just like people,” Turner says. “Each one has different needs and quirks in order to not only survive, but also thrive. In the process of understanding what your plants need, some will die and that is OK. Plant death is inevitable. Don’t let that stop you from learning and trying again.”
At the end of the day, don’t give up. Remember that it’s a learning process, and losing a few plants doesn’t mean that you’re “bad” at plant parenting or don’t have the skills to keep a houseplant alive. Even the most celebrated houseplant professionals have lost handfuls of plants over the years. They’re no different than you!

Make aerating the soil a habit.
What makes a houseplant a “houseplant” is the fact that it’s grown in a container for inside enjoyment or use. Houseplants, by nature, grow in containers with potted medium. The potting medium doesn’t just provide nutrients for the plant to grow and thrive — it also provides necessary oxygen to the roots.
That soil doesn’t stay fresh forever. Once fluffy soil begins to compact around after a year or two — something that naturally happens over time through repeat waterings and plant growth — oxygen no longer has space to circulate around the plant’s root system. This stresses out your plant and can cause it to droop or yellow in the leaves, as well as inhibit any additional healthy growth.
One way you can prevent this from happening is by regularly aerating your soil. This is a task you can do with items you probably have clattering around in your junk drawer. This step is one that’s easy to forget, but it takes less than five minutes and can make a world of difference for the health of your plant.
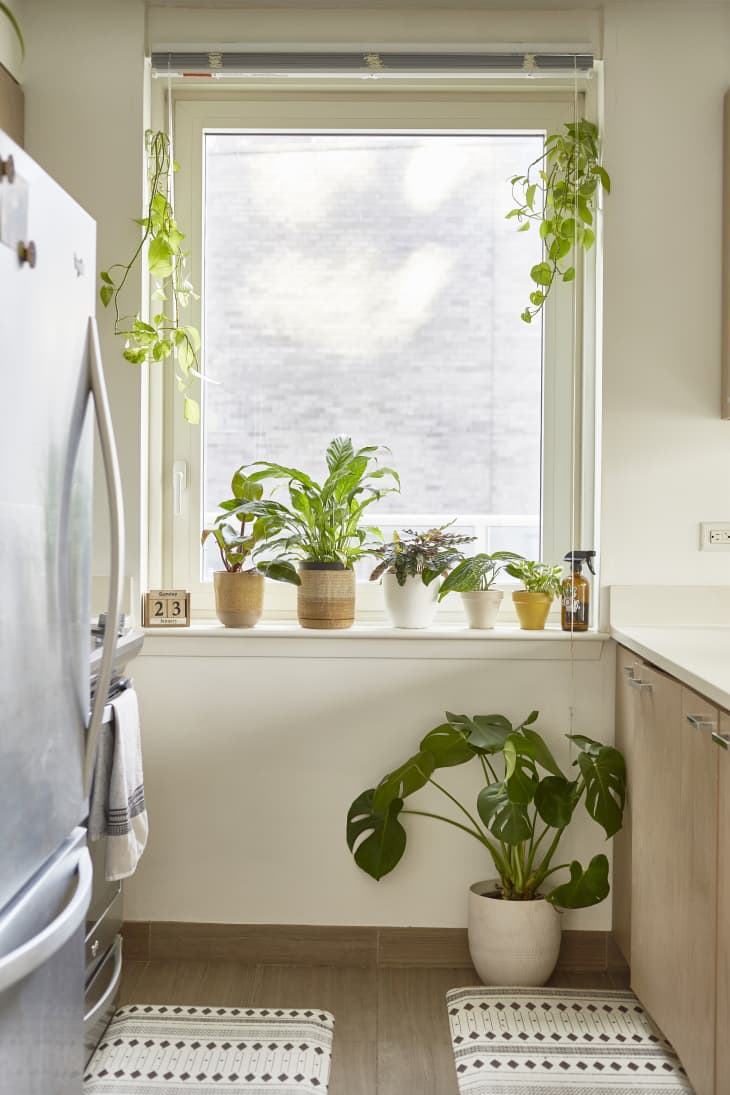
Get a grasp on what light your plant needs to thrive.
As Turner says, light deprivation is one of the leading causes of houseplant deaths — and that’s because making sense of “low light” versus “indirect light” versus “bright light” can feel a little like rocket science in its complexity. This is a prime example of “practice makes perfect.”
Depending on where you’ve sourced your plants from, you might have ended up with conflicting care tag instructions. And while most plants on the market require bright, indirect light, it can be hard to figure out what that means. “Fun fact: We cannot really tell what ‘bright, indirect light’ is,” Turner reveals — not at least without a little help.
She advises that instead of just guessing which window gets the closest to that optimal light, use your phone’s compass to figure out which direction your windows are facing.
“South and west have the most intense exposure for your high-light plants, then east, and last north,” she notes. “Unfortunately, if you only have north-facing windows it’s best to stick with low-light plants like snake plants, ZZ plants, and pothos unless you are willing to invest in a grow light.”
Here’s the good news: If you pick wrong when it comes to finding the right window, this is an easy fix. While larger floor plants might require a work-around, medium- and small-sized plants can be shifted from place to place without too much fuss. So if your first window isn’t a winner, no worries! Just pick another (or pop in a grow light). Then, give it a little time and reassess. And in the meantime, seriously, put down the watering can.