
These 9 Cardinal Sins of Stain Removing Can Tarnish Your Clothes for Good
Having clothes is work. Not only do you need to wash, dry, fold, hang, and put things away forever and ever without end, but there’s also the more invisible labor of searching for items to buy in the first place. You pick them out, wait for them to go on sale, find coupons, try them on, return what doesn’t work… it’s a lot.
So when clothing gets stained, it’s as if this work was all for nothing. Mastering the art of successful stain-removal means saving the items that you’ve invested time, money, and energy in. You should know how to do it right.
I’ve come to learn that a big part of doing something right is avoiding the pitfalls of doing it wrong. Attempting to remove stains without learning which techniques to avoid has the potential to sabotage even the best intentions and ruin clothing for good. To keep you out of that situation, here are the nine biggest actions to avoid when removing stains on your own. Once you’ve taken them into account, you’ll ensure that the work you put into your wardrobe won’t be lost to a spill.
Waiting too long to treat the stain.
Treating a stain right away gives you the best chance at removing it successfully. Whether it’s flushing a stain with cool water in the kitchen after a cooking mishap or pre-treating with detergent as soon as the kids get back from practice, treating stains as soon as possible is key to keeping your items pristine.
Letting the stain remover sit too long.
Ironically, some stain removers can cause more damage to fabric if they’re left to sit on a stain. Make sure to read and follow instructions, particularly when it comes to how long the stain remover should treat a stain. For this reason, rather than spraying stain remover and then putting items in the hamper, I often go through my laundry and treat stains right before putting a load in the washer. (Don’t wait too long, though, given this list’s first point.)
Rubbing rather than blotting.
It’s tempting to rub a stain vigorously, but that can cause two problems. First, you could cause the stain to spread. Second, you can cause undue strain to the fabric, damaging it. Instead of rubbing, remember to blot gently and repeatedly.
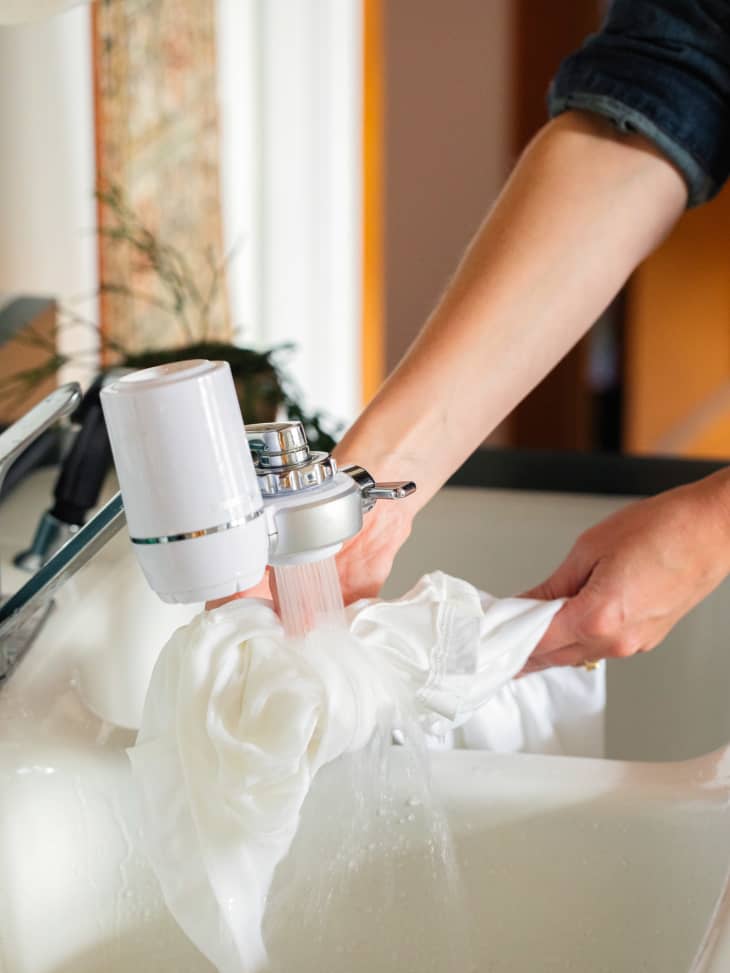
Using water that’s too hot.
Instinctively, it seems like hot water would melt away stains, but the opposite is true, especially if the stains are protein-based (like blood, baby stains, or butter). Rather than risk permanently setting a stain with hot water, always flush it out with cool water.
Using the wrong stain remover for the job.
Make sure the “punishment,” also known as the stain remover and method, fits the so-called “crime” of the stain. This handy guide outlines many common stains and the best ways to treat them.
Drying the item before the stain is gone.
Great job if you get a stained item in the laundry soon after the staining occurs. But don’t be too quick to transfer the item to the dryer! Just like with hot water, the heat of the dryer can set the stain permanently.
Working from the center of the stain.
When working on a stain, it’s second nature to start at the center of the mark. But this can actually spread the stain. Instead, work from the outer edges of the stain toward the center to keep the discoloration from spreading.
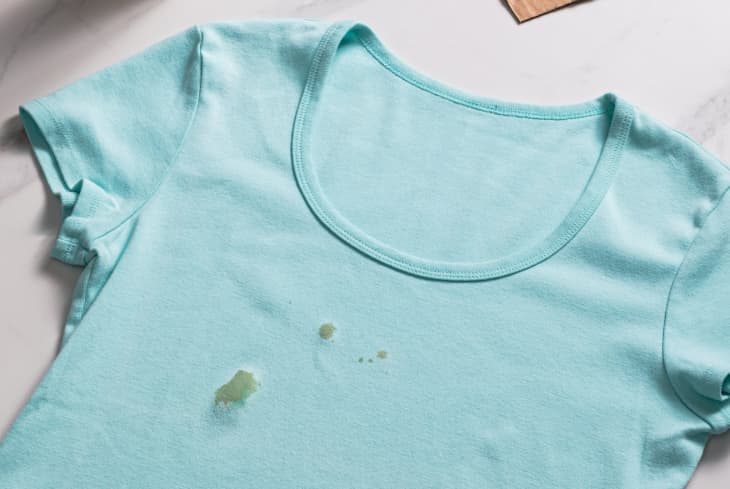
Using enzyme stain-removers on natural fibers.
Enzymatic stain removers are great for removing protein-based stains — such as blood, baby formula, or grass stains — but if used on natural fibers like silk or wool, they will break down the fibers of the fabric, too! Stick to other methods when treating stains on items made of natural fibers.
Mixing stain removers.
Mixing products when cleaning is never a good idea, because of the dangerous chemicals that could form and be inhaled. The same is true with stain removers. Find the right remover for the job and start with that. Repeat the work if you must, but if you need to try another method, do so after the first remover is completely washed out.