
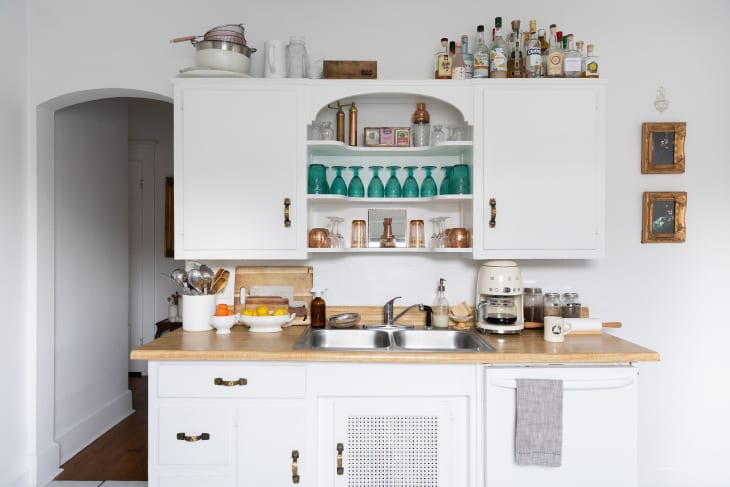
These 5 Budget (and Renter-Friendly) DIYs Totally Transformed My Kitchen
When I first walked into my 1940s kitchen, it wasn’t the picture-perfect space that I imagined myself in. The garish green walls and dingy brown floor grout stood out as instant eyesores. Its meager square footage and limited natural light were bummers. And yet, I was able to look beyond those shortcomings, thanks to the ample counter space and white cabinets that extended all the way to the ceiling.
While a gut renovation was definitely not in the cards, I also knew that the most off-putting aspects of the kitchen were mostly cosmetic. So I updated my kitchen little by little with DIY projects that would ultimately turn it into a space that I loved. The best part? It didn’t cost a fortune or require any demo, and all of the changes are reversible, making them perfect projects for renters. Here are five easy and affordable projects that totally transformed my outdated kitchen.
Lime-Washed Walls
My first order of business was to get rid of the green paint on the walls. I also wanted to brighten things up and try to bounce some of the limited natural light around. To bring in an element of interest, I settled on a warm white limewash like this one instead of paint to create a beautiful mottled texture. The fact that limewash is also made from natural pigments and is solvent-free was quite appealing.
All it took was a coat of primer to ensure proper adhesion, and then I brushed the limewash onto the walls with large “X” strokes. Two coats yielded that signature cloudy effect, and the matte finish gave my kitchen walls a modern earthy feel.
Marble Contact Paper
Though I was totally enamored with the look of my newly lime-washed walls, it had one big downside — it significantly highlighted how yellow my laminate countertops had become with age. No amount of cleaning or bleaching could hide that flaw. And though marble counters are part of my “someday” plan, they were not in my current budget. So I turned to the next best thing: contact paper.
I prefer the look of honed marble with a lot of veining, so I was ecstatic to find this matte contact paper, which totally gives that vibe. It was easy to peel and stick to my countertops and backsplash, working in two-to-three-inch segments at a time. A wallpaper smoothing tool made the job so much easier and completely eliminated any air bubbles. So many people have been fooled that my counters are real marble!
A Faux Wood Beam
Though I love houses that have a lot of historical charm, one of the original features in my kitchen that screamed “outdated” was the scalloped wood valance above my sink. Rather than remove it, I decided to simply cover it up instead. My solution? Fake a wood beam.
It sounds complicated, but really all it took was cutting a piece of thin balsa wood to the same dimensions as the scalloped valance. A few coats of wood stain gave it a white oak look, and then I used mounting tape to attach to the valance. It looks totally at home in my Colonial-style house, yet it has a modern vibe too.
Painted Grout
At first I was convinced that I needed to paint the ceramic tile floors in my kitchen because no amount of cleaning made them look clean. But then I discovered my steam mop and determined that my tile floors were actually just covered in grime. Once they were properly de-grimed, and I saw that they kind of resembled limestone, I decided all I really needed to do was paint the grout.
Grout paint can be applied with a small paintbrush, or it also comes in paint pen form. I opted for a product that both painted and sealed the grout in the color “Bright White.” Though it requires some patience to apply, the result made a dramatic impact on my floors — lending them an even more convincing limestone look.
Brass Hardware
The white ceramic knobs on my white cabinets didn’t really bother me, but they also didn’t make much of a statement. After sitting with them for some time, I decided I was ready for a change. There’s something about brass hardware that feels so timeless and luxurious to me, and I’d always wanted to incorporate it into my kitchen.
I chose these brass cabinet knobs, and installing them couldn’t have been more of a breeze. It was simply a matter of removing the old knobs and screwing the new ones in their place. Once I saw how much they warmed up my white cabinets and lent an overall luxe look to my kitchen, I wondered why I had waited so long to do it.