
This Coffee Table Was Headed for the Dumpster — Now It’s Almost Unrecognizable
Neighbors’ curbside discards and driveway dumpsters from ongoing renovations can be great places to find free materials for DIYs. (And if walls could talk, this kitchen redo, this bathroom, and this home office would confirm!)
One DIYer, Andrew McCray, found a coffee table in his neighbor’s trash that he was able to turn (just as the old phrase goes) into a treasure. “I asked my neighbor why he was throwing it out, and he said it was just old and worn,” Andrew says. “I saw a table that I could restore, so the project began.” He completed the redo in about five days.

A 4 Step Process to Restore the Coffee Table
The first step was cleaning the dust build-up and gunk off the table, which Andrew’s wife, Ruby, helped with. Then, Andrew took off the hardware and sanded the piece. He started with a heavy-grade sandpaper, wiped and cleaned the excess, then repeated the process with a finer, lightweight sandpaper.
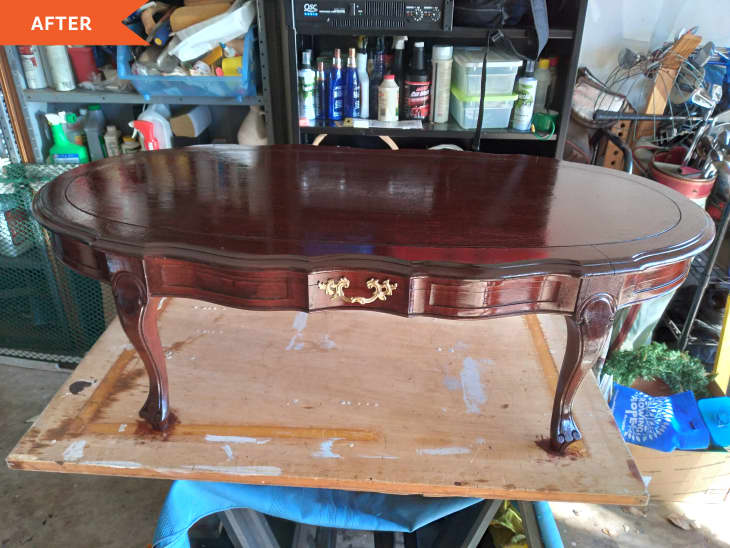
“Once sanded and cleaned, it was time to start the staining process,” Andrew says. “I chose to use a combination of cherry oak and maple red to give it a rich antique look.”
Andrew did one complete application of the lighter stain over the entire table, then immediately added the darker stain over top “so that it mixed in smoothly.” He added three coats of the light-dark hybrid. “It took three days letting the stains dry overnight each time,” Andrew recalls.
Next, Andrew cleaned the hardware and used a metal gold flake spray paint to restore it. And lastly, he sealed the table with a clear poly glaze, using two light coats over the whole table and three medium to heavy coats on just the top.
Andrew’s proud that he was able to salvage the table and calls the finished product “beautiful.” His advice to anyone else sanding and restoring furniture? “Just take your time,” Andrew says. Because the sanding, staining, and sealing materials cost just about $10, Andrew’s time spent was well worth it.
Inspired? Submit your own project here.