
6 Different Ways to Build Floating Shelves

Floating shelves don’t take up any floor space and fit practically anywhere. What’s not to love? And no matter how big or small your home, there’s always a spot that could benefit from a little bit of added storage and décor.
Below, some ways to DIY floating shelves for every skill level—we’re talking from “I feel comfortable using thumbtacks” to “Let me get my power tools.” You’ve got this!
The Five-Minute Version
Skeptical? Us too. That’s why we tested it out ourselves. Perfect for renters and people who want more storage without needing to purchase lumber, this floating shelf kit from Amazon comes with everything you need. The hardware has a level built in and can be installed using your thumbs (seriously). Once that initial piece of hardware is on, the shelf slips on to the brackets and you’re done.
Pros: No tools, super fast
Cons: Only holds 15 pounds, limited colors/ materials
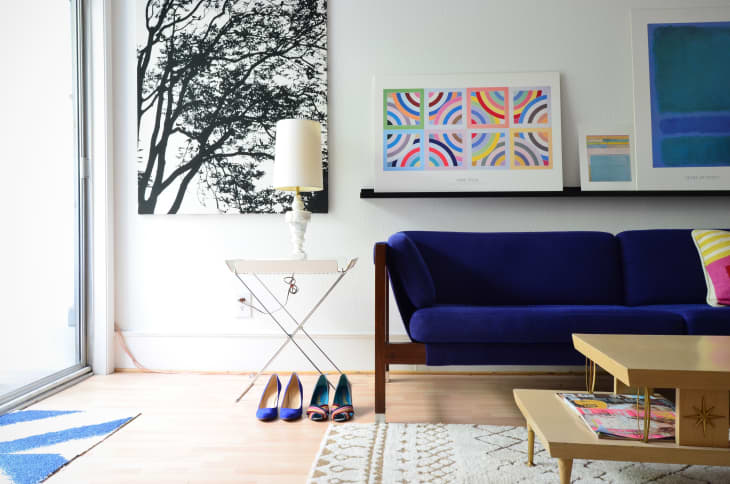
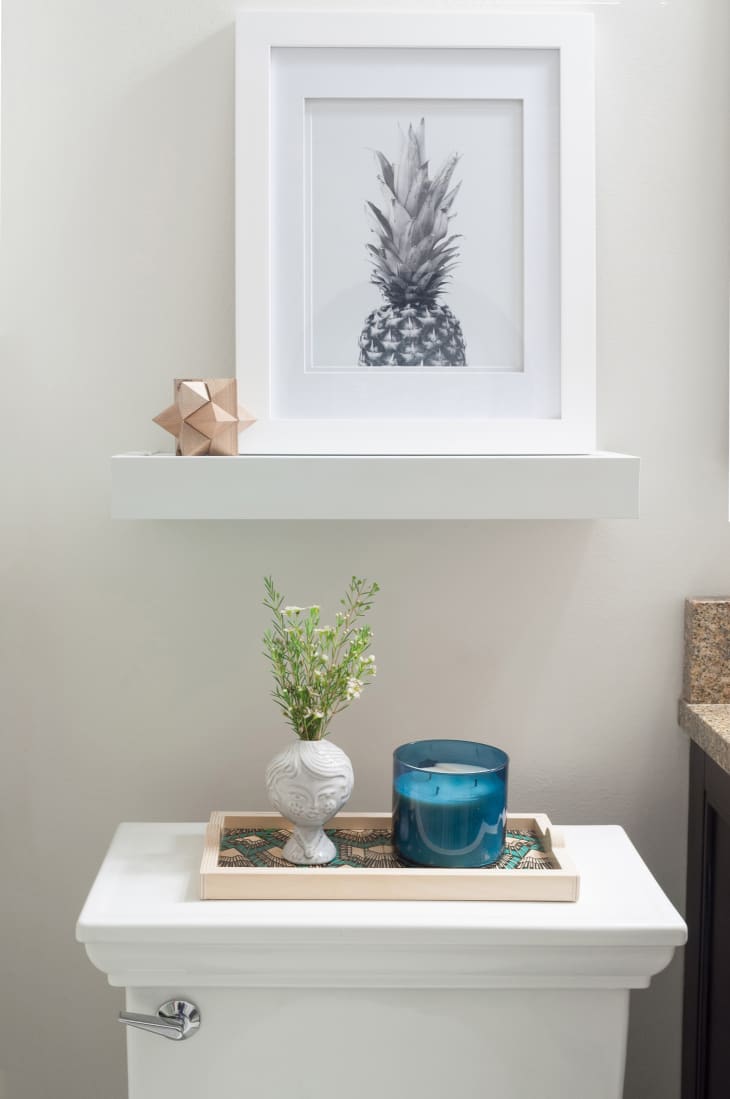
The Quick IKEA Classic
We bet you’ve either used or know someone who has used IKEA’s MOSSLANDA picture rails. They’re like The Beatles of home decorating accessories. They’re endlessly versatile. These minimal floating shelves are a breeze to hang up, and they’re so minimal, a hammer and a level are the most complex tools you’ll need. Because they’re so slim, they can fit in any and every room to help hold everything from artwork to out-the-door essentials.
Pros: Inexpensive, versatile, easy to install
Cons: Some tools required, won’t hold much weight
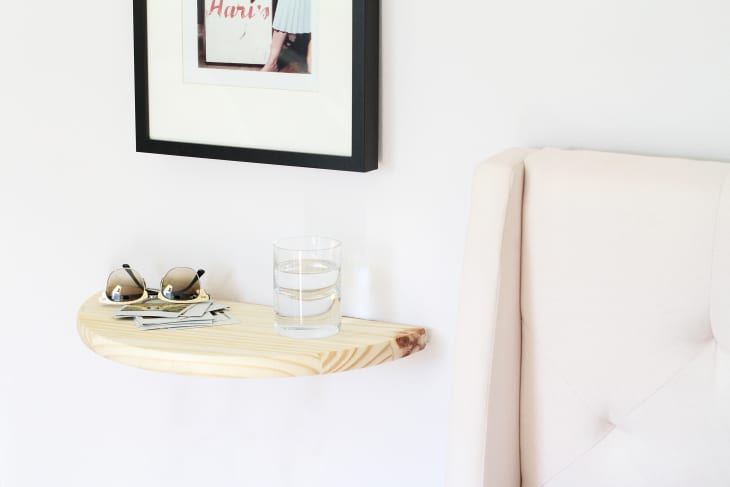
The ‘It Only Looks Hard’ Option
Want to impress the super handy person in your life? This floating shelf looks hard to hang, but the secret is the sturdy hardware that can transform almost any piece of wood into a shelf. You do need some power tool experience, since you’ll need to create holes to fit the hardware into using a drill bit. We recommend this hardware if you need to hang more than one shelf too; it’s an affordable option.
Pros: Affordable, personalization, can choose a weight range
Cons: Some power tool skills necessary, can take an hour or two
The Shelf Meets Open Box Look
Consider this the two for one model. Not only can you style objects on top, but you can also use the inside of the shelf for storage. Plus, it’s not too hard to make yourself. You’ll want to cut pine boards to the width you need, and nail or screw them together to form a box. If you’re looking to add a fancy touch to the shelf, you can cut miter the corners so the boards sit flush together. Instead of having to create a framework for the shelf to sit on, this method involves screwing in a stud to hang. Then paint or stain it with whatever color complements your home.
Pros: More storage, no framework
Cons: Some tools/DIY knowledge required, can take some time
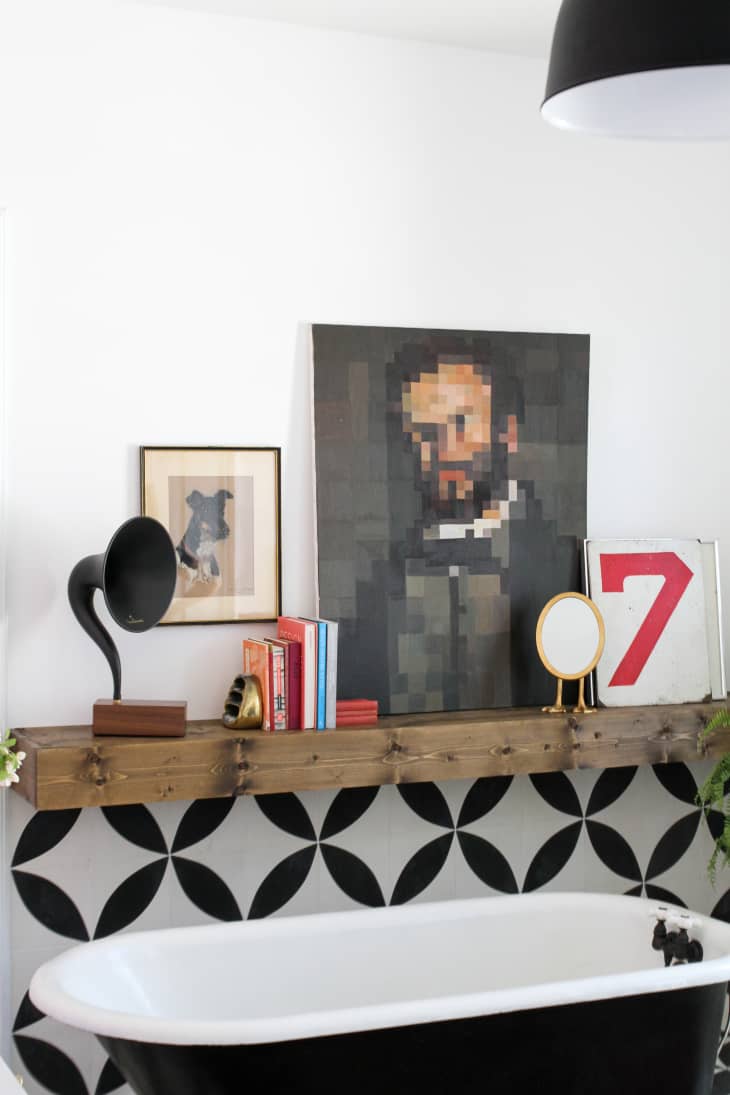
For Experienced DIY Enthusiasts
So here’s the thing with these types of shelves: If you want it all, you have to do the work. This version is more complicated to build, but it lasts, can hold a significant amount of weight and it looks handcrafted. So it’s worth the time and the effort that goes into it. You build a long box that only has three sides. On the wall you affix a self-made wooden framework, which the box will slide onto to form the shelf. You’ll need a variety of supplies from raw materials, to wood glue, to a pocket hole jig. This isn’t for a first time DIYer, but the results are fab.
Pros: Beautiful final version, can hold up
Cons: Time consuming, requires more experience

The Kitchen Open Shelves
Open shelving in kitchens is only becoming more popular, but can you achieve the look on your own? With Plank & Pillow’s DIY you can, but this one takes a bit more involvement. Brooke and Henry hung brackets, which the pine shelves they created were slid onto. This will hold heavier items and (as you can see) looks absolutely beautiful.
Pros: High-end look, holds heavier objects
Cons: Not for beginners, more time consuming
Additional reporting by Carolin Lehmann