
How To Carve a Pumpkin
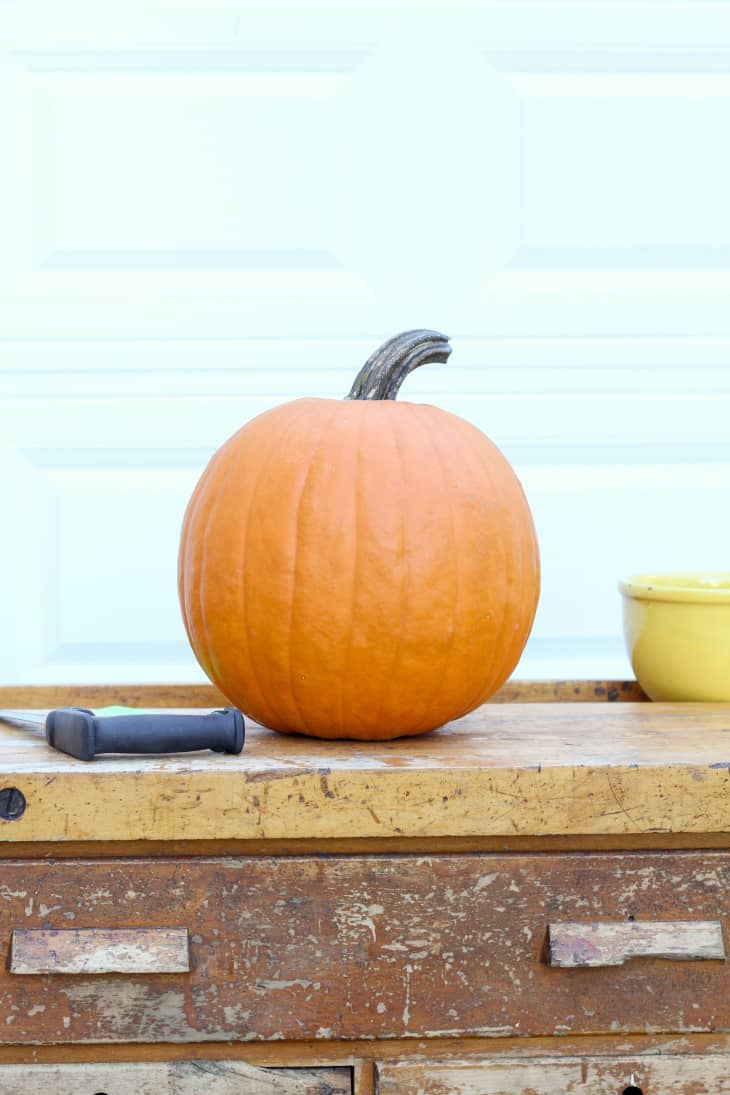
After examining endless short, tall, lumpy, skinny, and funny-looking specimens, you finally picked out that perfect pumpkin and are now ready to take it home and carve it. But before you get started, take a look at our materials list and stop by the hardware store to pick up a few important tools that will help to get the job done safely and accurately.
What You Need
Tools
- Compass saw
- Fleshing tool (an ice cream scoop or ladle will work too!)
- Utility knife (such as X-ACTO) and saw blades
- Needle tool or marker
Instructions
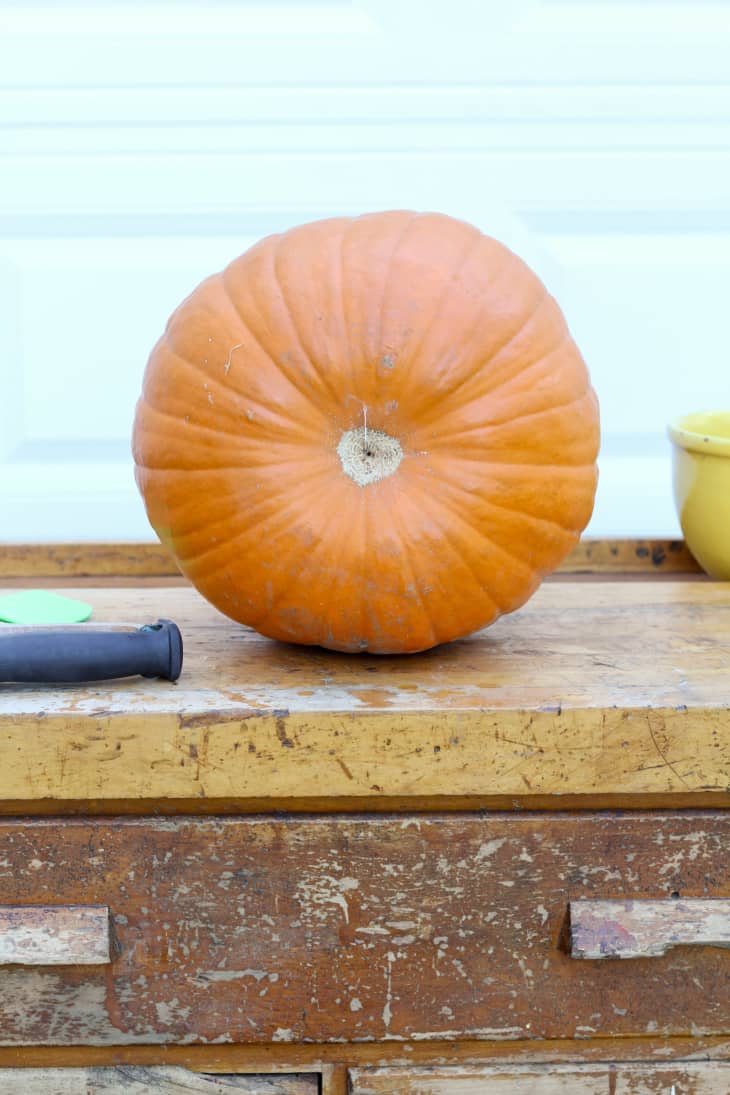
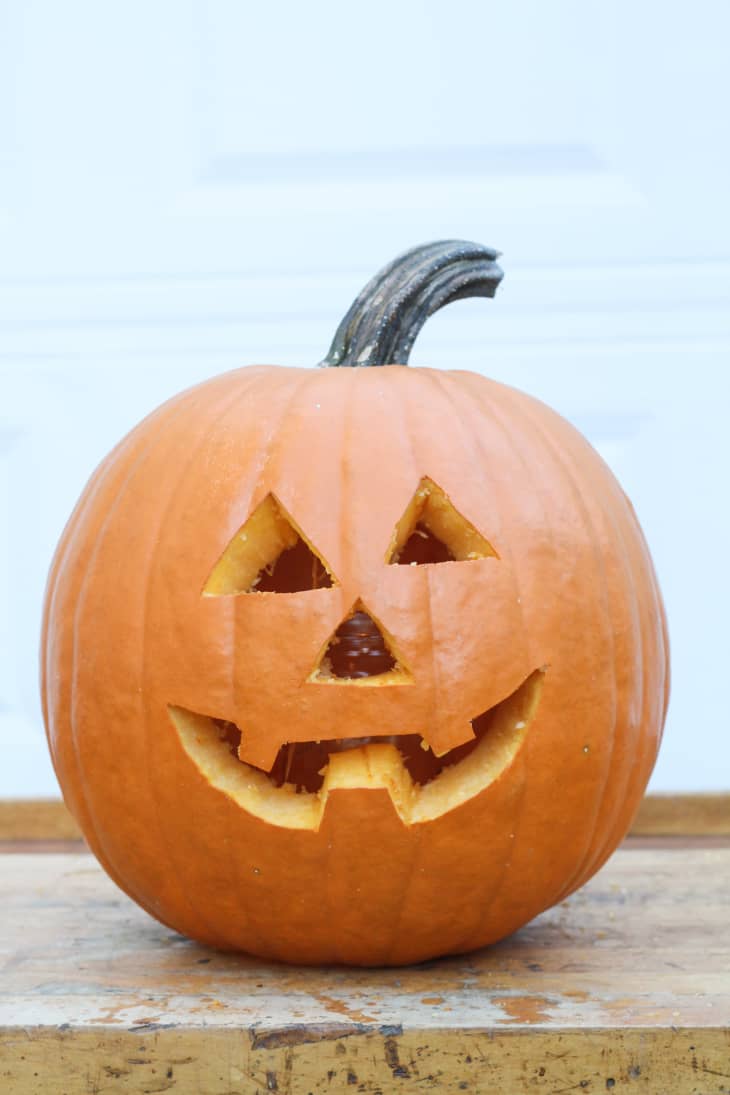
Determine the side you want to cut your design into, then lay the pumpkin down, design-side facing up.
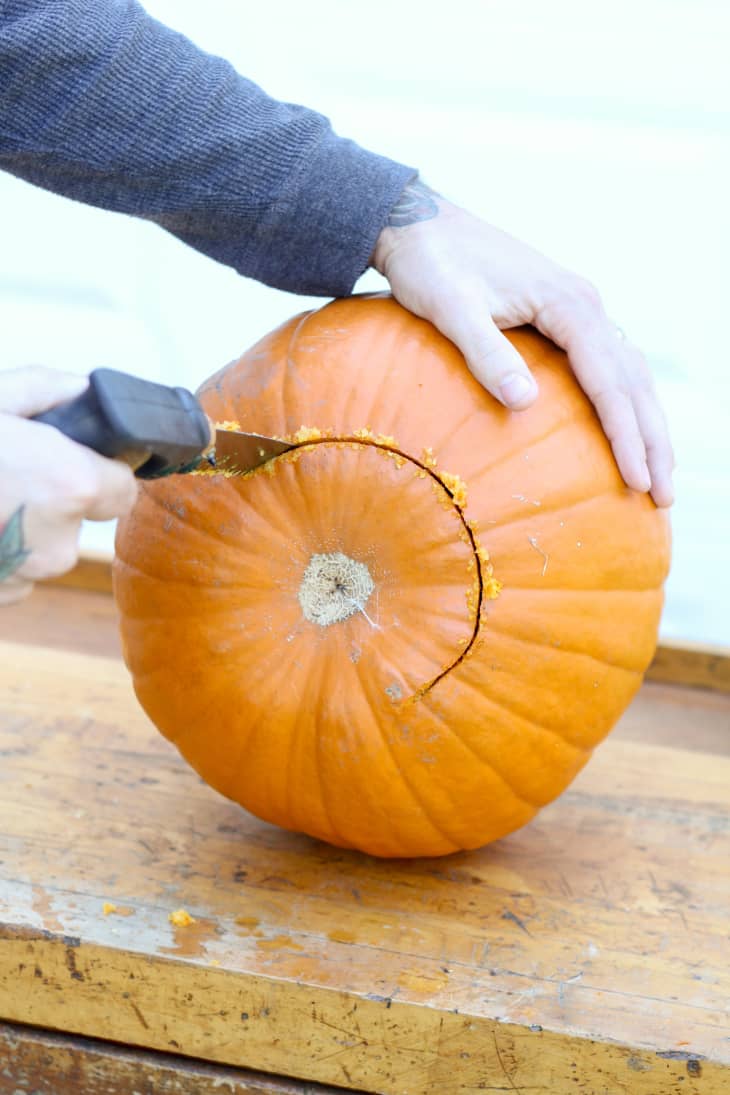
Using a compass saw (if you don’t already have one, go buy one—they make pumpkin carving a breeze!) or very sharp serrated knife, cut out a hole in your pumpkin. I prefer cutting a hole in the bottom of my pumpkins, as it’s easier to place the pumpkin over the candle jar and you don’t have to worry about carving out a flat spot on the inside of the pumpkin so the candle will sit flat.
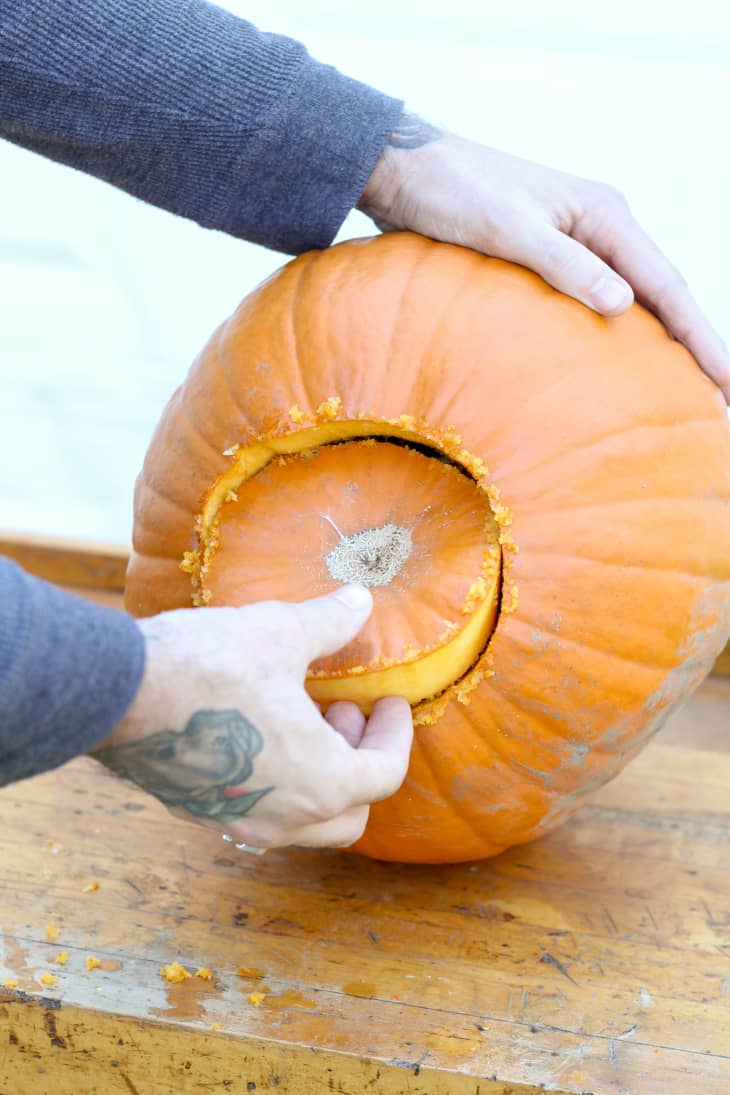
Remove the round and discard if it’s from the bottom of the pumpkin. If you cut your hole from the top, keep it so you can put it back on once the pumpkin has been carved.
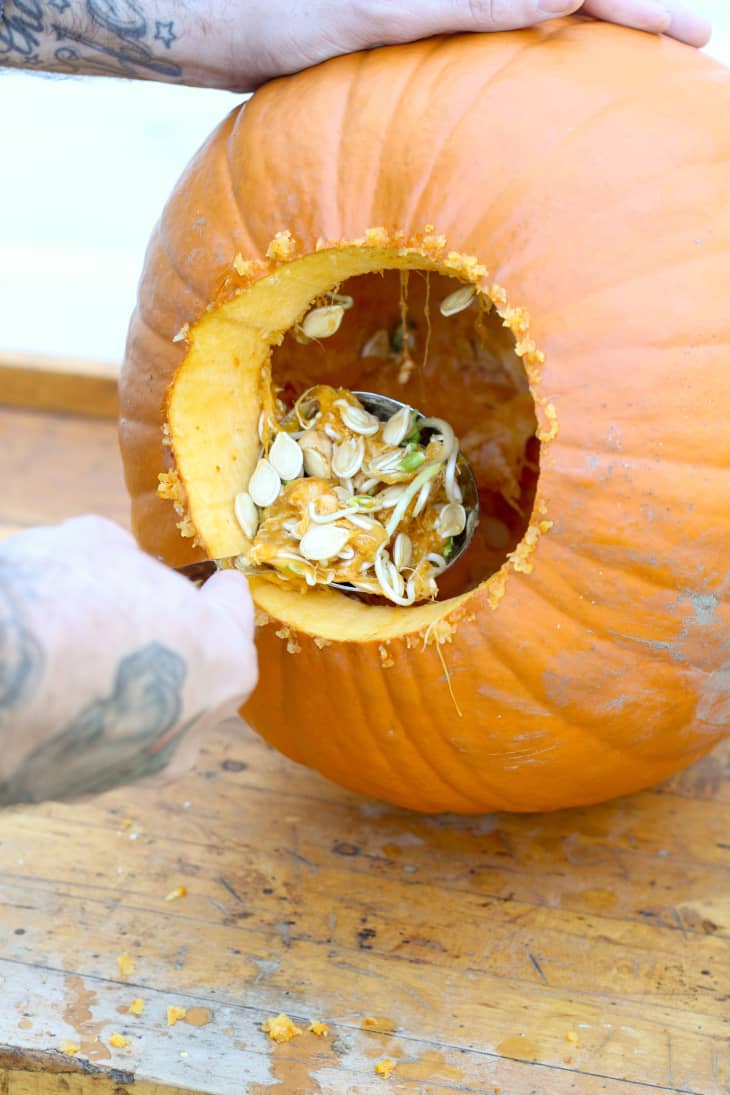
Using a scooping tool (a ladle works great!), remove all the seeds and flesh from the inside of the pumpkin. Save the seeds for roasting later!
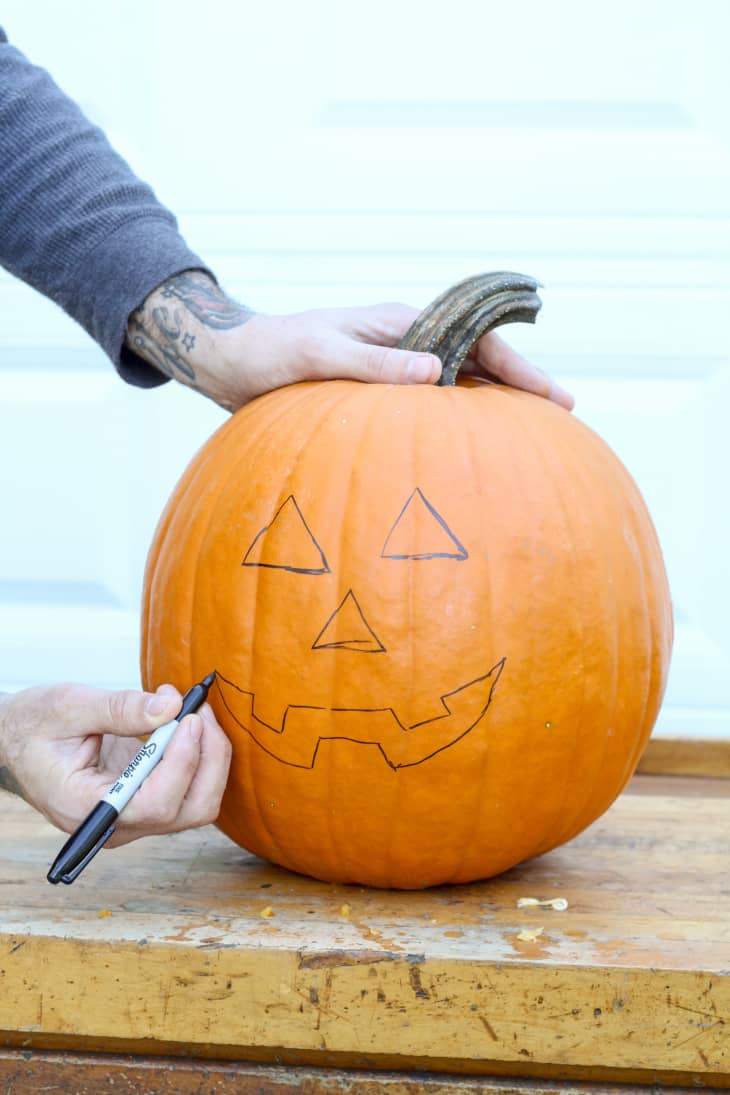
Freehand or trace your design onto the pumpkin. To transfer a printed design, tape it to the pumpkin and trace around the edges using a needle tool or sharp awl.
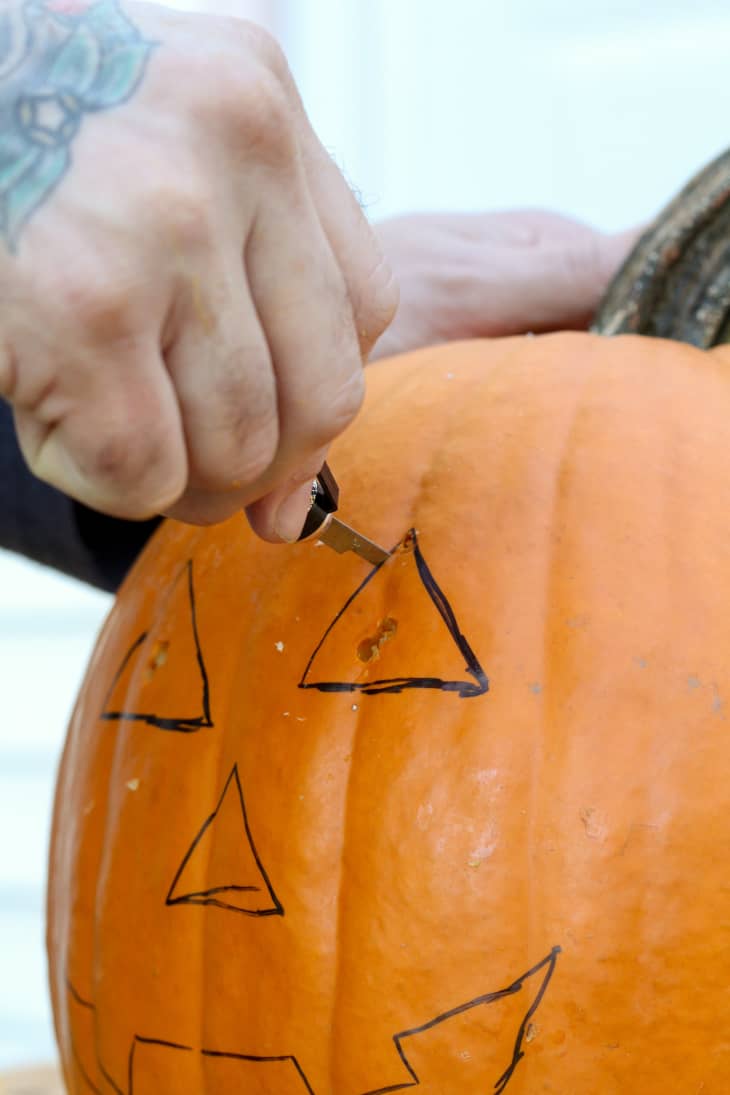
Carefully cut out the design using a utility knife or small saw. Pick up a pack of keyhole blades for your X-ACTO knife for maximum control with little to no effort. To make perfect circles for eyes or other designs, use a drill with the corresponding bit size.
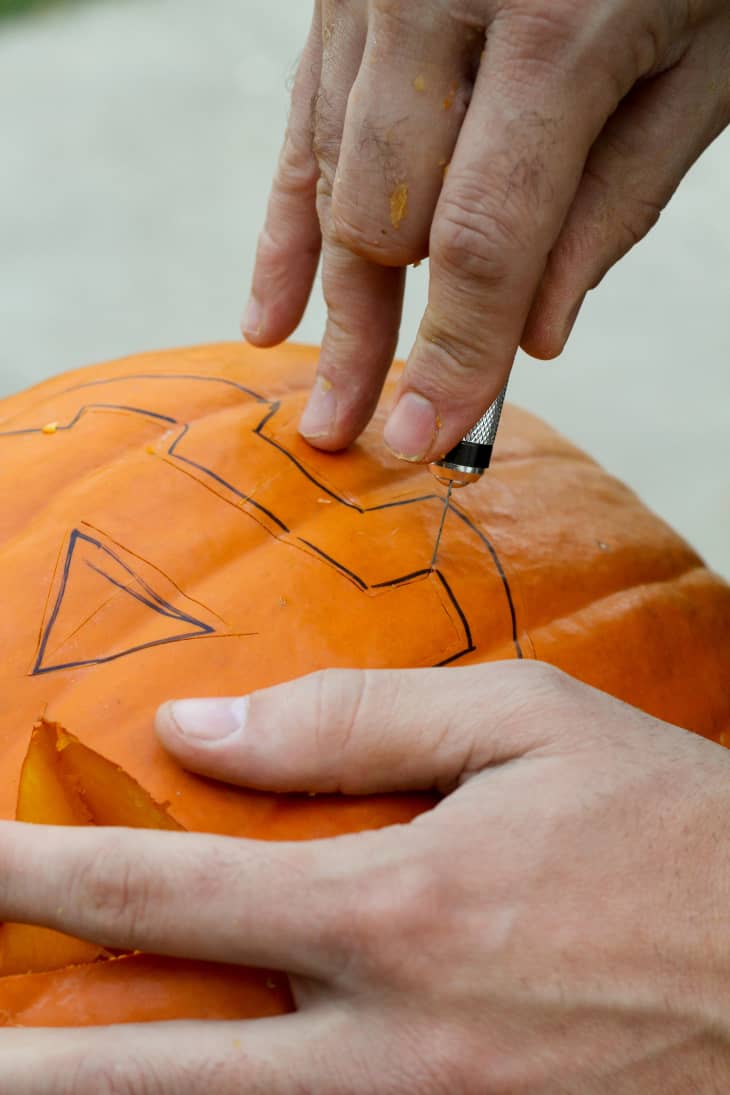
If you traced your design with a marker, be sure to cut just beyond the line so you won’t be left with bits of markings on your pumpkin.
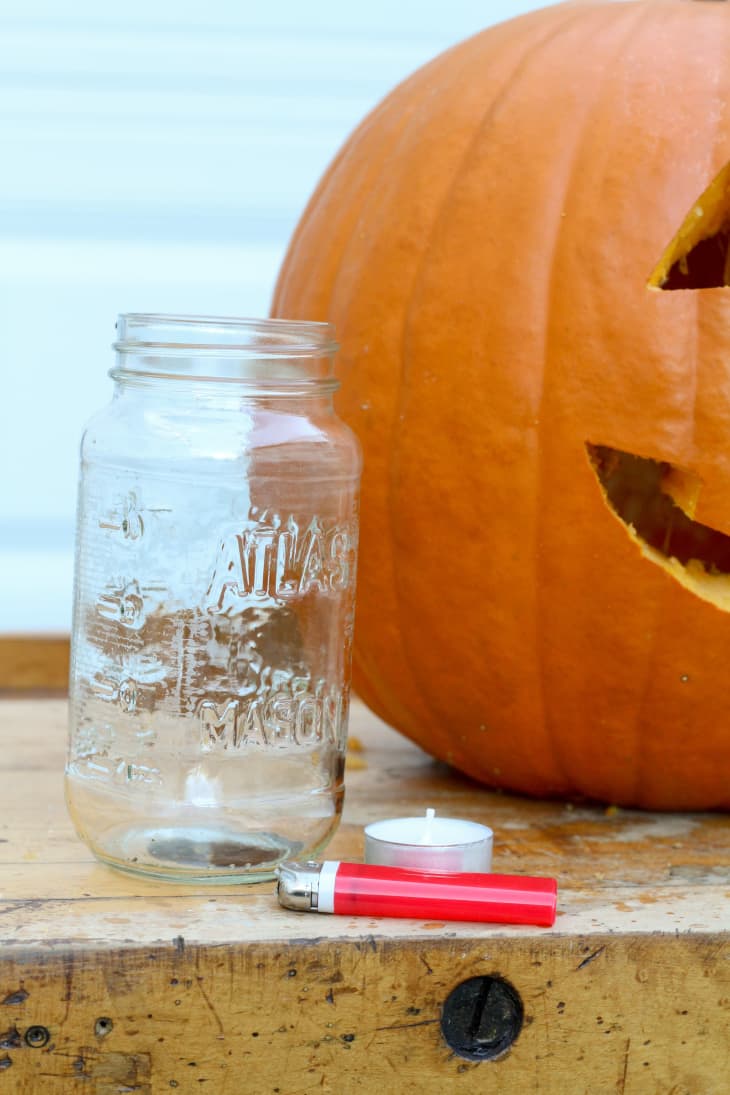
If using a candle, place it in a jar with tall sides for safety. To be super safe, pick up a package of flameless tea lights.
To keep the squirrels away, spray the surface of the pumpkin with hairspray, place dog hair around the pumpkins, or spritz the surface with a blend of cayenne pepper and water.
Have a really great DIY project or tutorial that you want to share with others? Let us know! We love checking out what you’re making these days, and learning from our readers. When you’re ready, click here to submit your project and photos.