Thrift Finds Starting at $1 Completely Transformed this ’80s Kitchen
One thing that seems almost ubiquitous in vintage kitchens? Brightly colored laminate countertops. While laminate counters of today come in trendy, high-end-looking versions that are still easy to clean and maintain, the ’80s and ’90s versions can feel clunky and outdated.
If a retro look is your thing, then by all means, keep the laminate! But if you’re looking to replace your old-school countertops, take a look at Jamala Wallace’s (@vivalavintageforyourhome) kitchen reno story.
The First Space Brought into the 21st Century Was the Kitchen
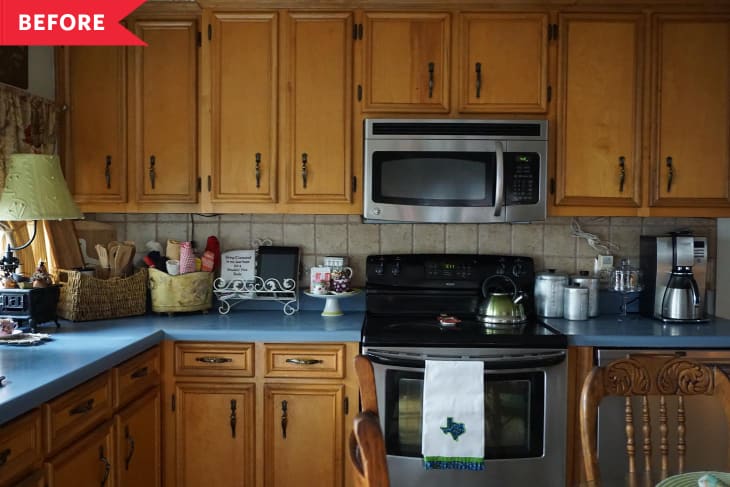
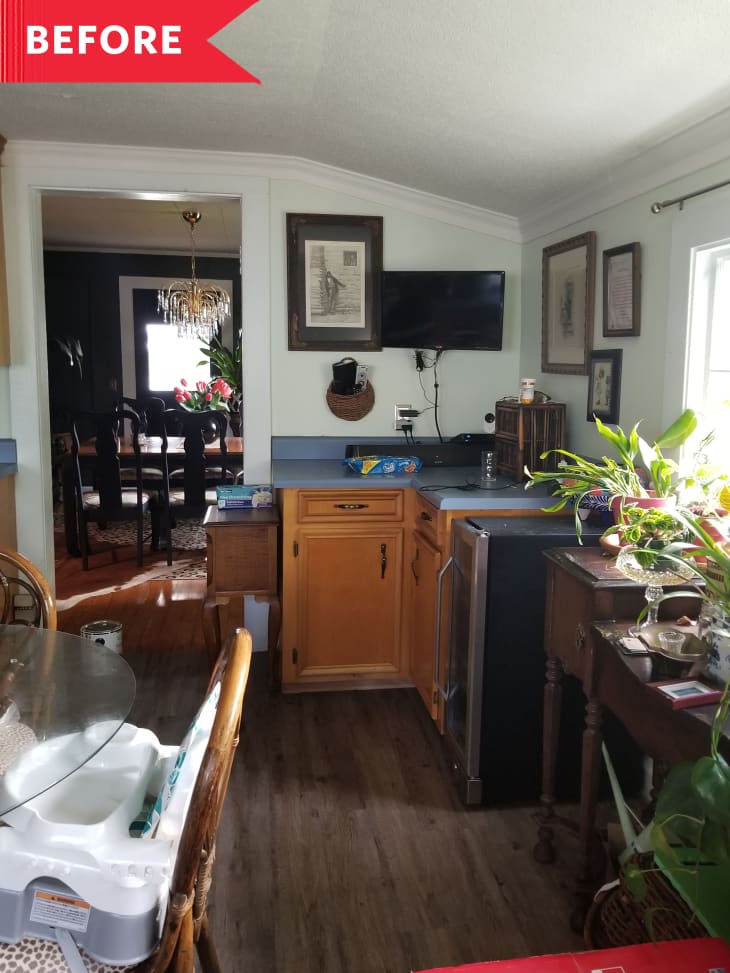
When Jamala first moved into her house, she knew things needed to be updated in the kitchen. The space had a fluorescent light fixture, a mustard colored stove, wallpaper with tiny ducks on it, and blue-and-tan vinyl flooring — none of which felt like it fit in the 21st century.
“After the first year, we were able to get a new stove, remove the dated range hood, and add a microwave with a vent. I painted over the wallpaper, changed the light fixture, added a tile backsplash, and gave it a freshened look that was a bit more pleasing to me,” Jamala says. “The one thing I loved was the custom cabinets.”
With Expenses Already Adding Up, She Started Selling What She No Longer Needed
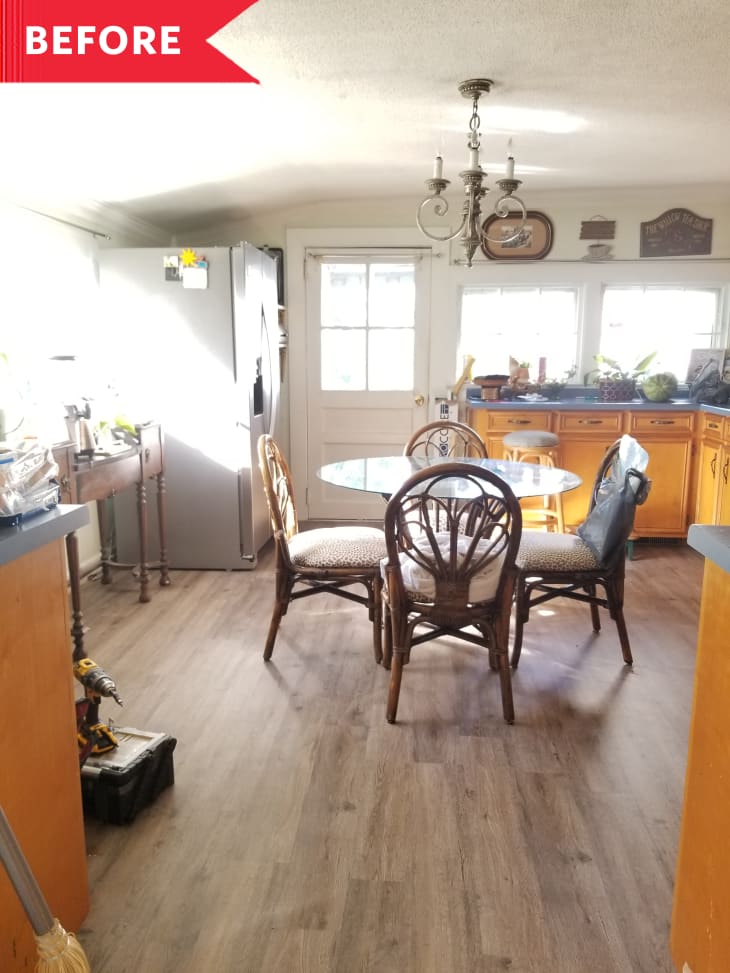
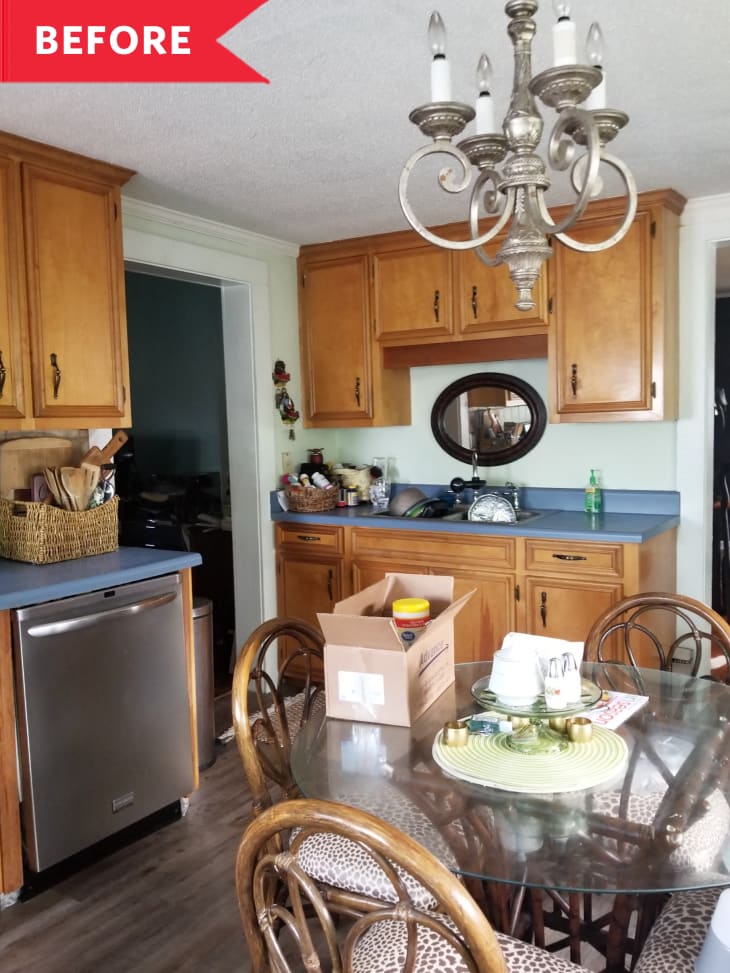
Still, she couldn’t look away from those bright blue countertops. “After getting a new floor installed, I decided it was time to address the countertops — I couldn’t take looking at the ugly blue ’80s Formica anymore,” she says. “I literally HATED HATED HATED that blue.”
She got a quote for new countertops that was out of her price range, so she decided to pivot. “I decided to turn my thrifted finds into my new countertops,” she explains.”I had just bought a new light fixture and kitchen faucet.”
“I sold them and recouped money back from both those items… I turned my unused, unwanted thrifted finds into a new kitchen,” she says.

Finding Creative Sources Kept the Kitchen Redo Under $3,500
Her advice to others — especially fellow thrifters — is: “Get what you love because you don’t want to regret not having it, and if you don’t use it, sell it.” (After all, thrifting is cyclical!)
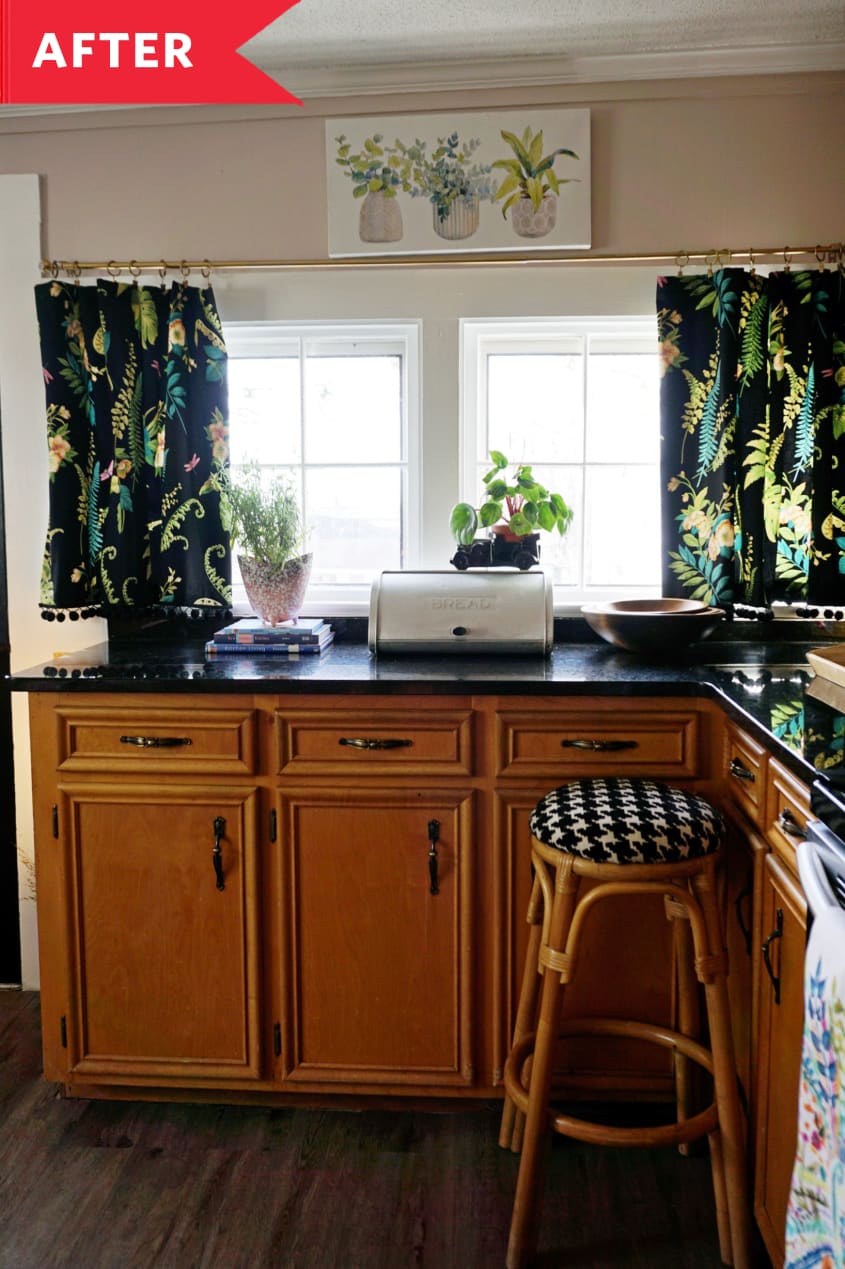
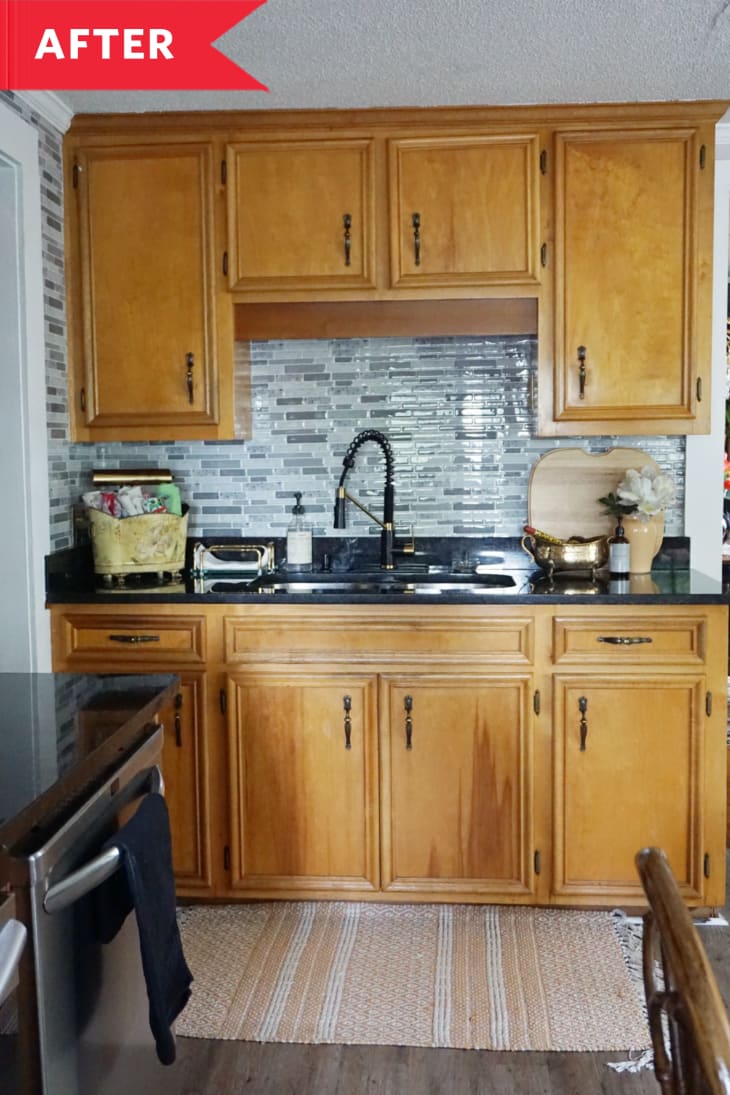
By reprioritizing, selling some existing items, and filling in the kitchen with thrifted finds she liked a bit better, Jamala was able to keep her kitchen redo under $3,500, including the countertops and a new sink.
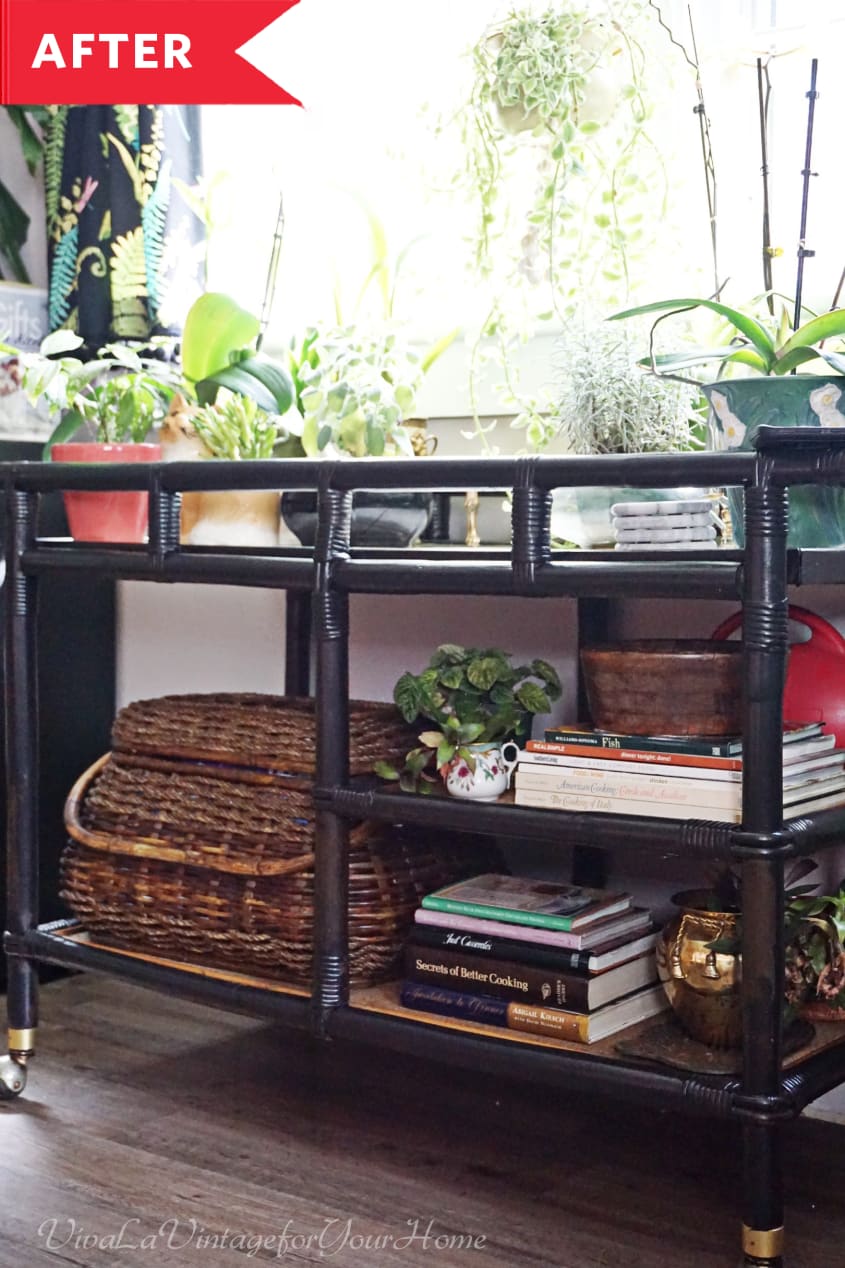
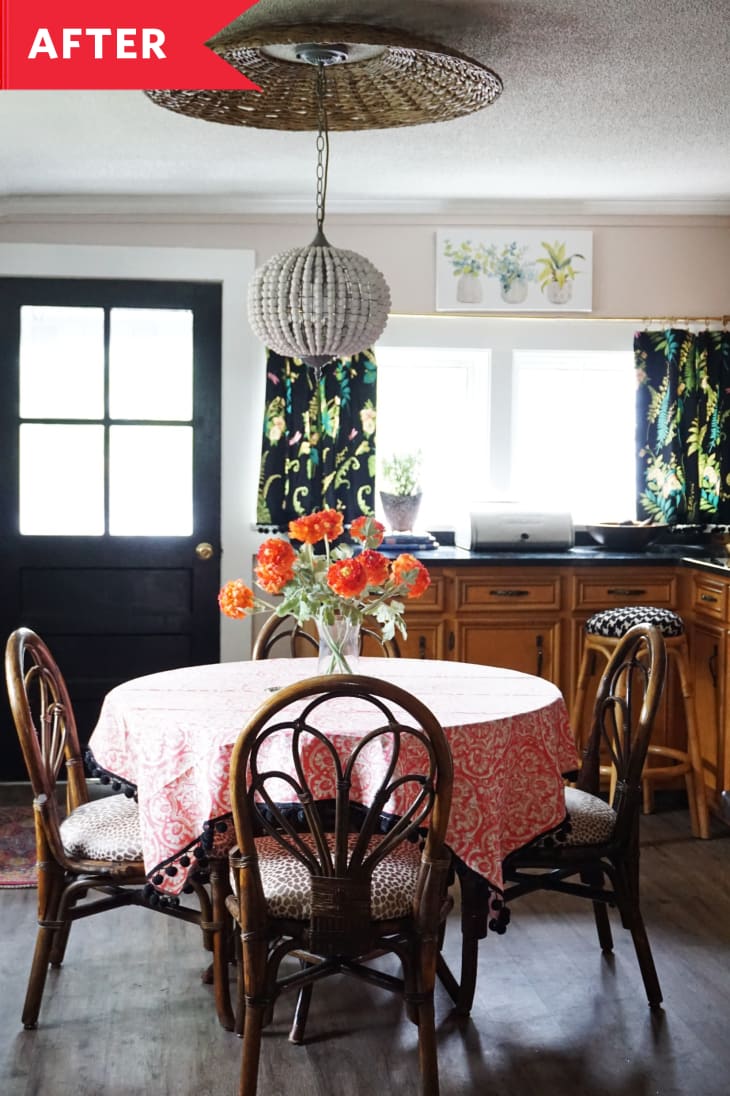
She painted her existing light switch plates gold, reupholstered her existing stool (shown above) and chairs, and refurbished an old bar cart (shown below) for cheap — but not cheap-looking — decor that matches her collected, eclectic style.
Other thrifted finds in the space? A ring holder for $1, a footed brass container for $1, tons of cool vintage pottery. Her new boho beaded light fixture is from Amazon, as is her peel-and-stick tile backsplash behind the sink.
Layered, Colorful, and Vintage-Inspired Decor Created the Perfect Eclectic Style
“By painting, hanging some peel-and-stick wall tile (which was easy on the budget), adding new fabrics to the space, and a few thrifted finds, I have a kitchen where I smile when I come home,” she says. “My eclectic style is displayed all around.”
She’s happy that she accomplished the layered, colorful, vintage-inspired look she wanted within her budget. “I’m so proud of myself for being able to create this look without debt,” she says. “I challenged myself, and I won!”
Inspired? Submit your own project here.