
I Tried a 5-Minute Pinterest Hack to Make Fabric Frames (the Result Is Stunning!)
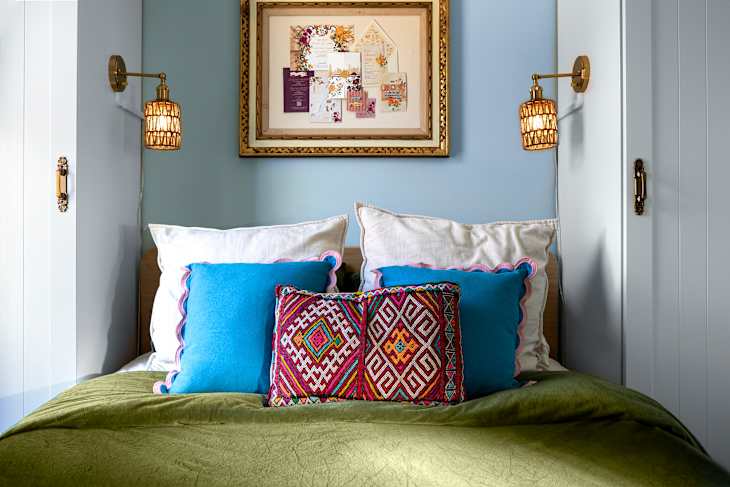
I’ve always been a very sentimental person, and I have trouble throwing things away. I live in New York, and there’s not a lot of spare space in my apartment to store trinkets and things, so I’ve had to become a bit more discerning about the things I hold onto. But my personal kryptonite? Paper ephemera. Written notes, birthday cards, gift tags, magazines, movie tickets — I joke that if you’ve ever handed me a scrap of paper, I’ve probably kept it.
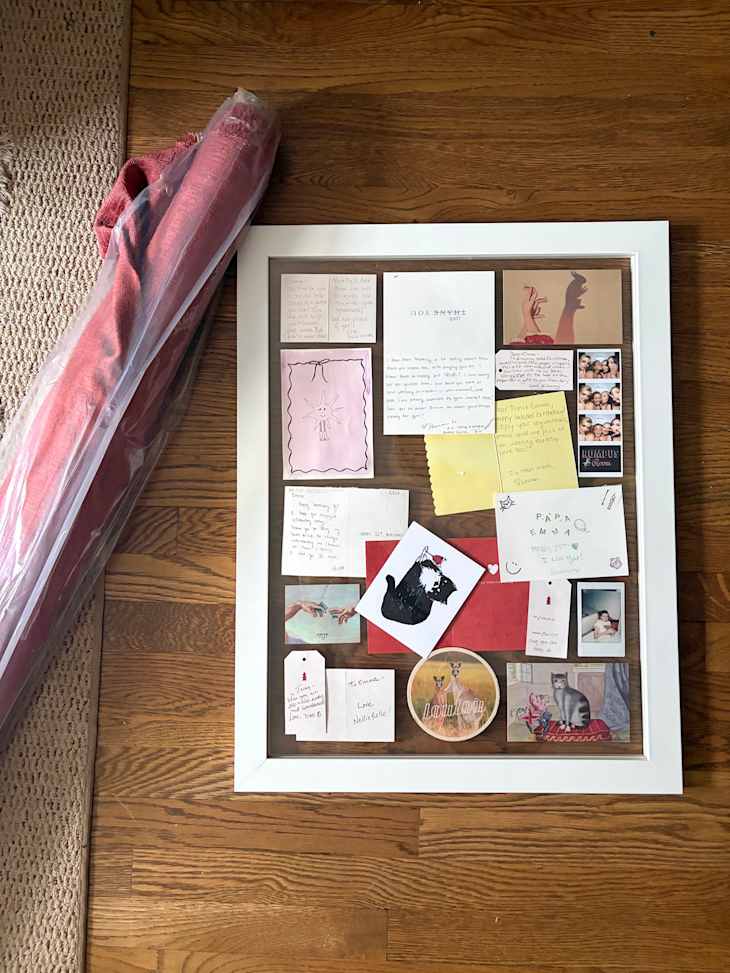
A couple of years ago, I decided to put my collection on display using two large float frames. But as sentimental as I am, I’m also a stylish person (or so I like to think, at least). Although I loved being able to look at their contents, I just hated the way the displays were styled. I was determined to upgrade my card collection from a scrappy-looking collage to actually chic wall art — and as it turned out, all I needed to do that was about five minutes and a few yards of fabric.
Adding Fabric to My Frames Elevated Their Look
As I said, I enjoy reading back through the notes from loved ones and taking a trip down memory lane with my postcards, and I wanted them out in the open where I could see them all the time. But my float frames looked cheap. I realized they needed a mat, and, inspired by some of the fabric frame DIYs I’ve seen on Pinterest lately, I got an idea.
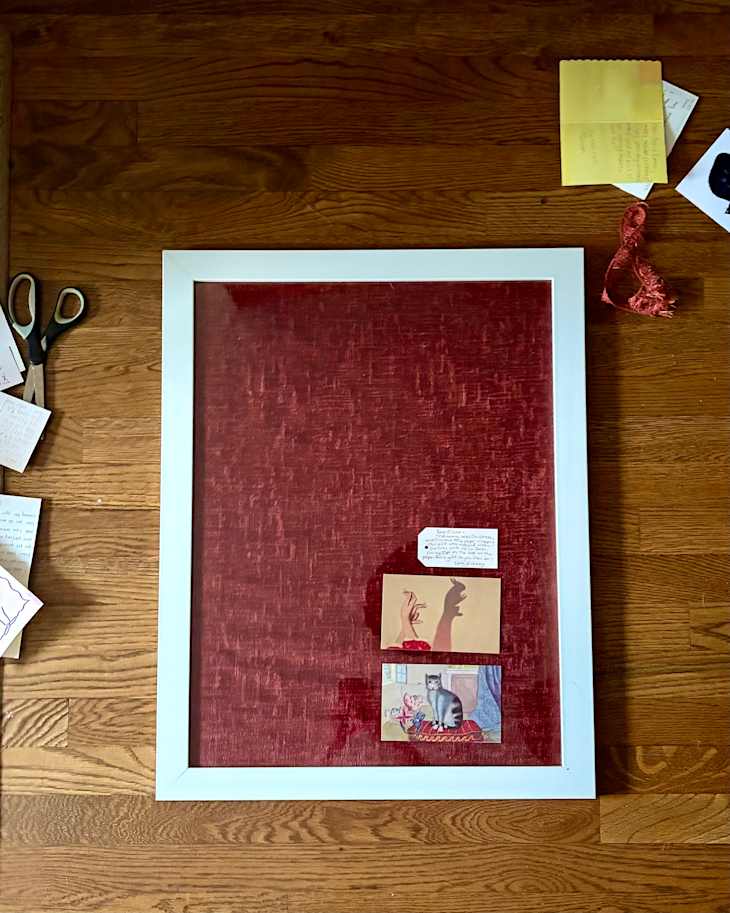
I had a couple yards of this gorgeous red chenille fabric just lying around, as I’d used it to reupholster a bench for my bedroom vanity. I simply laid one of the sheets of plastic from the frame on top of the fabric, cut around it, and voila! The chicest photo mat I’d ever seen. Next, I used double-sided tape to secure the fabric to the backing sheet of plastic, and then I arranged the photos on top, sandwiching the second sheet of plastic on top of that. I chose to position the cards off-center, in the bottom right-hand corner of the frame, to add some visual intrigue and allow the texture of the chenille to shine through. I did end up removing most of the cards, of course, but I plan to create more of these fabric frames in the future to put them back on display.
Choosing the Right Fabric Is Essential for This DIY
Given that I hang these frames in my bedroom, I knew the red fabric would not only look luxurious, but it would also provide some continuity throughout the space and make the styling feel even more intentional, as it matches my newly reupholstered bench. I still have plenty left over, and I plan to use it to make some throw pillows for the bed, too. Using this same fabric in three distinct areas of the bedroom creates a kind of throughline that will hopefully make the whole space feel a lot more intentional and cohesive.
If you plan to try this at home, just make sure you don’t choose a fabric that’s too thick, as that might prevent you from being able to secure the backing. Ideally an even thinner fabric like linen or cotton would’ve been ideal for this project, but the chenille worked just fine. And I love the rich texture it added to the display. Because I already had the fabric and the frames, it cost me nothing! Now all that’s left to do is to paint the frame to match the fabric. I can’t believe I didn’t think of this sooner; it’s the easiest and cheapest way to make those sentimental but sometimes un-stylish items — like cards, or even family photos — actually feel like a part of your decor. Especially if you choose a fabric that matches another item in your space, as I did.