
A Dingy Bathroom Gets a Bright, Farmhouse Redo in 5 Days for Only $800
There’s a special kind of pride that comes from DIY projects, having upgraded something in your home from start to finish with no help from the pros. There’s also a special pride that comes with Do-It-Togethers: projects completed with a partner, a parent, a friend, or even a kiddo.
If you’re looking to get your own kids involved with DIY projects, look no further than this bathroom reno — completed with help from the whole family — for proof that home projects done with kids can turn out beautifully.
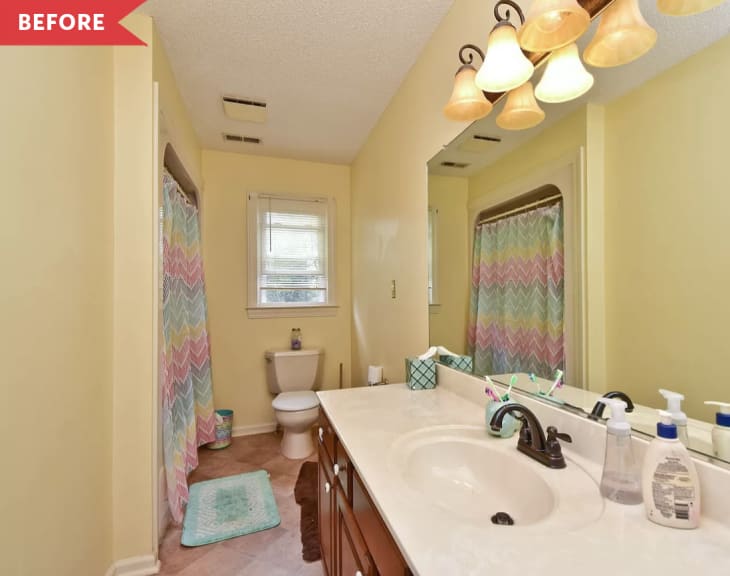
In Melissa Strassner’s kids’ bathroom, the features before were “truly a product of the 1980s,” she says, “with foam laminate flooring, dated lighting, and a ‘space capsule’ floor-to-ceiling plastic tub enclosure.”
The Whole Bathroom Was Dated, Dingy, and They Hated Every Part
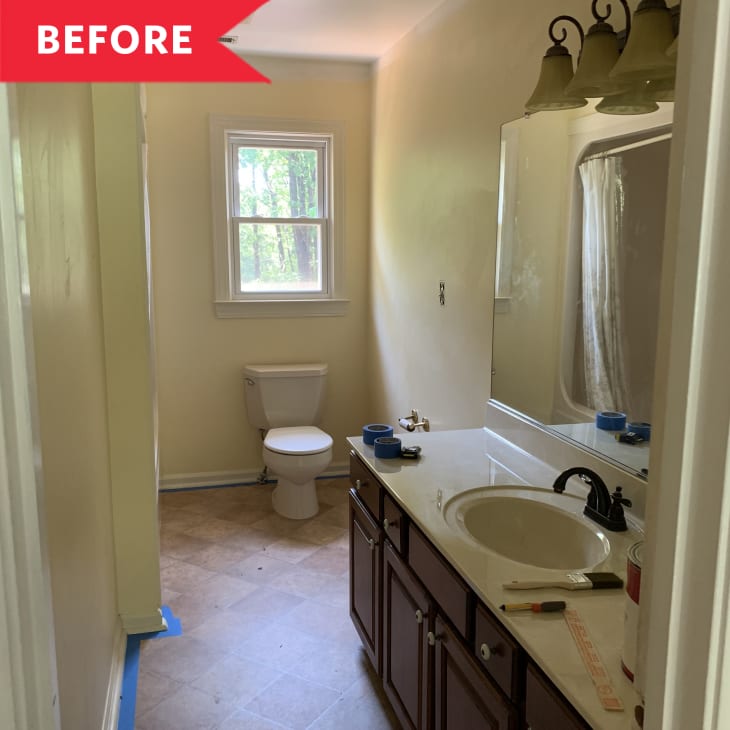
The vanity cabinets were stained, the hinges were rusty, the walls were a yellow shade that made the whole place feel old and dingy, and the moulding on the edges was peeling. In general, “the previous owners had taken poor care of the house,” Melissa explains. “We hated every part of it!”
All 4 Kids Helped Her Clean and Prepare the Space for Paint
Melissa wanted to take on a project that would make life better for the whole family — and keep them busy with something to do for a while. “That ugly bathroom fit the bill perfectly!” she says. “We set out to freshen, brighten, and give the space a little character from this century.”
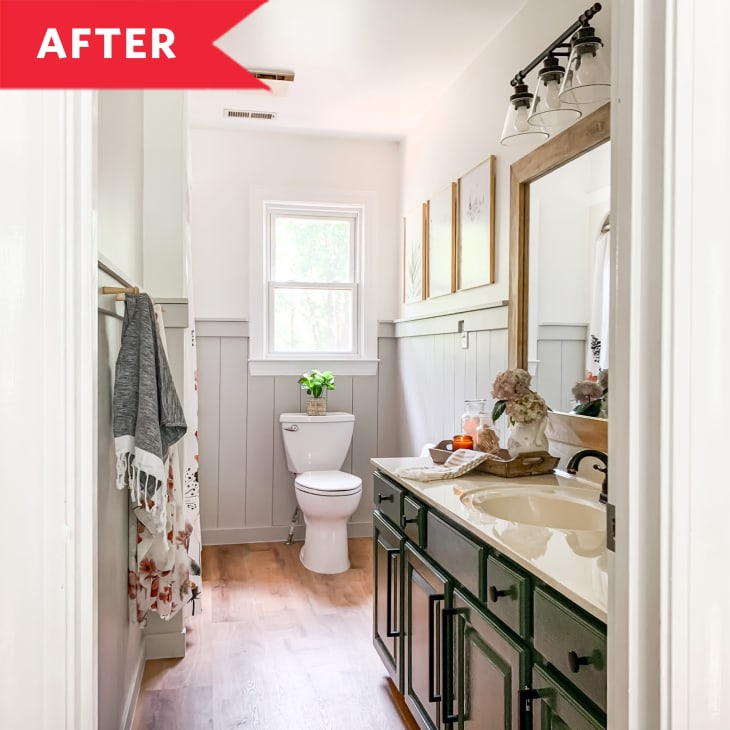
Melissa’s four kids, ages 3 through 10, were extremely hands-on from the get-go, she says, and they worked with Melissa and her husband, Case, to clean the baseboards and prep the space for paint. They also helped roll on the paint, a clean coat of white (Sherwin-Williams’ “Alabaster”) on the walls and moulding and a “beautiful, creamy green” (Benjamin Moore’s “Caldwell Green”) on the cabinets.
“I ADORE the green on the cabinets!” Melissa says. “It made me want to paint all the things green!”

They Added Wainscoting and Other Details to Achieve the Modern Farmhouse Style She Loved
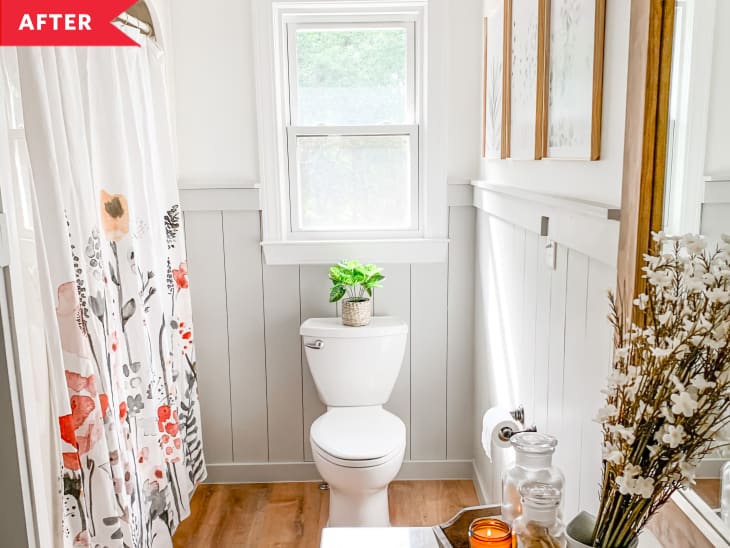
In addition to paint, they also added texture to the bathroom walls with cottage-y wainscoting.
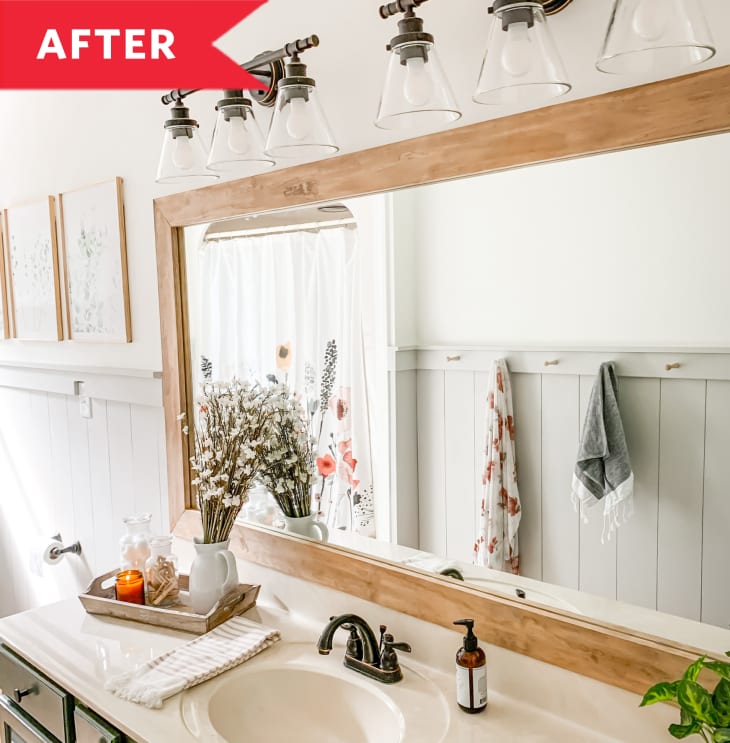
“I’m a huge fan of modern farmhouse style, so my husband installed vertical paneling to the lower half of the walls to give the tiny space some character, as well as help create the illusion that the space is larger than it is,” she says. “It’s such an ordinary space, but that easy, inexpensive addition makes it feel elevated.” The paneling was painted Sherwin-Williams’ “Repose Gray.”
Melissa and Case also installed new luxury vinyl flooring (which the kids helped with), upgraded the toilet, framed the existing basic sheet mirror, and added modern hardware and lighting. The toilet was the most difficult part, Melissa says: During the toilet install, a pipe burst all over the newly installed floors. “Fortunately, my husband was able to replace and update the plumbing without tearing out the whole project,” she says.
Working with Their Kids Helped Complete the Project Quicker and Everyone Learned Something New
Although budget constraints prohibited them from replacing the space capsule tub, it is on Melissa’s DIY list for the future. Her favorite part of the project — besides the green paint and the new moulding, of course — is that her whole family was involved.
“Our motto when working with the kids is to let them do projects ‘at their ability plus 1,’ so they’re constantly learning and practicing new skills that challenge them just enough,” Melissa says. “We all genuinely enjoy each other’s company, and we find that although there are some teaching moments where things are slow-going, we usually end up completing projects more quickly with so many hands pitching in.”
Together, they completed this project in five days with a budget of about $800. “My advice for family fixers is to get the kids involved as early and often as you can,” Melissa says. “Don’t be afraid. With a good combination of instruction and supervision, kids can do amazing things.”
Melissa loves that her new bathroom is kid-friendly without being overtly themed, and its timeless new design details will grow with the family.
Inspired? Submit your own project here.


