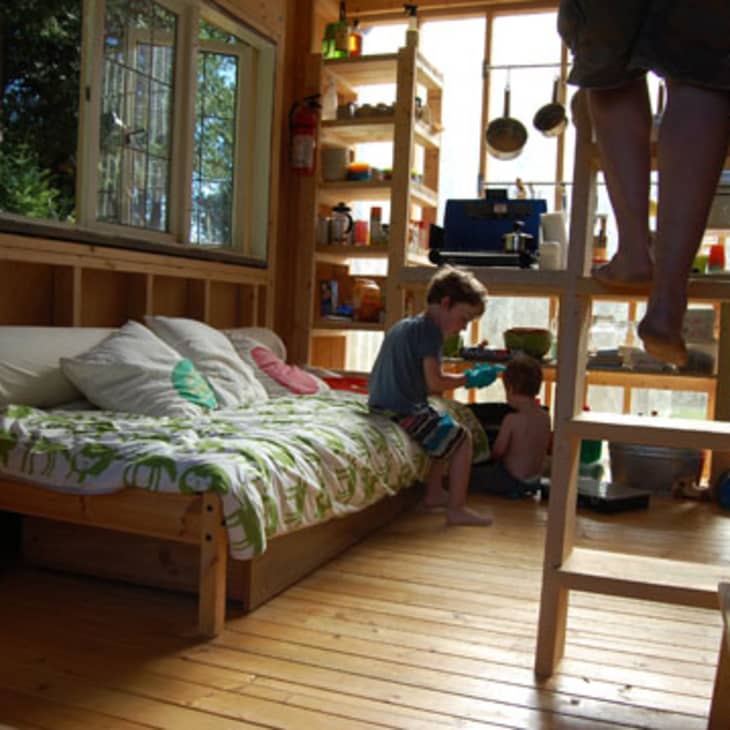
Four People (and a Dog) Living in 180 Square Feet
Name: Tammy, John, Sam, Will, and Dobbs
Location: Gulf Islands, British Columbia
Size: 180 square feet
Years lived in: One (mostly on weekends)
Before I get started with this tour, I cannot emphasize this enough: My husband and I are not rich and we are not particularly handy. Heck, we’re not even all that smart. This latter fact was probably the driver behind why two people with little money and even fewer skills would even attempt to build a cabin on an isolated island with no amenities. But armed with a hacked $25 shed plan and an incredibly generous friend with actual skills, we gave it a shot. Here’s how it turned out.
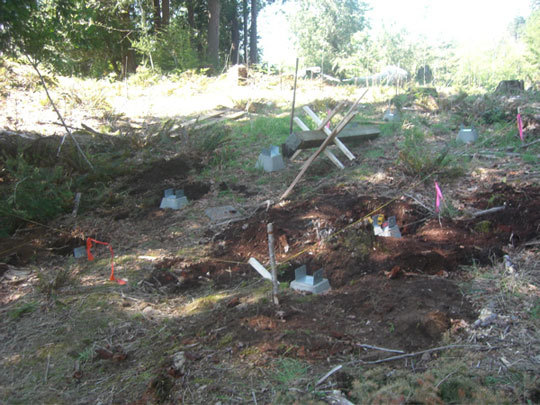
Day 1 of building: Stakes and rope. 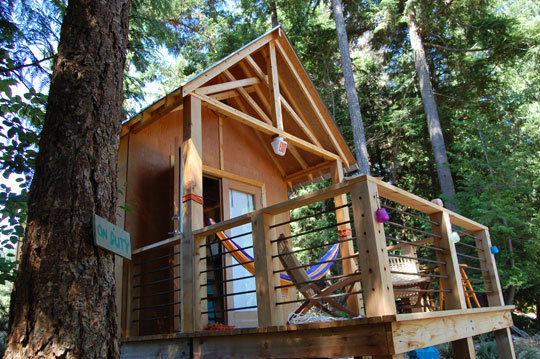
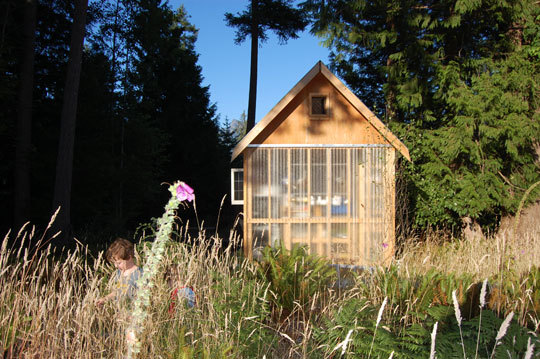
The fiberglass wall: a partial success. 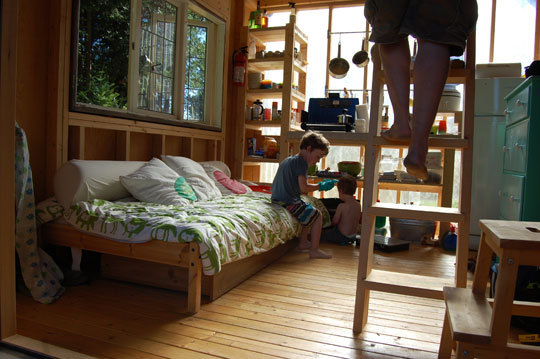
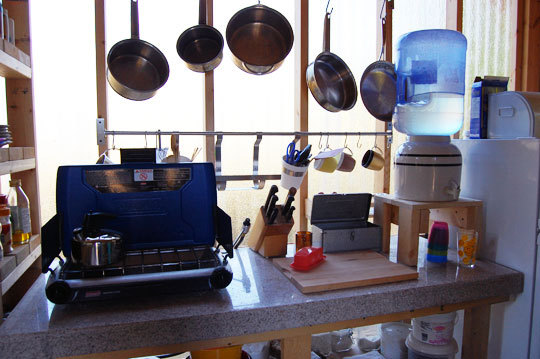
Sad to say, our counter space in the city is about the same size as this. 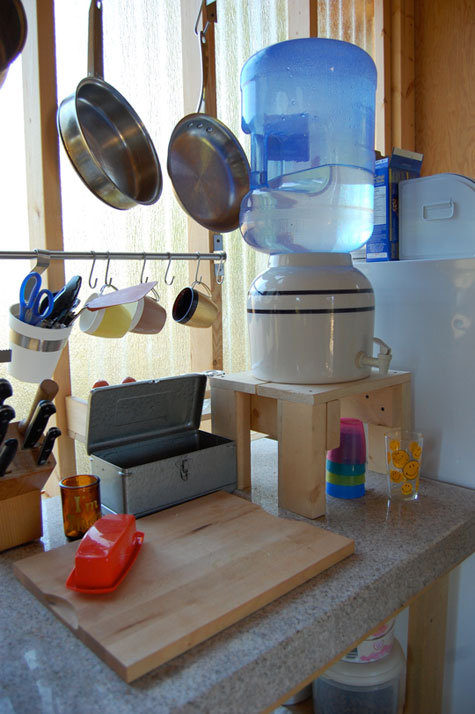
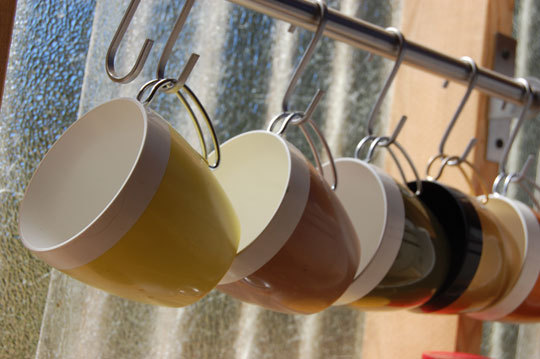
Oh, Etsy vintage shops, how I love you and the fact that you’re a source for things like these vintage patio cups. 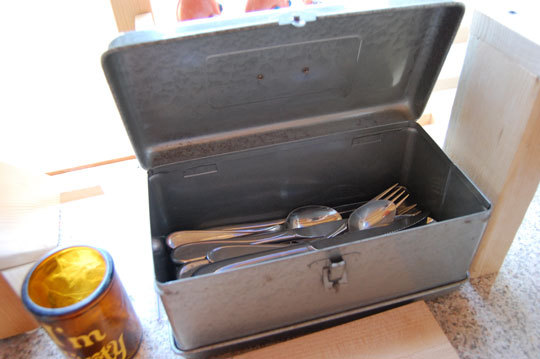
Every meal is a picnic. A fishing tackle box makes it easier to set the table outdoors. 
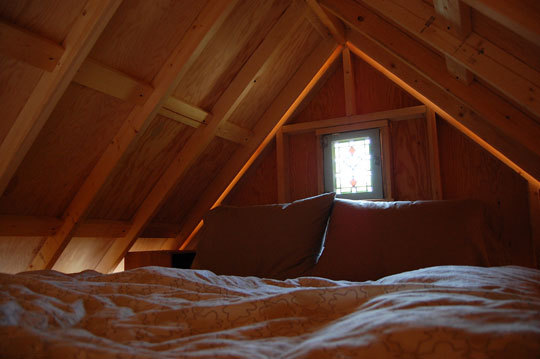
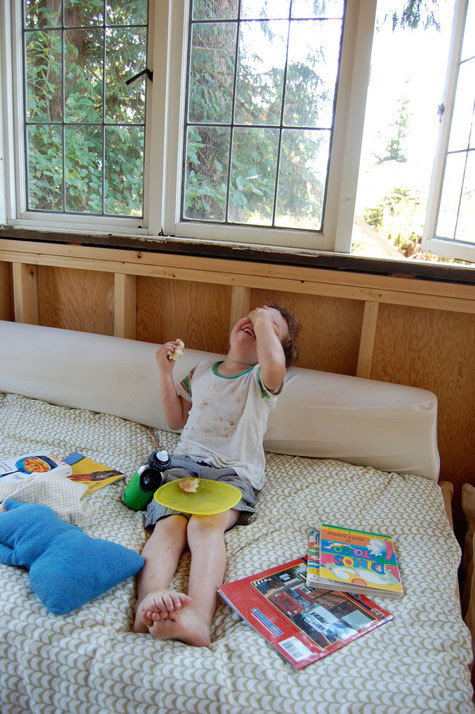
The essentials: Bed, bedding, pillows, reading lights. What else do you need? 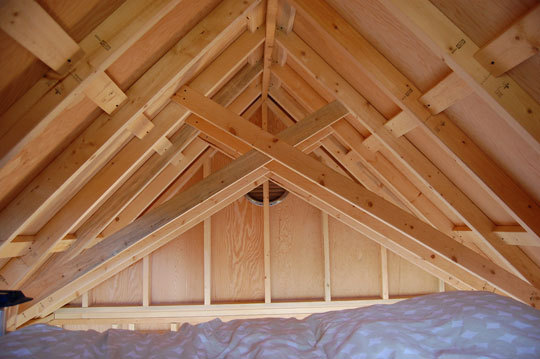
Every time I lie in bed and look down toward my feet, I admire John and Stefan’s workmanship. 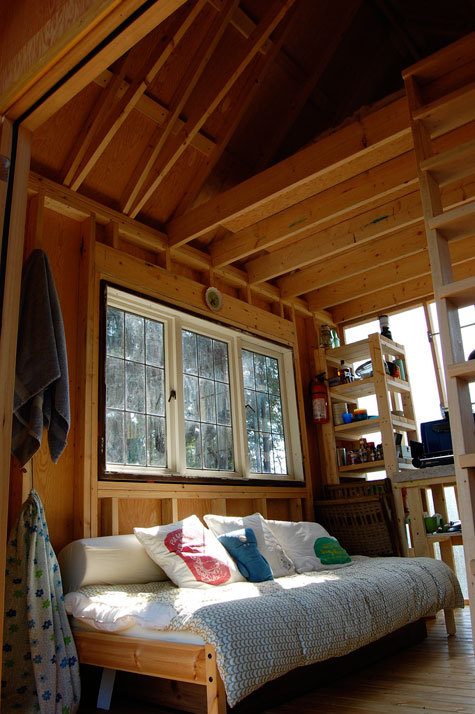
John built all the shelving and cabinetry. 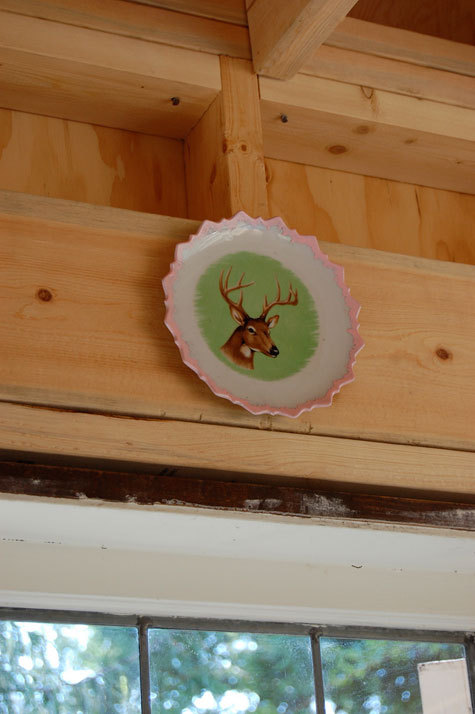
Someone left this plate in our garbage can in the city. Can you believe it? 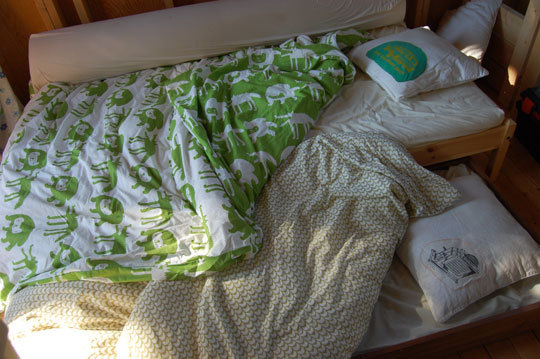
John turned an Ikea Fjellse bed into a daybed by hacking off the headboard and adding a bolster from Snugtuck. He also hacked an Ikea Aspelund underbed storage drawer into a trundle bed by reinforcing it, then having a foam mattress custom made. 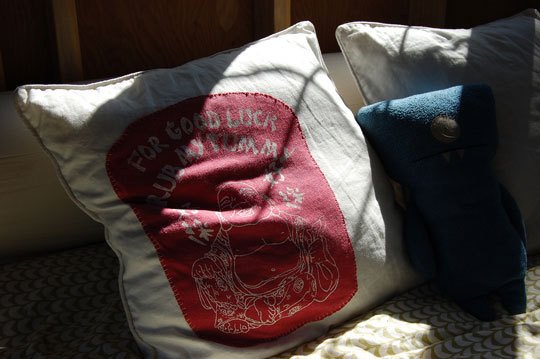
What do do with beloved old t-shirts: applique the graphics onto cushion covers. 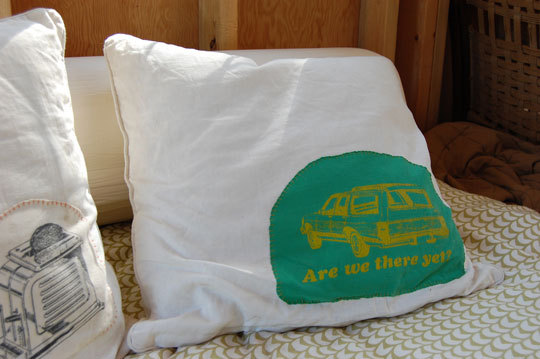
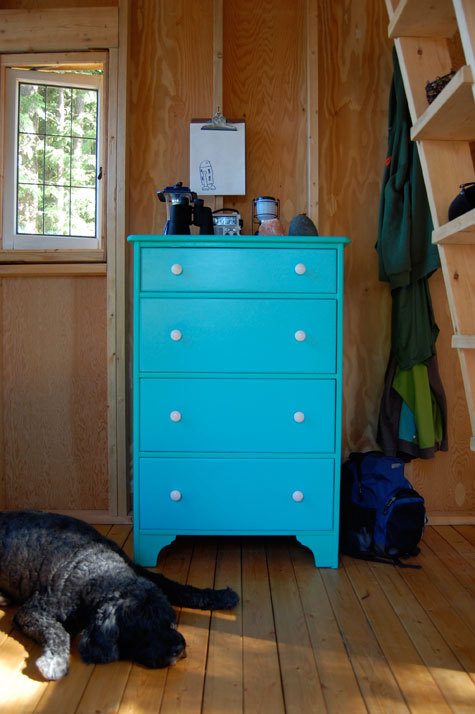
An old dresser from Craigslist got a Jamaican-inspired blue-and-green paintjob and some vintage ceramic knobs. 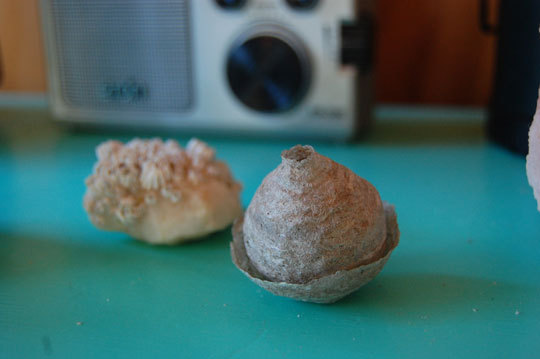
Inside the world’s tiniest cabin: the world’s tiniest wasp nest (empty). 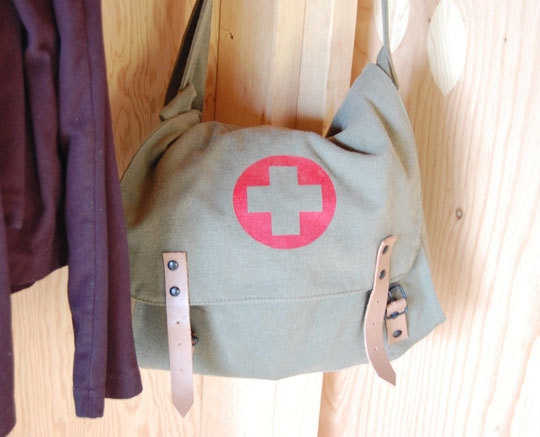
A surplus-store army medic’s bag contains our huge first aid kit. 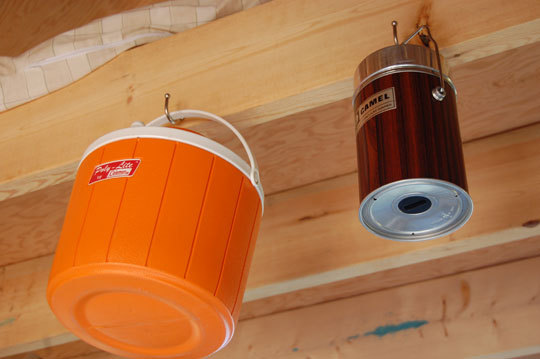
My Thermos collection is slowly migrating from the city. 
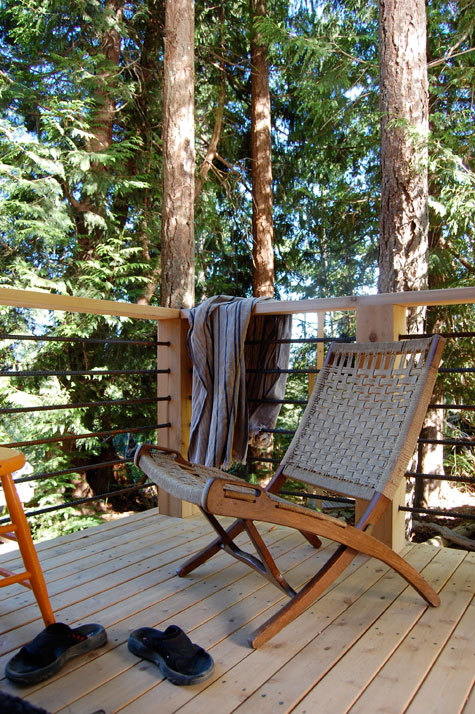
The deck is raised six feet from the ground, which makes it feel a bit like being in a treehouse. 
Behold the fake Hans Wegner folding chair, in all its glory! 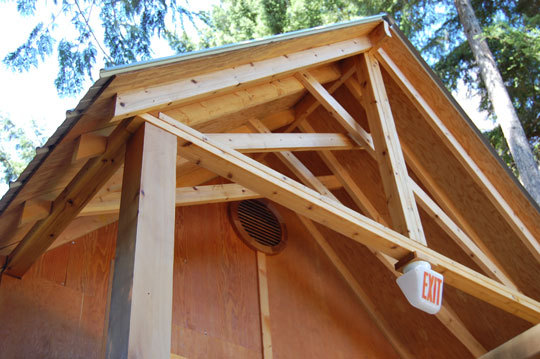
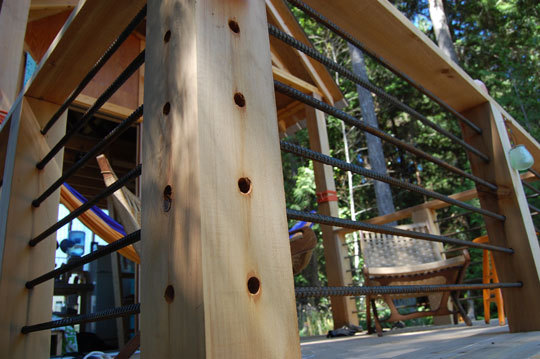
Rebar makes for fantastic – and cheap – deck railings. 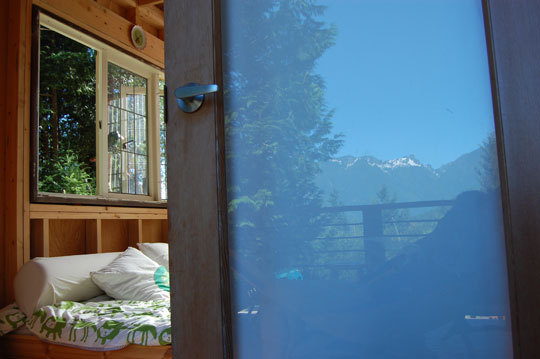
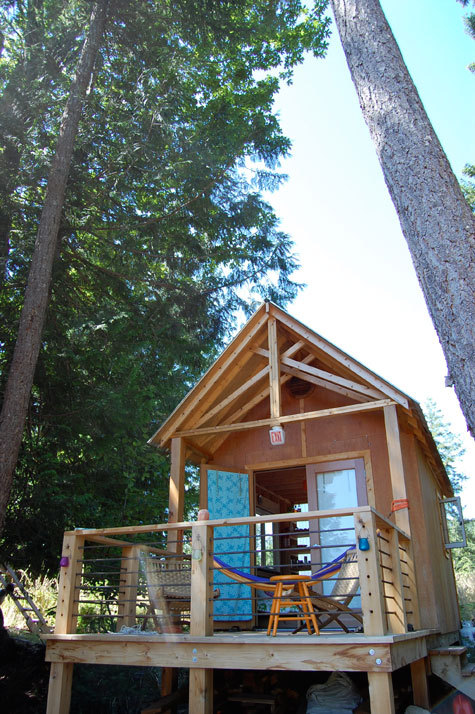
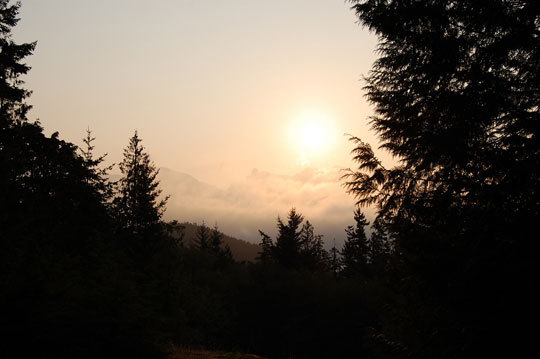
The view from the deck: sunrise over Howe Sound. 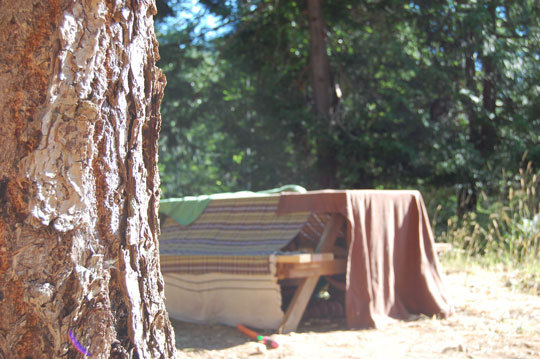
When the sun gets too oppressive, Sam and Will make a fort under the table. 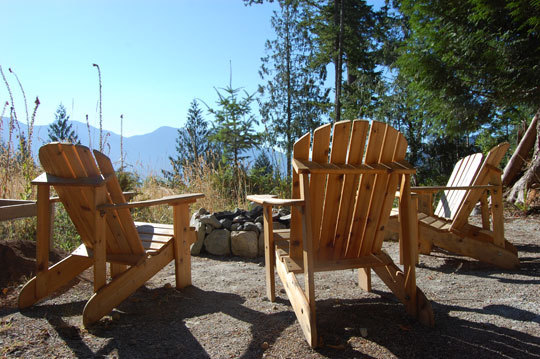
Our living room. 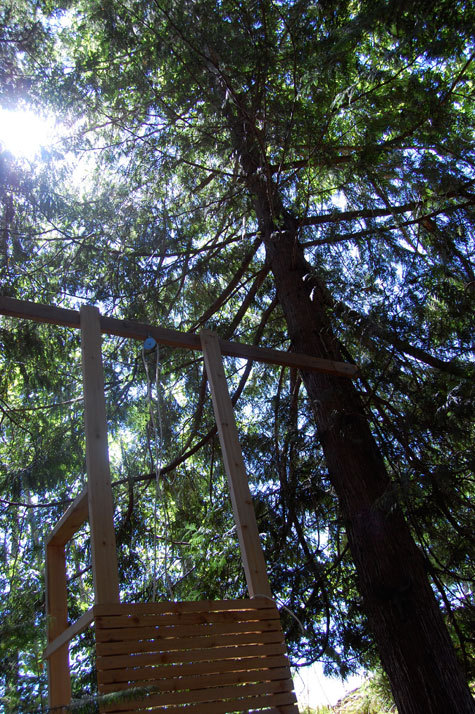
The outdoor shower: one wall down, one to go! 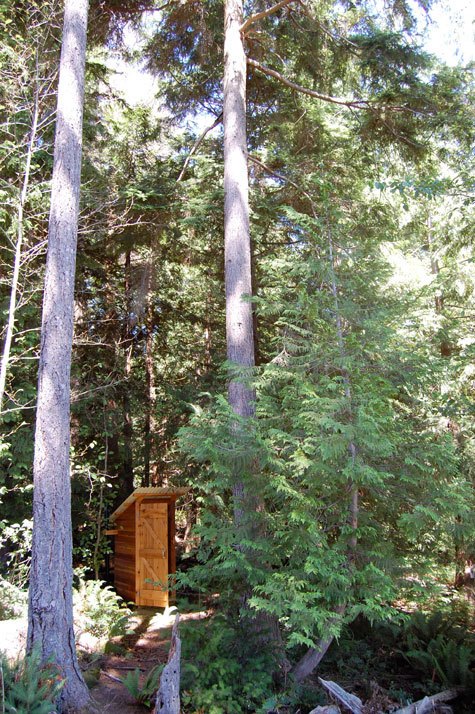
John prefabbed the cedar outhouse in the city, then disassembled it and barged it over to the island. It’s the nicest smelling outhouse in the west. 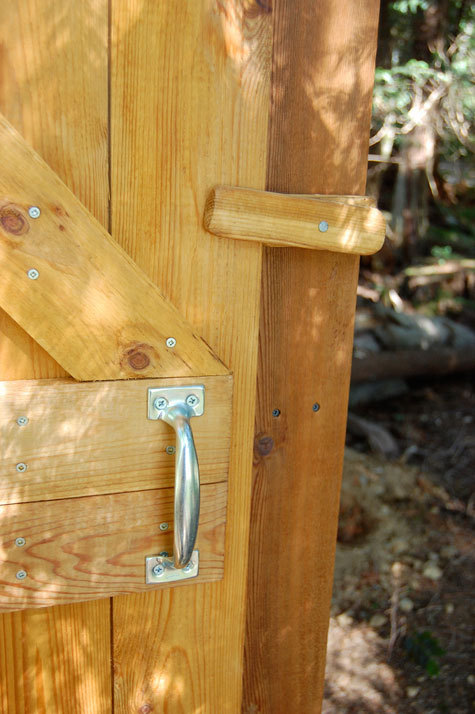
Rustic security system. 
The view from the loo.
Our cabin is a work in progress and probably always will be, but I want to share it with you in its current state and tell you a bit about how we got here, the mistakes we made along the way, and what we’re planning next.
To get started, I’ll answer the three questions we get asked most often:
So how big is it?
Before we added the deck, the footprint was 10 by 12 feet. That’s right: 120 square feet. The sleeping loft is 6 by
12
10, making the grand total 180 square feet. The deck, which we added this past spring, is 10 by 10, and boy, does it make a difference. With both doors open, it feels luxuriously spacious, believe it or not.
How much did it cost to build?
The materials cost – including salvaged windows and doors – was about $7,000. But there were a bunch of big expenses along the way. We realized we needed a truck on the island, so we spent $2,000 on an awesome orange 1990 Chevy Blazer. We don’t use it often, but when we need it, we really need it. The propane fridge was $2,500. We needed two barge trips to haul the truck and our supplies, so that was another $2,500. And we spent about $500 to rent a generator and a couple of power tools we didn’t own.
How long did it take?
All told, about two weeks of work for two guys: my husband, John, and our good friend Stefan, who brought a lot of skill and positive thinking to the whole project. And when I say two weeks of work, I’m talking about hardcore workdays. They started in right after breakfast and worked straight through till dusk. If the weather was good, they hooked spotlights up to the generator and worked till late at night.
And now I’ll ask you a question: Does this look like a shed to you?
Because it is. Inspired by sites like Shedworking, John went on a serious mission to find just the right shed plan to form the basis for our cabin.
We picked the Californian from Just Sheds for the pitch of its roof. The 10 by 12 with a 13-foot ridge gave us enough room to tuck in a sleeping loft. We hacked the plans to extend the roofline out 4 feet over the door, and we built the floor out of of 2x4s.
The frame is made of BC pine, and the walls are sheathed in marine-grade plywood (which means minimal off-gassing). The rear wall is corrugated fiberglass. (More on that later.)
About the location
The cabin is sited on five acres of gorgeous west coast wilderness on one of the islands in BC’s Gulf Islands chain. We’re at the top of a bluff, with a lovely meadow behind us. In front of us is a breathtaking ocean view straight across Howe Sound to the Coastal Mountains on the mainland.
The only reason we were able to afford such an amazing piece of land is because the island is relatively difficult to get to (it’s close to Vancouver, but there’s no ferry service) and there are zero amenities: no stores, no electricity, no running water. (Interestingly, we could tap into the internet because the island zippies have set up satellite internet. All we’d need is solar power for our laptops. So far, though, we’re cool with remaining unplugged.)
Our “design aesthetic”
I use quotes because when it comes to living in such a small space, we don’t have room for more than the necessities. I think we have maybe two items in the entire space that are purely decorative. But if I had to define our style, I’d say we’re probably a lot like you: a bit modernist, a bit vintage-y, a bit Ikea, and a bit plain old functional.
When we were thinking about what kind of cabin we wanted, we found we were inspired by two things: the utilitarianism of houseboats, as well as summer camp buildings, with their exposed framing and unapologetic woodiness. We also agreed that we wanted to be transparent about our sources, which is why we didn’t make any effort to hide the lumber stamps and the discoloration caused by the pine beetle infestation that’s plaguing the Pacific Northwest. This infestation is part of our ecological historical record, and we find that really interesting. (Also interesting: we recently discovered that the lumber industry has found a way to upmarket this lumber by calling it “denim pine”.)
Underlying this entire project is our fascination with extreme small-space living. Neither John nor I are naturally minimalists, so it’s been an interesting experiment.
Mistakes were made
We started off with grand plans. We thought we’d take out a small loan and pay a local company to design and prefab a bigger cabin right away. We even went so far as to have the plans fully engineered (we still have them; they’re awesome). The entire thing cost us about $3,000. But then the economy started to deflate and we realized we didn’t want to have a loan hanging over our heads. That’s when we decided to start over with a new, more modest plan and DIY the whole thing, with the help of our aforementioned awesome friend Stefan.
Initially, we made the deck way too small. It was only 4 by 10, and it made the cabin feel claustrophobic. We realized that we needed to expand the outdoor space so that we could just throw the doors open and have one large 10 by 22 foot area.
The sun! Our friend and nemesis! We thought we were smart in siting the cabin back in the trees, rather than doing the typical west-coast thing of positioning it out on the bluff. Turns out we were half-smart. We didn’t consider the morning sun, which pops its face over the mountains… and then fires a laser beam straight through our glass doors. I fashioned some full-length roman blinds, using blackout fabric on one side and vintage bedsheets on the other, and they work a treat.
Speaking of the sun, I’m not saying we regret the fiberglass wall. I’m just saying maybe, in a parallel universe where we’re a bit brighter, we’d consider placing it on a wall that doesn’t get full late-afternoon light. We’ve planted some trees behind the cabin to mitigate this. Fingers crossed they grow quickly. In the meantime, we appreciate that our fiberglass wall helps the cabin feel open and airy and is probably the reason why ours is the only local cabin we know that didn’t suffer from black mold over the winter.
Even out in nature, kids need toys. Don’t get me wrong. Our boys are happy to do their fair share of digging, playing with sticks, pestering insects, throwing rocks and whathaveyou. But after a while they want to kick back and chill out with a pile of Legos. We’ve built up a discreet stash of toys for these occasions. We’ve also realized that even kids need their own space, which is why our next project is a sweet little playhouse in the trees.
The purging is neverending. Things creep over to the cabin from our home in the city, and every so often we have to do an audit of what gets to stay. (In fact, John wanted me to point out that the Ikea Bekvam stool you can see in the top photo has been brought back to the city. That’s how ruthless we are. Even poor little stepstools can get cut.)
We did have one surprise money-saving coup, when we rented a storage locker as a short-term way to store our building materials and the fridge and whatnot before our barging date. The locker place told us that the first month was only $1, and the subsequent months were full price. John kept asking them, “But we only want it for a couple of weeks. Are you saying we only pay a dollar if we check out before a month?” And they kept saying yes. So of course we rented the largest one. Score!
Favorite DIYs and hacks
Pretty much the entire cabin is DIY, but here are our favorite projects:
- We looked into tension-wire for the deck railings, but it’s insanely expensive. Stefan had the idea to use rebar instead, which turned out amazingly well. I love it more than wire, to tell the truth.
- Stefan also hand-crafted the ladder to the loft. It’s 10 feet tall, and incredibly solid, with a Danish-style look.
- John prefabbed the cedar outhouse in the city, then disassembled it and barged it over. Note to anyone considering building an outhouse: Cedar smells AMAZING. It will reinvent how you feel about outhouses.
- John turned an Ikea Fjellse bed into a daybed by hacking off the headboard and adding a bolster from Snugtuck.
- He also hacked an Ikea Aspelund underbed storage drawer into a trundle bed by reinforcing it, then having a foam mattress custom made.
- I took simple cushion covers and appliqued graphics from some of our favorite old t-shirts.
- Full-length light-blocking roman blinds made from blackout fabric and vintage bedsheets.
- Dresser was a beat-up wooden job we found on Craigslist. We gave it a two-tone paintjob and some vintage ceramic knobs.
- I made the laundry bag from vintage fabric. It keeps the cabin tidy and makes it so easy to pack to come home.
- We wanted a cool cast-iron fire pit, but these cost $600. So instead we got an enormous drum-style wok in Chinatown for about 70 bucks.
Random scores
We did buy a few things new – mostly bedding – but everything else was either salvaged or found at thrift stores and yard sales and such:
- We bought the fake Hans Wegner folding chairs years ago and put them away thinking someday we’d have a use for them. They’re perfect on the deck!
- All the windows and doors are salvaged, including the lovely little stained-glass window in the loft.
- John found the granite countertop in the kitchen on Craigslist for $50.
- We tried and tried to order a ceramic water jug holder online, but kept being kiboshed by the fact that nobody would ship to Canada. Then we scored the perfect one at a yard sale down the street.
- The army medic’s bag is a surplus store find. It holds our huge first aid kit. (We have to be well stocked, because there are no medical facilities on the island.)
- The pink stag’s head plate was left in our garbage can in the city. Who would throw out such a thing?!
- I found the exit sign at the back of a thrift store. When we get solar power, we’re going to put a light in there. You know, so people know where to go in an emergency.
Our next projects
We’re half done the outdoor shower, and we’re in the early stages of a treehouse/play structure for the boys. After that, we have kind of nutty plans for a big outdoor kitchen/bar.
As far as infrastructure goes, at some point down the road we’re going to add a small 12-volt solar power system, rain catchment for our washing up water, and a pump from our well to the cabin for drinking water. As the boys get older, we hope to spend more time here in the colder months, so John has his eye on one of those tiny propane fireplaces you see on boats.
We’ll probably also convert to a composting toilet, though right now we have no complaints about our current low-tech arrangements, considering this is the view we enjoy every time we, ahem, use the facilities.
Images: Tammy Everts
(Re-edited from a post originally published 8.3.11 – JL)
