
A “Starter Pack” Flipped Bathroom Gets a Redo with Old-School Charm
There are some perks of moving into a flipped home and some cons. Take Rebecca Hewitt (@ahewitthome) and her husband, Greg, and their flipped home. When the couple and their newborn moved into their home, a 100-year-old historic house that had been taken down to the studs and flipped, they were thankful they didn’t have to renovate much. Besides that, they loved the new finishes. But there was a little something missing.
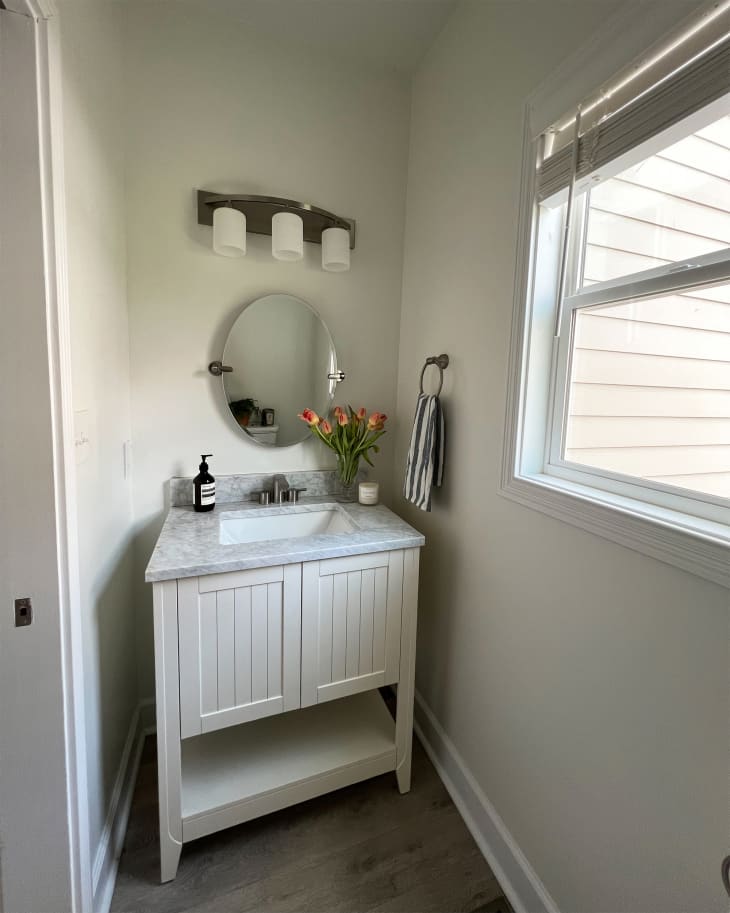
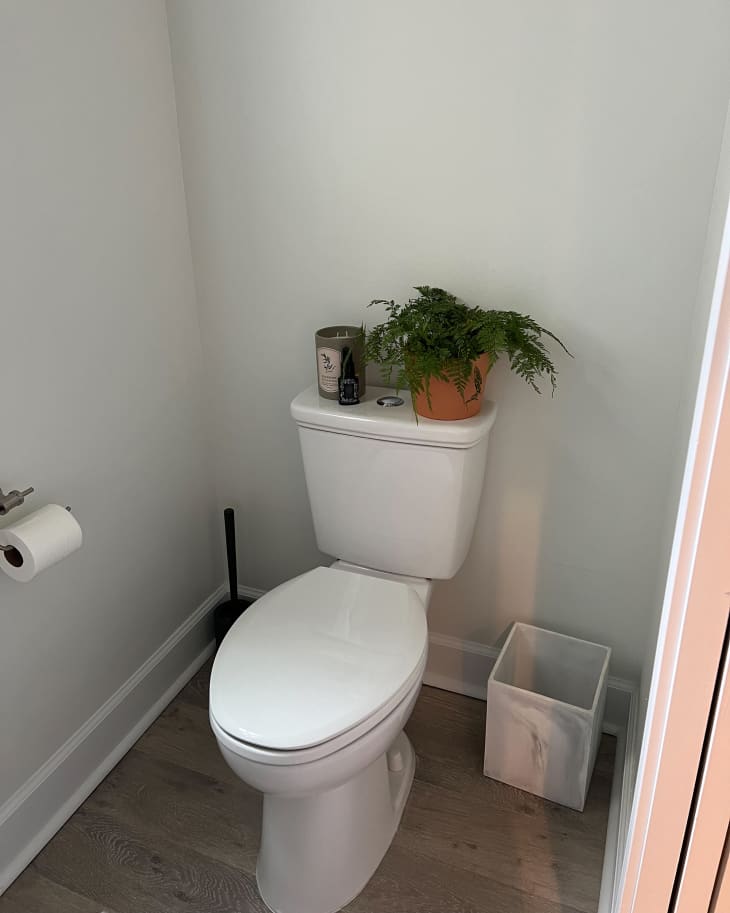
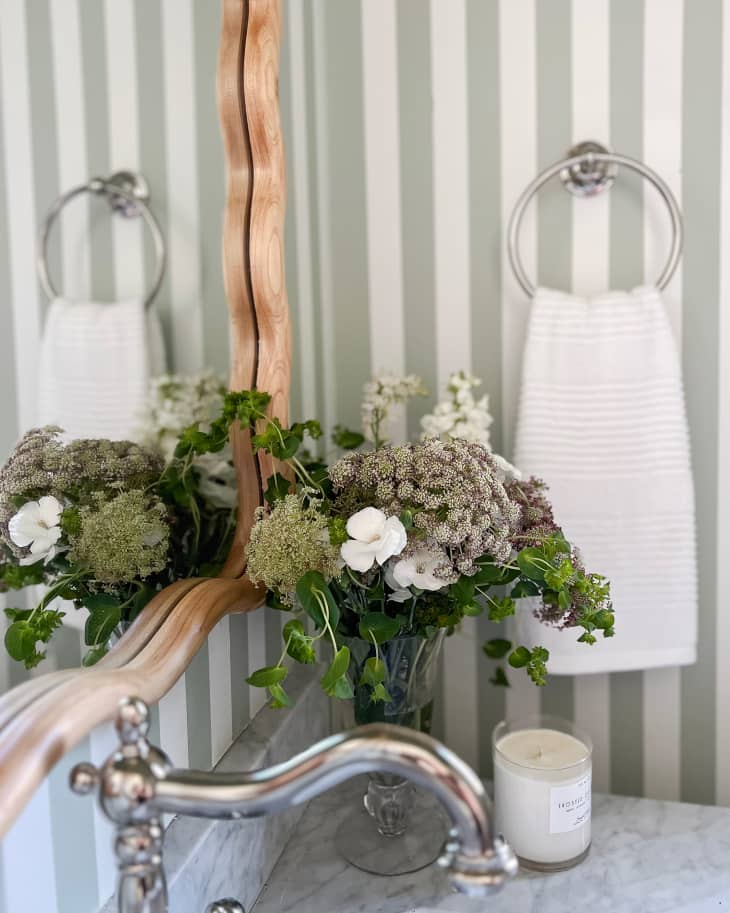
“The whole feel of the house was what I refer to as the ‘flipper starter pack,’ aka gray walls,” Rebecca says. “The bathroom felt very builder-grade with nondescript lighting, mirror, and brushed nickel ring towel and toilet paper holder. But the space was a great starting point for a little refresh.”
She especially liked how the room came with a vanity and pocket door. “So instead of calling it a renovation, I called it a refresh because I wanted to breathe some new life into a space that was already pretty cute,” Rebecca says. Her refresh cost about $1,200 — she spent $350 to hire a plumber to replace a faucet — but the rest was DIY.
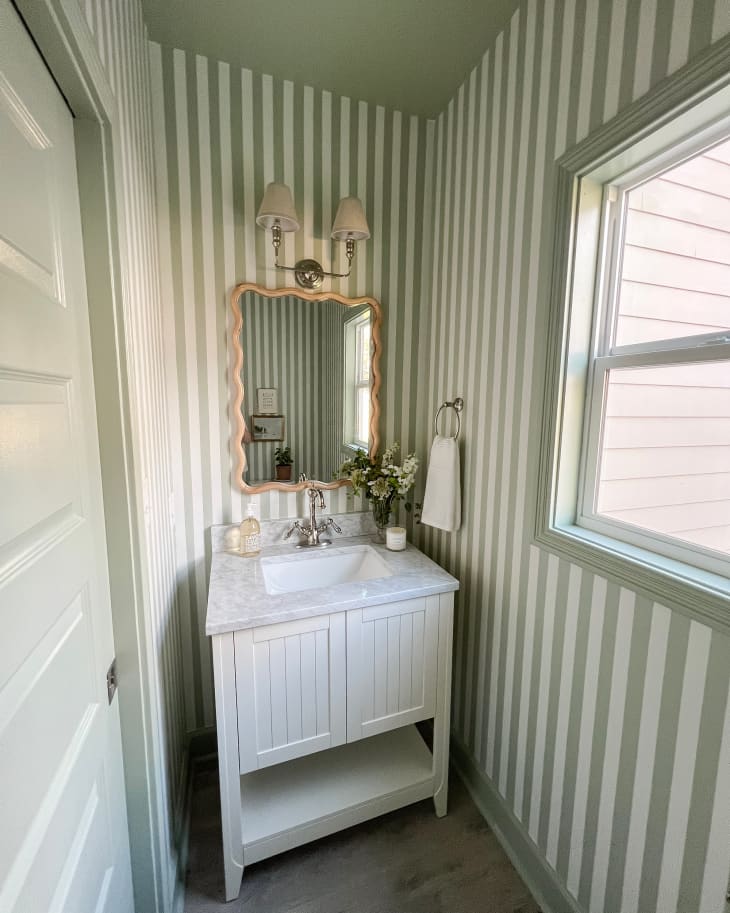
Painted stripes mimic the look of wallpaper — for a fraction of the cost.
Rebecca and Greg started by painting the powder room white (Sherwin-Williams’ Pure White), and then Rebecca decided to add soft green (Benjamin Moore’s Salisbury Green) details.
She painted the trim, ceiling, and pocket door in the semigloss version of the shade and then learned an important lesson in paint finishes when it came to adding the stripes on the walls.
“I did not realize that the finishes of the paint would change the color of the paint,” Rebecca says. “The same paint in matte was darker than the paint in semigloss! I had to get many, many paint samples in various lightened versions to get the final perfect match to the semigloss color.”
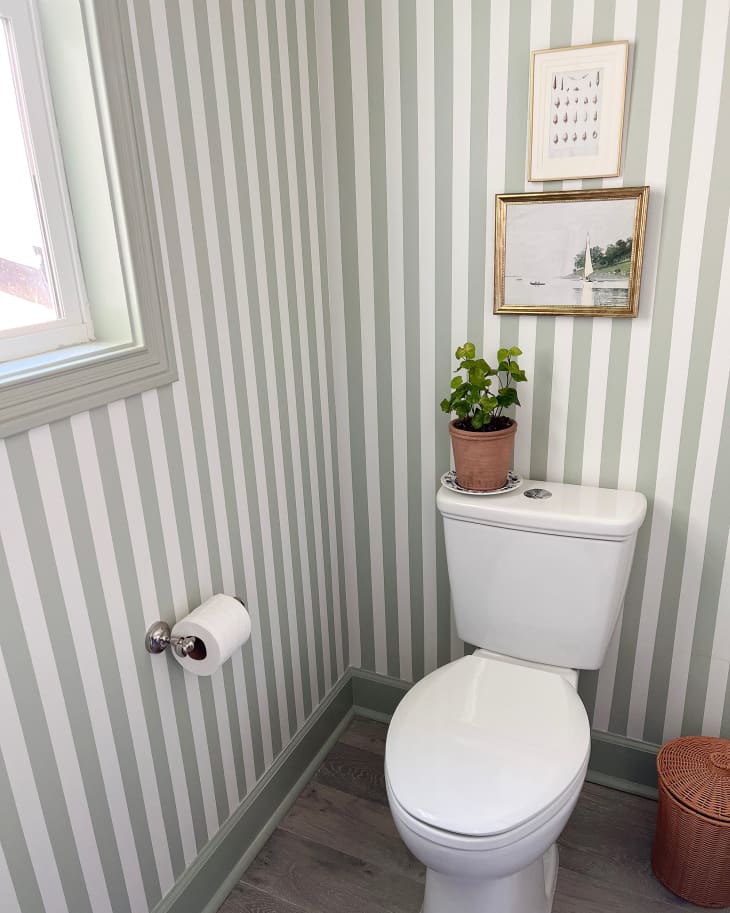
The key to perfect stripes? A level.
The other lessons that Rebecca learned when adding the detail — which was worth the hard work because it “saved me a lot of money compared to purchasing a striped wallpaper,” she says — were to peel up the painter’s tape when the paint was still slightly wet to avoid peeling and to achieve crisp lines, and to use a level to make sure the lines were perfectly parallel.
“My main reason for measuring and taping by hand was to use the level I already had, and also looking at the size of the bathroom, it was doable,” Rebecca says. “Once it was all taped off, the level of satisfaction and accomplishment was through the roof!”
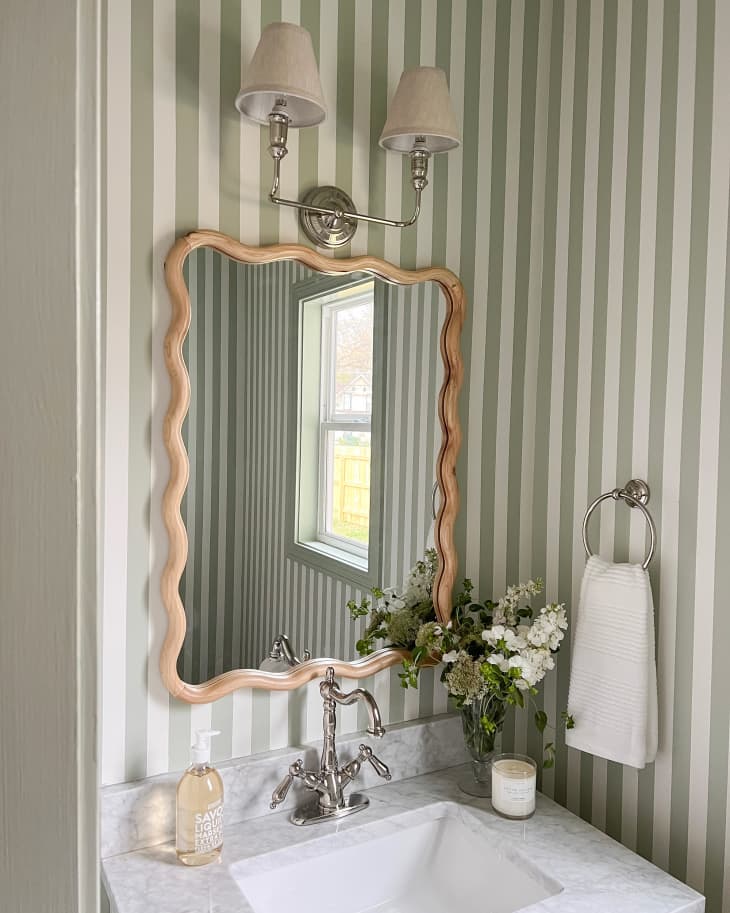
A new light and mirror finish the room.
The powder room makeover was mostly paint, Rebecca says; “all other changes were just switching things out.” The swaps include the new squiggly mirror and the sconce, which is totally adorable with its two linen lampshades but wasn’t without its DIY difficulties. “When we took the light off, there were just two wires sticking out through drywall, so we needed to install an electrical box,” Rebecca says, and her father-in-law helped her and Greg do it.
“For such a small and ‘straightforward project’ (aka no demo, just painting and replacing fixtures), there were actually a good amount of setbacks,” Rebecca says. But she’s proud of the DIY skills she learned in the process. “One of my personal life mantras is “hard isn’t bad,” and “you can do hard things,” and these phrases definitely helped me manage the surprises we encountered!”
Rebecca’s favorite details are the stripes (of course!), the classic look of the polished nickel, and how far it looks from builder-grade now. “It is fresh, inspiring and adds some fun unexpected color and pattern to the otherwise white downstairs,” she says.
Inspired? Submit your own project here.