
Before and After: A Very Blue Builder-Grade Bathroom Gets a $3,500 Glam Tile Glow-Up
Some paint colors aren’t always what they seem. What looks like a subtle seafoam on a paint strip can actually be more of a bold aqua on the walls, or vice versa, depending on the lighting in a space and the number of coats applied.
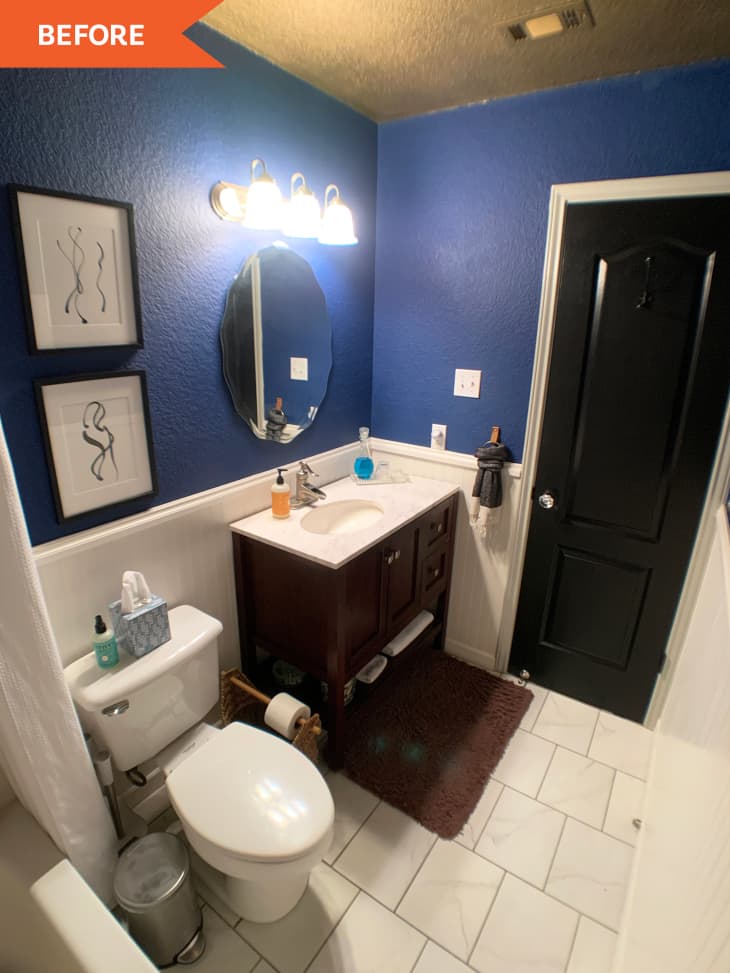
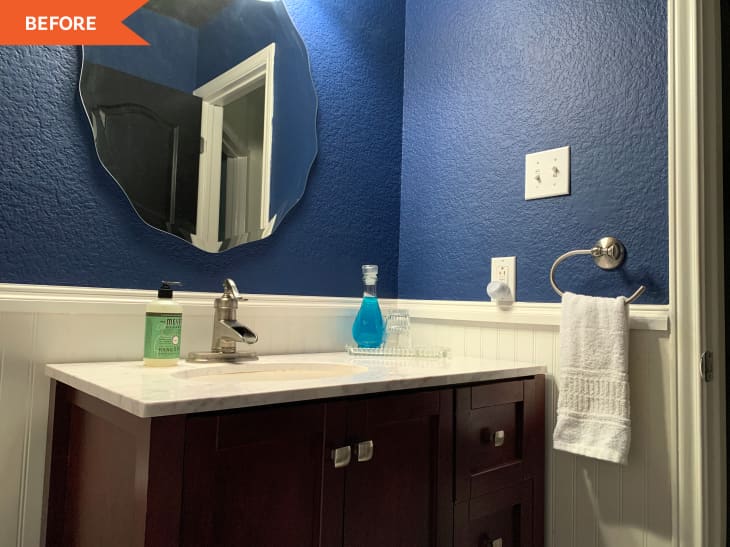
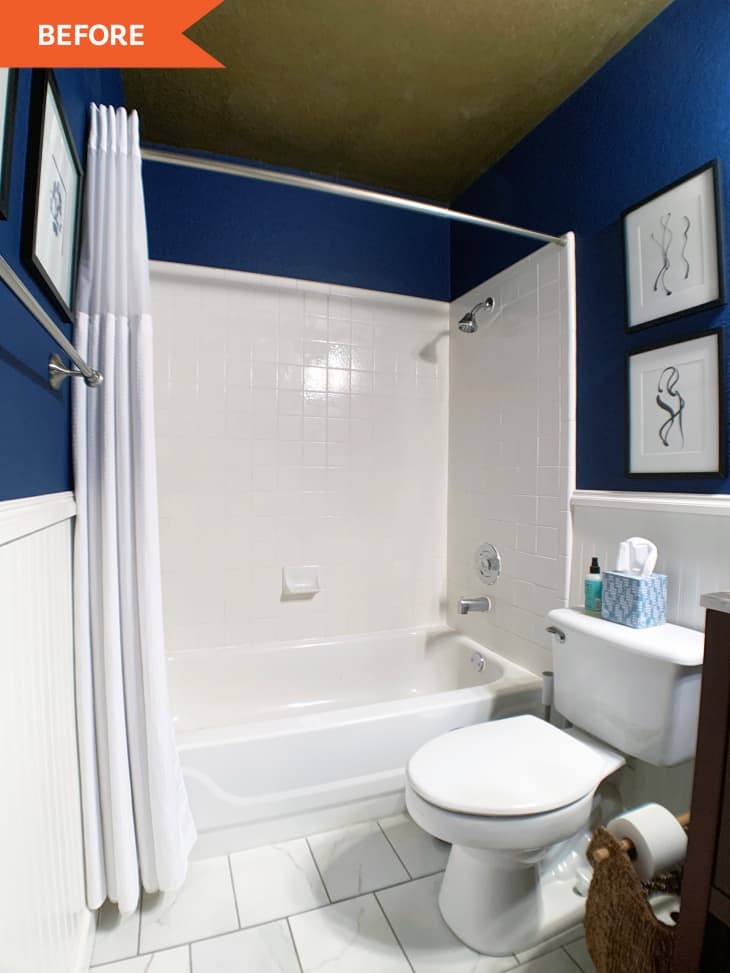
In Kristen Burnett (@LoneOakDesignCo)’s bathroom, the royal blue paint she and her husband, Nick, chose in 2012 was “a much brighter blue and more Smurf-like” than they intended. Their bathroom “had been partially updated from its ’90s style but still had the white dimpled tile in the shower, inconsistently textured walls, and a dated light fixture,” Kristen says.
She adds: “Since first moving in a decade ago, our style has changed, and our toolkit and DIY knowledge have grown substantially. We wanted a bathroom we could be proud to show to guests, and the One Room Challenge seemed like the perfect opportunity to make sure we followed through with it after all this time.”
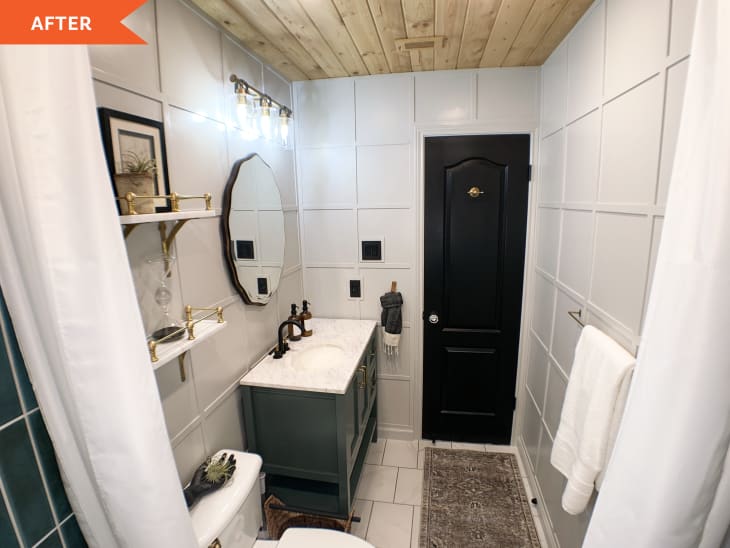
In an eight-week reno, she and Nick upgraded the walls, the shower and tub, the vanity and mirror, and the hardware throughout. “Although we DIY all the time, we did things in this space that are new to us including: installing recessed lighting, framing our own shower niche, and waterproofing and tiling the entire shower,” Kristen says.
They also cut new wood trim and marble, painted the walls, door, and vanity (Sherwin-Williams’ Repose Gray, Tricorn Black, and Succulent, respectively), fixed the plumbing in the shower to work with new brass hardware, installed faux beams around the edge of the shower and a wood plank ceiling, built their own shelving, and replaced the light fixture above the vanity.
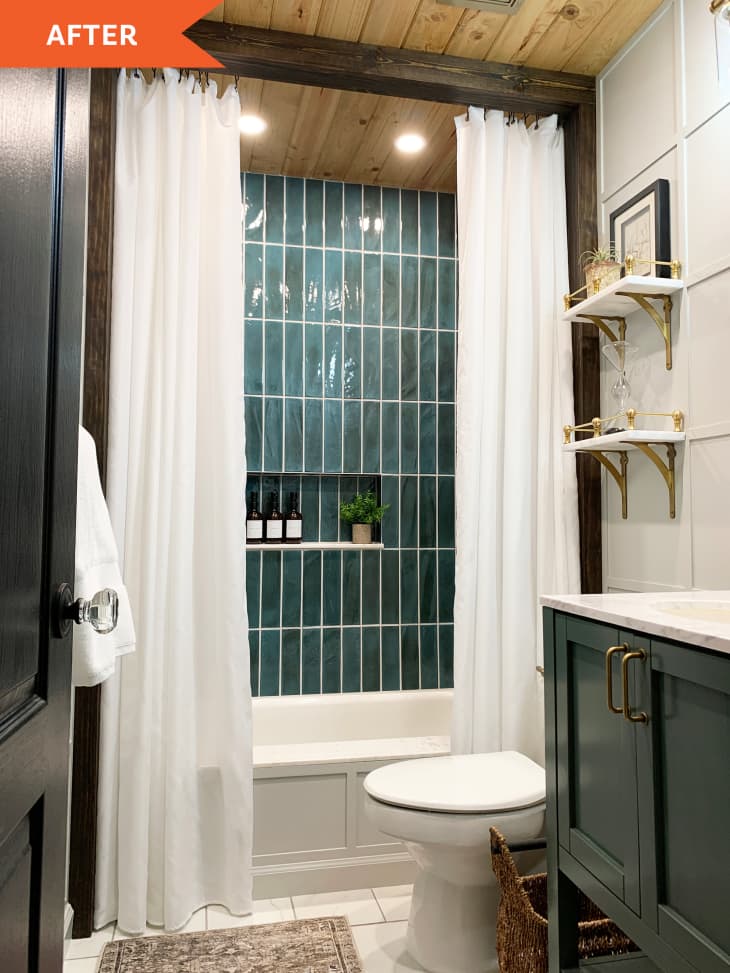
The color of the shower tile, the custom storage niche in the shower, the wood details throughout the room, and the new shelving are all among her favorite details. “I’m having a hard time deciding on my favorite element,” Kristen says of the “after.”
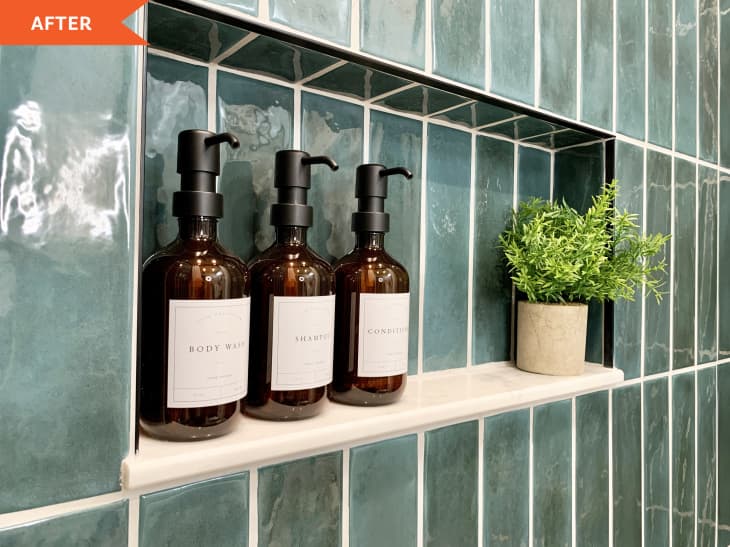
“If I had to choose I’d say the shower niche,” she says. “What I love most about design is combining form and function, and a storage niche to keep the bottles from falling into the tub is a HUGE upgrade from what we were used to!” There was a bit of a setback with the niche, though.
“I cut our custom-made shower niche to the wrong size/placement (not centered in the wall left to right) and didn’t realize it until I went to tile,” Kristen explains. She solved the problem myself by adding layers of waterproof drywall on one side of the niche to bump it over to the right and make it the correct size, then re-waterproofed the niche before tiling.
The other most difficult part of the project, Kristen says, was facing supply chain delays. “What I would do differently is order items even further out than I did,” she says. “Some of the pieces took longer to arrive than expected, like our shower tile and styling elements such as artwork and the shower curtains.”
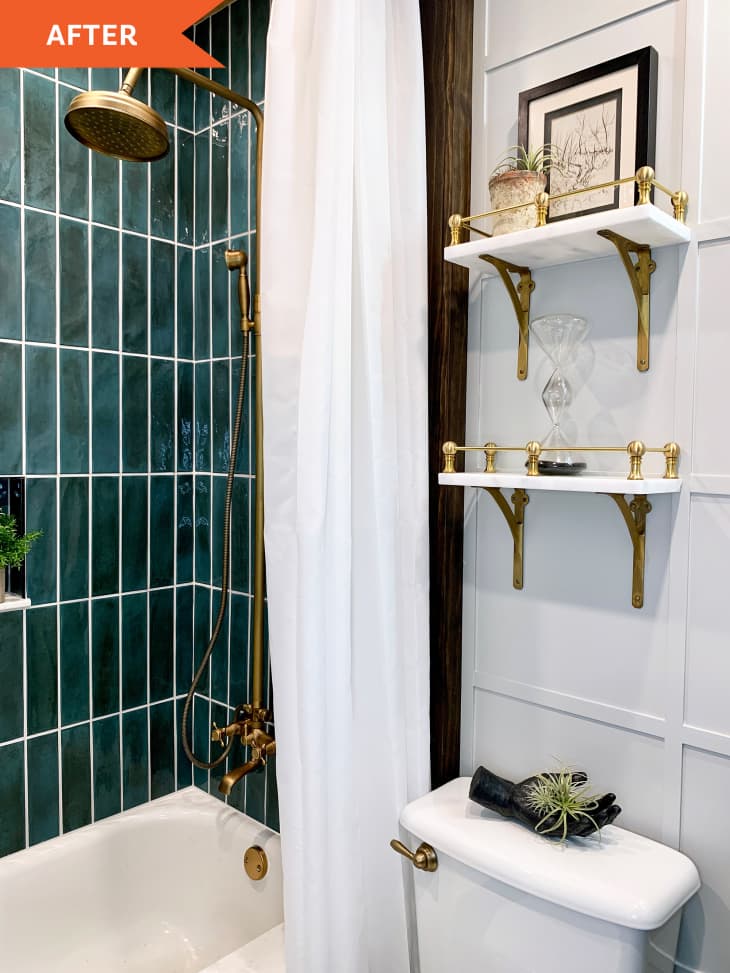
Some things about the reno that were easier than expected and add major punches of style are the faux beam columns, the tongue-and-groove plank ceiling, and the skirt around the existing tub that makes it looks built-in. “I also easily made marble and brass gallery rail shelves and used free scrap wood to customize and elevate our existing frameless mirror,” Kristen says.
There’s not a stone unturned in this now-incredibly glam bathroom with luxe details done through DIY. Kristen’s advice for those looking to add bespoke touches themselves is this: “Plan (more than you think), and give yourself some grace. Mistakes happen. Things break, you measure wrong, you have a bad or highly unproductive day where nothing seems to go right … As long as you try and continue to learn, there is always time to tweak it, change your mind and get it the way you want.”
This project was completed for the Spring 2022 One Room Challenge, in partnership with Apartment Therapy. See even more of the One Room Challenge before and afters here.
Inspired? Submit your own project here.