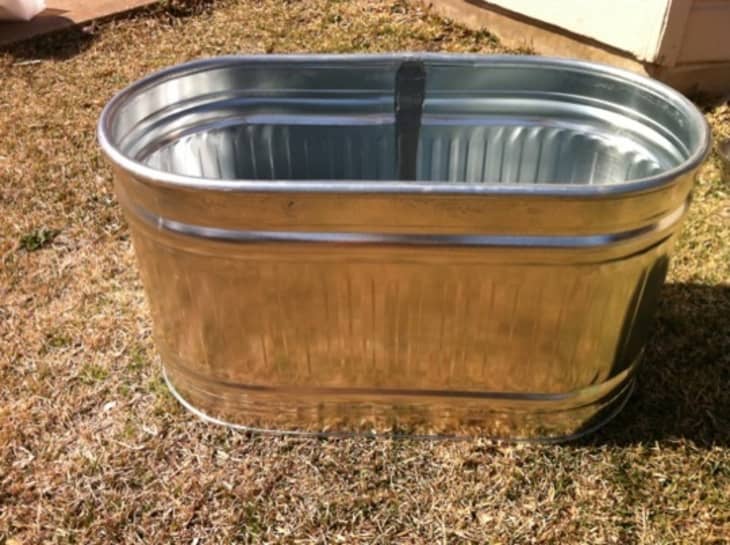
How To Build A Raised Bed in a Metal Trough

Whether you call it a stock tank, a galvanized metal container, or a cattle trough (being from Texas, I prefer the latter), one thing’s for sure: these metal bins make for perfect and visually interesting raised garden beds. They’re cheap and come in a variety of sizes, so surely you’ll find one for your space. Then, follow these steps to create your own raised bed.
What You Need
Materials
Galvanized metal cattle trough/tank in your preferred size
Dirt and compost
Seeds or seedlings to plant
Filling for bottom of container (optional)
Tools
Drill with metal drilling bit
Screwdriver
Level
Shovel
Instructions
1. Choose the size trough that’s right for your space and decide where to install it. (We went with one four feet wide, two feet deep, and two feet tall, to fit in front of our kitchen window.)
2. Prep the space. You could just set the tank on the grass or patio; we chose to dig down about two inches and lay weed cloth down in the hole (we saved the displaced dirt for step 5).
3. Using a drill fitted with a metal drill bit, carefully drill drainage holes in the bottom of the tank. For a large tank, drill at least ten holes. You can also remove the stopper for additional drainage.
4. Center and level the trough. It’s important to make sure the tank is exactly where you want it, and level, at this point–because once it’s full of dirt, trust us, you won’t want to move it.
5. Fill the tank. We chose to use filler materials at the bottom: old tree stumps from our burn pile and some old plastic planters (you could use rocks or bricks as well). This filler material creates more space at the bottom of the container for drainage, and also means you’ll need less dirt to fill up the bed.
6. Add dirt and compost. The proper dirt mix all depends on what you’re planting. If you’re planting xeric plants, you’ll want to choose a soil mix that drains well. But if you’re planting veggies or herbs, be sure to fill the tank with a high-quality soil mixed with good compost. We put our displaced dirt toward the bottom, then added approximately two cubic yards of high-quality garden mix and an additional half-cubic-yard of good compost.
7. Get ready to plant. Our plan was for an herb garden; in hopes of visual interest and symmetry, we chose to plant the tallest herb in the middle (dill, in our case), and shorter herbs around it (parsley, basil, chives, thyme, and oregano). A note of caution if you’re planting herbs: rosemary and mint varieties can quickly take over a bed, so plant those in separate containers. And of course, be sure to label the seeds or seedlings as you go. If you’re planting seeds, plant two in each hole and then thin out once they reach a couple of inches tall. And one more thing before you plant: know the amount of sunlight this spot gets, and plant accordingly. Most culinary herbs do fine with some shade, as do lettuces and other leafy greens.
8. Water your seeds or seedlings to get them started in their new home.
9. Protect from any known dangers. We know we have cats in the ‘hood, so we protected our seeds with bird netting staked down around the bed. Once the plants grow, we’ll remove the bird netting and add pine straw to detract the cats. Netting is also helpful to deter other wildlife like birds, deer, and squirrels.
10. Patiently wait for your harvest! (We have a long way to go until our herb garden looks like this galvanized metal bed, but we’re looking forward to our fresh culinary herbs!)
(Images: Amber Byfield)
(Re-edited from a post originally published on 2.24.2011 – CM)
