
One Bathroom Mold Warning Sign You Can’t Afford to Ignore
Homeownership comes with a whole host of maintenance tasks you never thought were things you’d need to know how to do. Taking care of what gets messy and dirty and what needs upkeep might not be fun, but it’s usually straightforward. Dirty grout? Clean it. Messy pantry? Organize it.
But the things that go on behind the walls are less easy to spot, too frequently overlooked, and can cause major problems if they go unnoticed for too long. (Think things like termite infestations or clogged dryer ducts.)
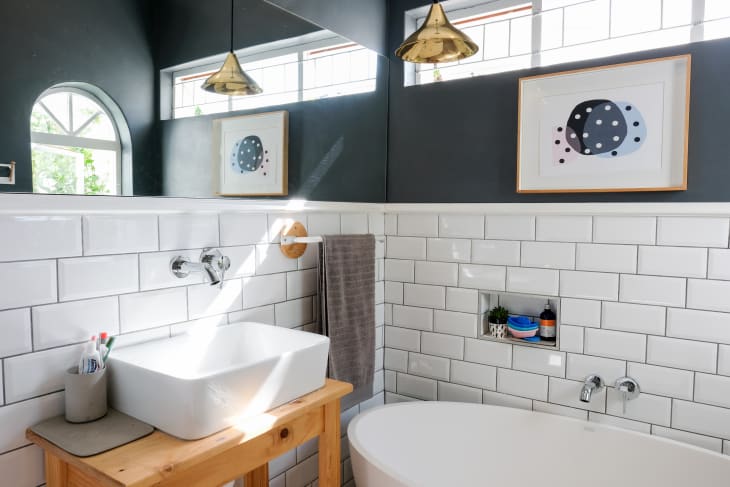
Your bathroom is a microcosm of this inside-outside home keeping phenomenon. We spend a good deal of effort battling mold and mildew in the bathroom and minimizing the moisture that leads to it. But mold that can be seen, frustrating as it is, is a battle we know we need to fight. It’s the unseen mold that’s scary.
Your bathroom’s biggest mold problem waiting to happen? Cracked caulking. You know, the kind you’ll “get to eventually.” Today’s the day to stop putting it off and start taking it seriously. Water and moisture from humid air can leak behind it and lead to mold growth behind the tile or even rotting wood.
How to replace caulk:
Replacing your caulk isn’t as intimidating as it might seem.
What you need:
- Caulk remover (optional)
- Caulk made specifically for wet environments. It will be labeled for kitchen or bathroom use
- Masking tape
- Utility knife and razor blade
- A caulk gun
- Rags or paper towels
- A bowl of water
- Rubbing alcohol
- Remove the old caulk. Do not be tempted to just caulk over the old stuff; you won’t get a water-tight seal. Use your utility knife or a razor blade to cut away the old caulk or use caulk remover to soften it first.
- Clean the area you are going to re-caulk. This is important so that any existing mold doesn’t affect the new caulk, and also to ensure optimal adhesion of your new caulk. Rubbing alcohol can help completely clean the surface you will re-caulk and aid in adhesion.
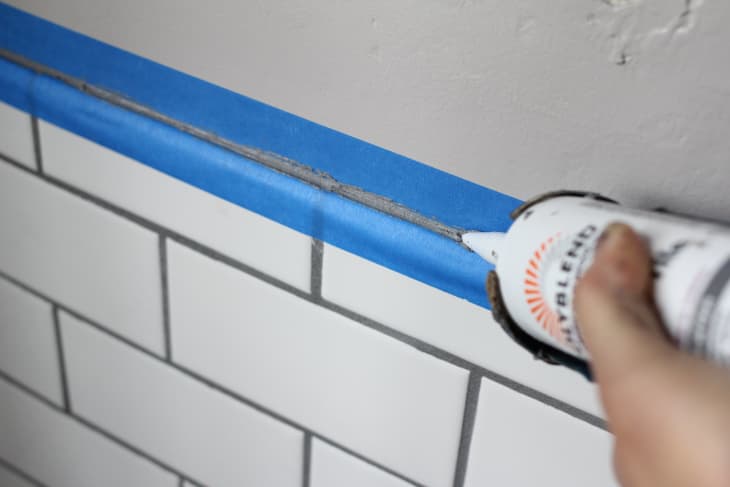
- Mask the area you will caulk. This step is optional, but it will help you achieve an even line. Place masking tape on both top and bottom or both sides of the line you will caulk.
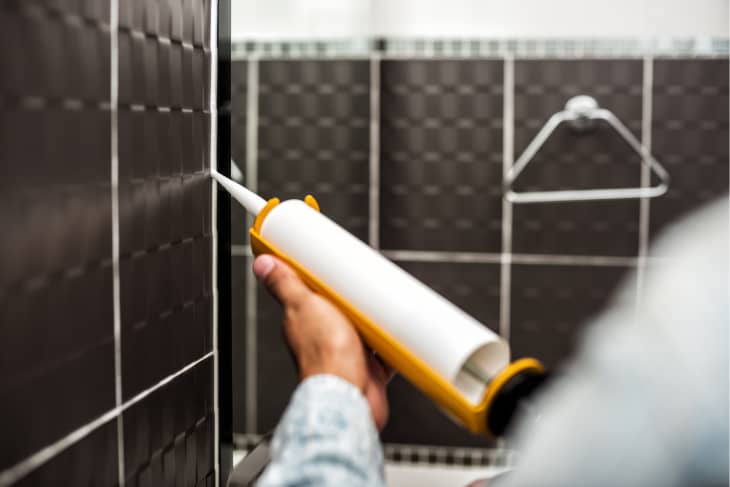
- Run your caulk line. Hold your caulk gun at a slight downward angle and perpendicular to the wall. Run a bead of caulk as evenly as you can and then smooth it across with a wet finger.
- Remove the tape while your caulk is still wet.